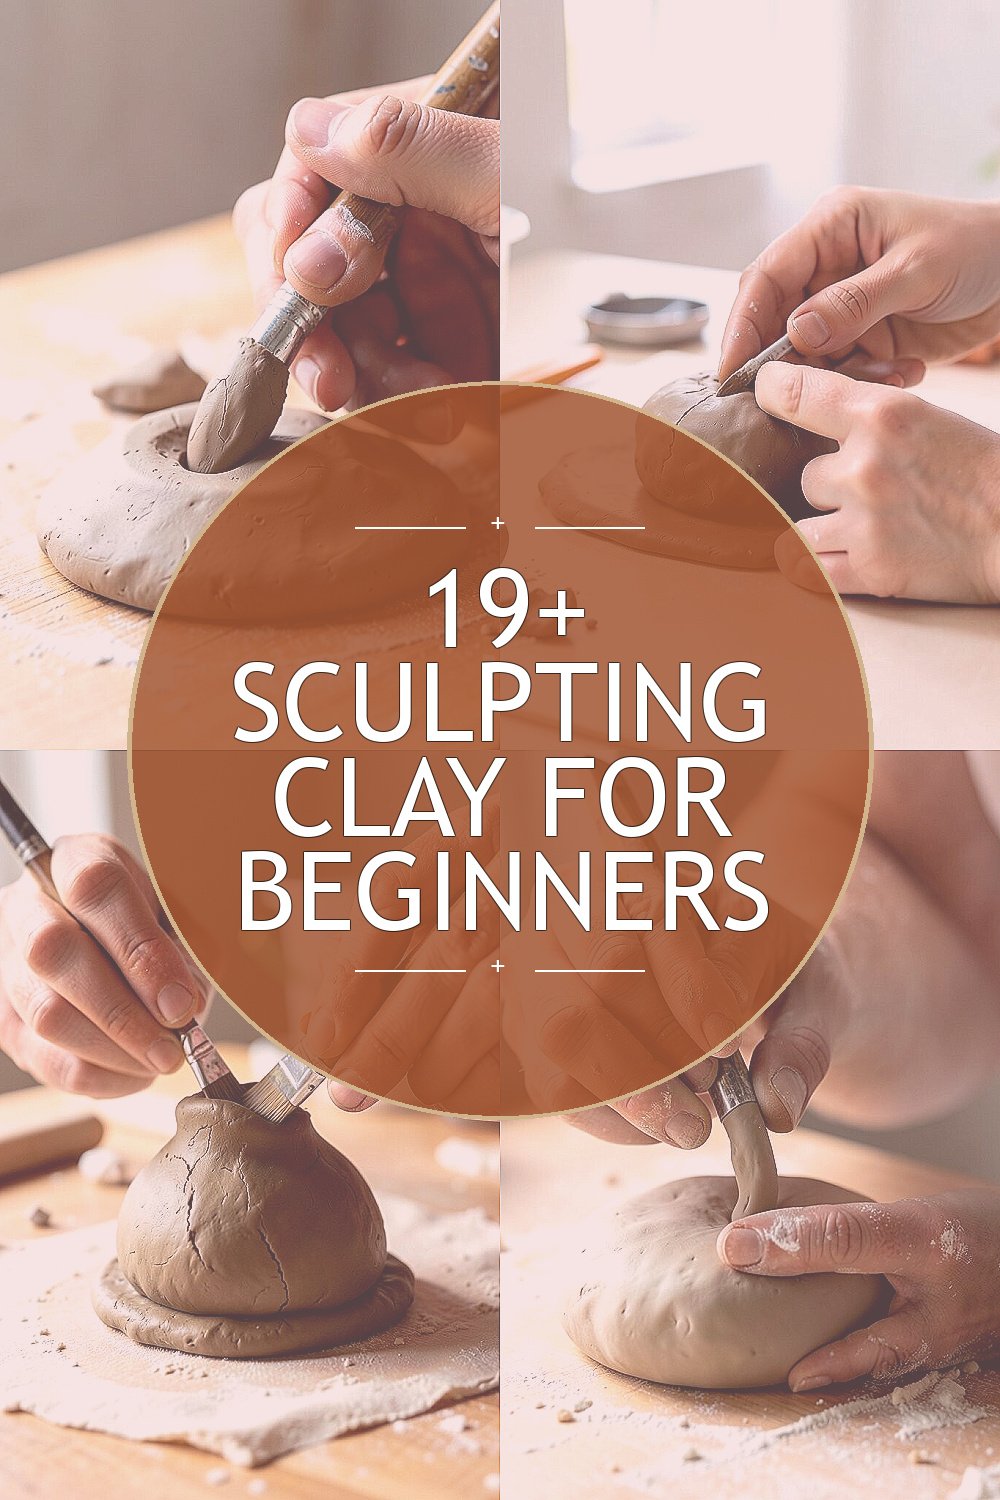
Fresh clay can feel a little magical in your hands. A few small moves can turn a plain lump into something charming.
1. Pick a clay that feels easy to handle

Top Pick A Clay That Feels Easy To Handle Craft Tutorials
- 🗺️ The Best Clay for Beginners: How to Pick the Right Type of … from claymoo.com.
- 🖼️ Which clay should I choose as a beginner? from blahmage.com.
- 🍅 [Help] Don't know what clay to buy (beginner) : r/Sculpture from reddit.com.
- 🗺️ One Clay to Rule Them All: The Best Air Dry Clays for Artists from susiebenes.com.
- 💅 What clay brand is best for a beginner? from facebook.com.
Soft clay is often the best friend for a new maker because it bends without a fight. It usually looks smooth, warm, and ready for simple shapes like balls, coils, and little bowls.
Air-dry clay is popular because it is easy to buy and does not need a kiln. It can also be cheaper than special firing clay, which helps when you are testing ideas and do not want to spend too much. If you want a neat personal touch, try a small project first, like a tiny dish with your initials pressed in.
2. Set up a clean and simple work space

Top Set Up A Clean And Simple Work Space Craft Tutorials
- 🗺️ 15 DIY Small Craft Room Ideas for Creative Spaces from seedsheets.com.
- 🎨 20 Ideas for Designing a Craft Room at Home from extraspace.com.
- 🎨 22 Craft Room Ideas to Spark Creativity from thespruce.com.
- 💅 20 Creative Craft Room Ideas from hgtv.com.
- 🍂 10 Small Craft Room Ideas and Tips to Make Your Space … from altenew.com.
A flat table with good light makes sculpting feel calm and easy. A clean space also helps your clay stay free from dust, crumbs, and pet hair.
Use wax paper, a plastic mat, or an old tray to protect the table. Keep water, a small towel, and a few simple tools close by so you do not have to keep getting up. Many beginners like a tidy setup because it saves time and makes the whole process feel less messy.
Try adding one small cup for scraps so the area stays neat while you work. If you want a more personal feel, place a favorite mug, a bright cloth, or a tiny plant nearby. A cozy corner can make sculpting feel like a fun habit instead of a chore.
3. Warm the clay before shaping

Top Warm The Clay Before Shaping Craft Tutorials
- 🍂 [help] How long and at what temperature to bake polymer … from reddit.com.
- 🍂 Air Dry Clay: 10 Great Tips to Know Before You Start a … from marialouisedesign.com.
- 💅 Top Secret Tips for Working with Polymer Clay from whatthecraft.com.
- 🖼️ Clay for Sculpting: A Comprehensive Guide from sculpey.com.
- 🍁 How to Process Clay – 4 Steps to Turning Dirt Into Usable … from ancientpottery.how.
Cold clay can feel stiff and hard to move. Gentle warming in your hands makes it softer and easier to press.
Roll it, squeeze it, and fold it a little before you start your real design. This helps remove tiny air pockets and gives the clay a smoother feel. A warm, even texture also makes your finished piece look cleaner and more polished.
If the clay feels too sticky, let it rest for a moment. Some beginners keep a tiny bit of cornstarch nearby for help with tacky spots, though not every clay needs it. A little practice will teach you how your clay acts on different days.
4. Start with simple shapes

Top Start With Simple Shapes Craft Tutorials
- 👓 30+ Fun Educational Shape Activities for Kids from messylittlemonster.com.
- 🗺️ Shape Crafts For Preschoolers from preschoolmom.com.
- 🍅 12 Fun Ways to Explore Shapes from makeandtakes.com.
- 🍅 Fun With Shapes Artwork from inthebagkidscrafts.com.
- 💅 Learn about shapes using paper plates and yarn from laughingkidslearn.com.
Big, fancy ideas can wait until later. Round balls, short coils, and flat slabs are great first steps.
These basic forms are easy to see and easy to fix if something goes wrong. They also build the hand skills you need for more detailed work. Many modern clay artists still use these simple building blocks for cute home decor, tiny figures, and handmade gifts.
Try making a little mushroom, a small heart, or a pebble-like charm. Each shape can be changed with small dents, lines, or texture marks to make it feel like your own. Simple forms often look best when they are clean and confident.
5. Use cheap tools before buying fancy ones

Top Use Cheap Tools Before Buying Fancy Ones Craft Tutorials
- 🍁 10 Splurge-worthy Crafting Tools | HowStuffWorks – Lifestyle from lifestyle.howstuffworks.com.
- 🍅 My 10 Must-Have Craft Tools and Supplies from neathousesweethome.com.
- 🖼️ Arts & craft must-haves? : r/homeschool from reddit.com.
- 🗺️ What are the essential tools for a woodworking beginner? from facebook.com.
- 🗺️ Starter Tool Kit Guide: The Basic Tools You Should Have in … from stylebyemilyhenderson.com.
You do not need a full tool kit to begin. A toothpick, a butter knife, and a pencil can do a lot.
These everyday tools help you cut, smooth, and add tiny details without spending much money. That keeps the hobby friendly for your wallet while you learn what you really like. If you later want special tools, you will know which ones are worth it.
Some beginners enjoy using household items because they make the process feel playful and personal. A bottle cap can press a circle, and a comb can add lines. This kind of clever reuse is also a nice trend for people who like simple, low-cost crafts.
6. Keep your hands slightly damp, not wet

Top Keep Your Hands Slightly Damp, Not Wet Craft Tutorials
- 🍁 A Damp Stretching Tip – Easier on the Hands! from needlenthread.com.
- 👓 Honoring Your Hands: A Potter's Guide to Gentle Care from islandpotterystudio.com.
- 🎄 Taking sculpture as a class, how can I prevent my clay from … from reddit.com.
- 🍅 Tatting in Michigan: Hand Moisture Hack Needed from facebook.com.
- 👓 Handle pulling tips : 1. Use clay fresh from the bag from facebook.com.
A little water can help clay smooth out nicely. Too much water can make it slippery and weak.
Dip your fingers lightly, then brush over rough spots instead of soaking the clay. This helps you join pieces and soften edges without making a mushy mess. It also gives your sculpture a more even, neat look.
Many beginners like to keep a sponge nearby for tiny touch-ups. You can also use a damp brush for small areas that need care. This small habit can make your work look more polished with very little effort.
7. Learn how to join pieces well

Top How To Join Pieces Well Craft Tutorials
- 🧑🌾 The Magic of Seven: At What Age Did You Learn to Craft? from pieceworkmagazine.com.
- 🍂 How to connect heart lanyard pieces? from facebook.com.
- 🧑🌾 Fun Easy Bible Crafts for Kids and the Whole Family from daniellesplace.com.
Joining parts is one of the most useful clay skills. If the pieces do not stick well, the sculpture can crack or fall apart.
Score both sides with small lines, add a little water or slip, and press them together firmly. Then smooth the seam so it looks like one piece instead of two. This method works for arms, ears, handles, and many other add-ons.
Try making a tiny test shape before working on a bigger project. A small practice join can teach you how much pressure to use. Strong joins make your creations last longer and feel more finished.
8. Pay attention to thickness

Top Pay Attention To Thickness Craft Tutorials
- 🗺️ What is the preferred thickness of ephemera for crafting? from facebook.com.
- 🖼️ Using Craft Resin On Thicker Projects from craft-resin.com.
- 👓 the psychology of emotional abuse from threads.com.
- 🍂 99 Crafts That Don't Require Special Tools Or Skills from thegoodtrade.com.
- 👓 Unfinished Wood Michigan Connected Shape – Craft – up to 46" … from walmart.com.
Clay that is too thick can dry slowly and may crack. Thin spots can dry too fast and become weak.
Try to keep walls and parts even when you can. A simple pinch test with your fingers helps you feel where the clay is heavy or too thin. Balanced thickness gives your piece a better chance of drying safely.
This matters a lot for cups, bowls, and figures with long arms or legs. A beginner can save time and stress by checking thickness often. It is a small step that brings a big benefit.
9. Add texture for a more lively look

Top Add Texture For A More Lively Look Craft Tutorials
- 👓 9 Textured Art Ideas for Stunning Creative Depth from diamondartclub.com.
- 🖼️ 20 Texture making Ideas using Household Items(Part 1) … from facebook.com.
- 🖼️ 20 Texture techniques – Mont Marte Global from montmarte.com.
- 🍅 12 ways to add texture with tools you already have from canadianwoodworking.com.
- 🧑🌾 Easy Yarn Art & Painting: DIY Textured Craft Ideas You'll … from lemon8-app.com.
Texture makes clay feel rich and interesting. Smooth surfaces can look clean, but tiny marks can make a piece stand out.
Press in lace, leaves, a fork, or a textured cloth to create patterns. You can also scratch simple lines or dots for a handmade style. These details add charm without needing advanced skill.
Many current clay projects use soft textures and nature-inspired patterns. That trend is easy for beginners to follow because it does not need perfect shapes. A leaf print on a small dish can look beautiful and personal.
10. Work in small steps

Top Work In Small Steps Craft Tutorials
- 🎨 50 Process Art Activities for Kids from mericherry.com.
- 🍂 50 Easy Crafts for Kids to Spark Their Imagination from modpodgerocksblog.com.
- 👓 31 Arts and Crafts for Kids to Make at Home – Highlights Parents from parents.highlights.com.
- 🎨 14 Crafts for Teens and Tweens – ARTBAR from artbarblog.com.
- 🍁 Occupational Therapy crafts for kids from theottoolbox.com.
Trying to finish everything at once can feel rushed. Small steps make the project calmer and easier to control.
Shape the base first, then add details later. This gives you time to fix problems before they get too big. It also helps you see your sculpture grow in a steady, satisfying way.
If you are making a gift, break the job into short sessions. One day can be for shaping, another for smoothing, and another for decoration. This style is friendly for beginners who want less stress and more fun.
11. Keep a sketch or idea board nearby

Top Keep A Sketch Or Idea Board Nearby Craft Tutorials
- 🖼️ Craft Room Storage Ideas on a Budget! from thegraphicsfairy.com.
- 🎨 what are some cool storage ideas for craft supplies? from facebook.com.
- 👓 DIY Idea Board for the Office & Craft Room from housefulofhandmade.com.
- 🍂 14 Crafts for Teens and Tweens – ARTBAR from artbarblog.com.
- 🍂 14 Bulletin Board DIYs to Get Organized from thesprucecrafts.com.
A quick drawing can guide your hands when your brain feels stuck. Even a simple stick sketch can help you plan the pose or shape.
Photos, magazine clippings, or phone images can also give you ideas for faces, animals, and tiny objects. This makes your work more unique because you can mix different features into one design. It also helps you avoid guessing while the clay is already in your hands.
Some makers like to save color ideas too, even if they paint later. A mood board can show soft pastels, bright rainbow tones, or earthy shades. That kind of planning costs nothing and gives your piece a stronger style.
12. Use armatures for bigger pieces
Top Use Armatures For Bigger Pieces Craft Tutorials
- 👓 What wire is used for armature in bigger pieces? from facebook.com.
- 🍂 Simple Armatures for Small Scale Sculpture from muddycolors.com.
- 🍅 What can I use as an armature or core besides wire and foil? from reddit.com.
- 🧑🌾 How To Create Easy Armature Patterns from ultimatepapermache.com.
- 🍂 Armatures–permanent from glassattic.com.
Larger sculptures need support so they do not sag. A simple armature can hold the shape while you build around it.
Wire, foil, or crumpled paper can work for this job, depending on the clay type. It can also save clay, which helps with cost if you are making something big. The finished piece may look lighter and more balanced when the inside has support.
Beginners often enjoy armatures for animals, dolls, and tall figures. You can shape the inside to match the pose before adding the outer layer. This makes it easier to get a lively stance without wasting material.
13. Smooth with care, not force

Top Smooth With Care, Not Force Craft Tutorials
- 🍂 Crafting with @thequincywilliams_ linebacker for … from instagram.com.
- 🍅 Auto Hobby from 49fss.com.
- 👓 njac7_13.pdf from dep.nj.gov.
- 🍁 AC 43.13-1B – Acceptable Methods, Techniques, and … from faa.gov.
- 🍁 6 – Temporary Traffic Control | Ohio Department of … from transportation.ohio.gov.
Strong pressing can leave dents or flatten good details. Gentle smoothing gives a cleaner and softer look.
Use your fingers, a soft sponge, or a rubber tool to blend marks. Move slowly so you do not erase the parts you like. A calm touch can make the surface look almost polished without much extra work.
If you want a hand-made style, do not smooth everything perfectly. A few tiny finger marks can add warmth and personality. That balance between neat and natural is a big part of what makes clay art feel special.
14. Try simple color ideas

Top Try Simple Color Ideas Craft Tutorials
- 💅 15 Easy Life of Colour Craft Ideas for Beginners from lifeofcolourproducts.com.
- 💅 14 Crafts for Teens and Tweens – ARTBAR from artbarblog.com.
- 🗺️ Cool and easy crafts for 14-year-olds with construction paper from facebook.com.
- 🗺️ 7 Fun Baking Soda Art Activities to Try at Home with Your … from armandhammer.com.
- 👓 50 Easy Crafts for Kids to Spark Their Imagination from modpodgerocksblog.com.
Color can change the whole mood of a sculpture. Soft cream, dusty pink, or bright blue can each give a different feel.
Paint, stains, or colored clay can work depending on your budget and style. Paint is often the cheapest way to add color after the piece dries. Many makers today like simple color blocks, pastel sets, and earthy tones because they look fresh and modern.
You can make your work more personal by choosing colors that match a room, a favorite shirt, or a special memory. A small accent color can also make tiny details pop. Even one painted line can make a beginner piece feel finished.
15. Use references from real life

Top Use References From Real Life Craft Tutorials
- 🗺️ Are there reference images of real-life mob for art purposes? from facebook.com.
- 🎨 25 Captivating Life Drawing References for Charming Fall … from brightercraft.com.
- 🗺️ i have been exposed to an undeniable amount of art and … from instagram.com.
- 🎄 Guess fanart is now stealing…… (Newbie artists, you better … from reddit.com.
- 🍁 Newest 'reference' Questions – Arts & Crafts Stack Exchange from crafts.stackexchange.com.
Real objects give you better shapes than guessing alone. A shell, a fruit, or a toy can show you how curves and edges really look.
Looking closely at real things helps you build better eyes for detail. It also makes your sculptures feel more believable, even when they are cute or stylized. This habit is useful for animals, faces, plants, and food shapes.
Try keeping one object on your table while you work. You can copy its main shape and then add your own twist. That mix of observation and imagination makes your art feel unique and alive.
16. Plan for drying time

Top Plan For Drying Time Craft Tutorials
- 👓 Managing time while paint dries for craft projects from facebook.com.
- 🍅 Drying your own leaves for crafting is super easy! Collect … from facebook.com.
- 🍂 This is a 21 day sewing, craft, quilting space reset … from instagram.com.
- 👓 How to Press Flowers 4 Ways from homesteadandchill.com.
- 🍅 How long would this corner of air dry clay take to dry down … from reddit.com.
Clay needs time to rest and harden. Rushing the drying stage can lead to cracks, bends, or soft spots.
Place your piece where air can move around it, and turn it gently if needed. Keep it away from strong heat, which can dry the outside too fast. A patient drying plan often gives better results than any fancy tool.
For beginners, this waiting time is also a good moment to think about the next project. You can clean tools, sketch new ideas, or choose paint colors. Slow drying may feel boring, but it protects your hard work.
17. Make practice pieces before the final one

Top Make Practice Pieces Before The Final One Craft Tutorials
- 👓 Newbie making practice pieces to grow in craft from facebook.com.
- 🧑🌾 Please someone help, I lost the instructions and I can't find … from reddit.com.
- 🎨 What to do with craft practice pieces? from facebook.com.
- 🗺️ 12 Ways to Revive Your Creative Practice as a Crafter from thecraftblogger.com.
- 🎨 Woodworking and sign-making aren't just crafts—they're … from instagram.com.
Practice pieces help you test shape, texture, and size without pressure. They can be tiny, quick, and a little messy.
This is a smart way to learn because mistakes cost less on a small sample. You can see what works before spending time on the real sculpture. It is also a great habit if you want to keep your supplies under control.
Many new clay fans keep a box of practice heads, leaves, hands, or animal ears. These scraps can even become charms or test tiles later. Practice makes the final work feel more confident and less scary.
18. Clean up as you go

Top Clean Up As You Go Craft Tutorials
- 🍂 58 Easy Crafts for Adults That You'll Actually Use from purewow.com.
- 🎄 Arts and Crafts for Adults | Best in 2026 from classpop.com.
- 🧑🌾 19 Recycled Crafts for Kids from thesprucecrafts.com.
- 🍁 DIY CRAFTS FOR ADULTS from thehappyplanner.com.
- 🍁 Do you regret cleaning your craft space once you can't find … from instagram.com.
Clay bits can pile up fast on a busy table. A quick wipe now and then keeps your space easy to use.
Put scraps in one place, wash tools before clay dries on them, and brush dust away from your work. This saves time later and helps your piece stay neat. Clean habits also make the hobby feel more relaxing.
If you share your space with family, a tidy routine can make them happier too. It shows that clay time can be creative without being chaotic. A small cleanup habit is one of the easiest ways to enjoy sculpting more.
19. Add your own style early

Top Add Your Own Style Early Craft Tutorials
- 🖼️ HOW I STYLED CRAFTS IN MY 20'S from instagram.com.
- 🍅 50+ Crafts for Teens and Tweens They'll Actually Love from modpodgerocksblog.com.
- 🍂 Crafty Hobbies for 2025: Purposeful, Affordable, and Fulfilling from thecraftyangels.com.
- 🖼️ What's something you've outgrown in your crafting style? from facebook.com.
- 🍁 30 Best Crafts for Teens and Tweens – DIY from hgtv.com.
Your sculpture does not need to look like everyone else’s. Tiny choices can make it feel like yours from the start.
Maybe you like round cheeks, tiny freckles, long ears, or bold patterns. These personal touches make your work stand out in a sweet and memorable way. They also help you build a style that people can recognize later.
Current clay trends often mix cute shapes with simple details and soft colors. You can follow that style or change it to fit your taste. The best part is that your own ideas cost nothing and make the piece more special.
20. Keep making small projects often
Top Keep Making Small Projects Often Craft Tutorials
- 💅 20 fun and inspiring DIY projects for your next crafternoon … from facebook.com.
- 💅 Spring Into Creativity: 20 Easy DIY Craft Projects That Won … from instagram.com.
- 👓 Crafty Hobbies for 2025: Purposeful, Affordable, and Fulfilling from thecraftyangels.com.
- 👓 20 Simple & Fun Summer Crafts for Kids from crazylittleprojects.com.
- 🍅 Craft Projects from sometimes-homemade.com.
Regular practice is the fastest way to get better. Short projects are less scary and easier to finish.
Small items like beads, mini animals, and tiny dishes teach you a lot without using much clay. They also help you see progress fast, which feels exciting and keeps you going. Over time, your hands learn the shapes almost on their own.
Try setting a simple goal for each week, like making one new form or one new texture. You can keep the best pieces on a shelf or give them as gifts. A steady habit, even with low-cost supplies, can turn beginner clay time into a creative part of your day.

