Quilting stitches can make a quilt look calm or messy. Small choices in stitch work change the whole feel of the finished piece.
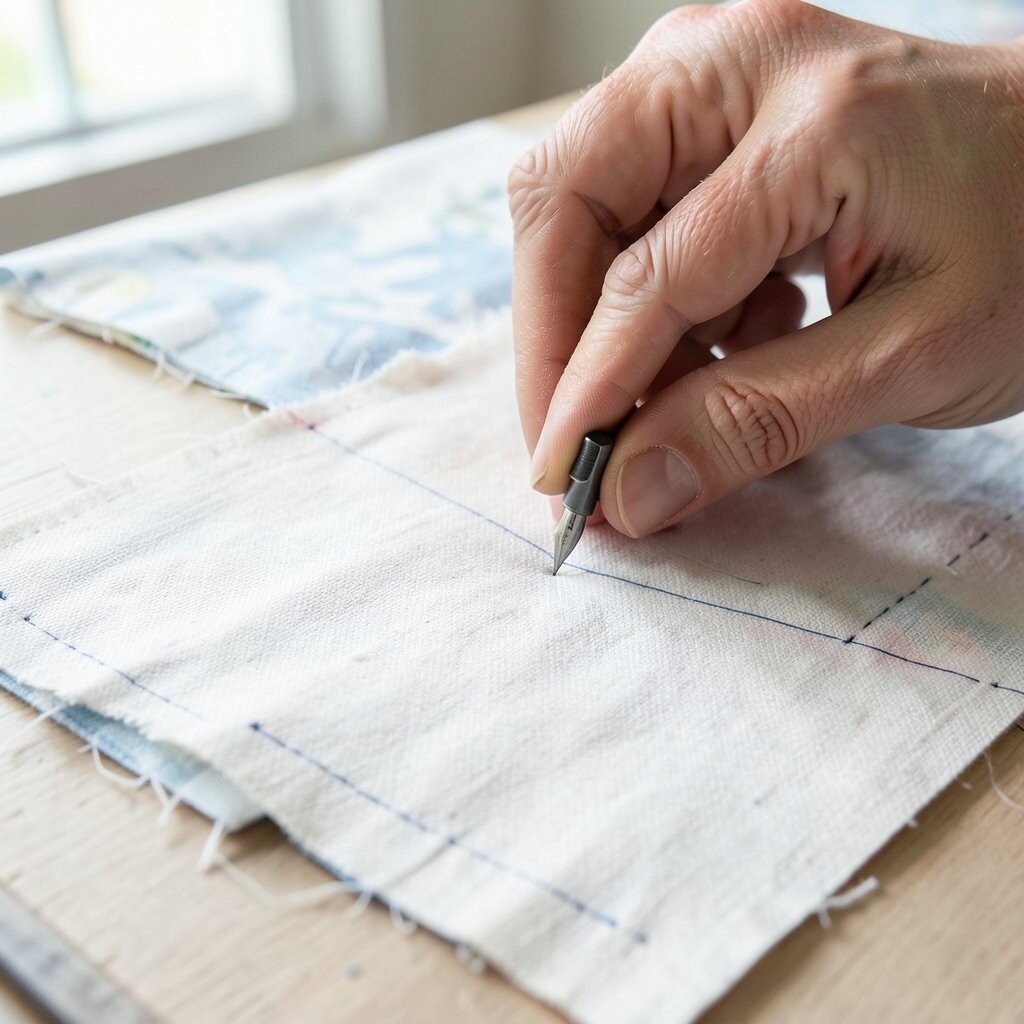
1. Using the Wrong Thread for the Fabric
Top Using The Wrong Thread For The Fabric Craft Tutorials
- 🎄 Am I using the wrong thread? : r/handquilting from reddit.com.
- 🖼️ Sashiko stitching with wrong thread type from facebook.com.
- 👓 Match thread to fabric value, not colour If you can't find an … from facebook.com.
- 👓 Selecting the right thread is one of my favorite things to do … from instagram.com.
Thread choice can make stitches sink in or stand out in a pleasing way. A shiny thread on a soft cotton top can look bold, while a matte thread can look quiet and smooth.
Many quilters grab any spool nearby, but that can lead to breakage, puckering, or dull lines. Match the thread weight and fiber to the fabric, and test a few stitches on scraps before you begin. If you want a cozy handmade look, cotton thread often feels right, while polyester can add strength for quilts that will be used a lot.
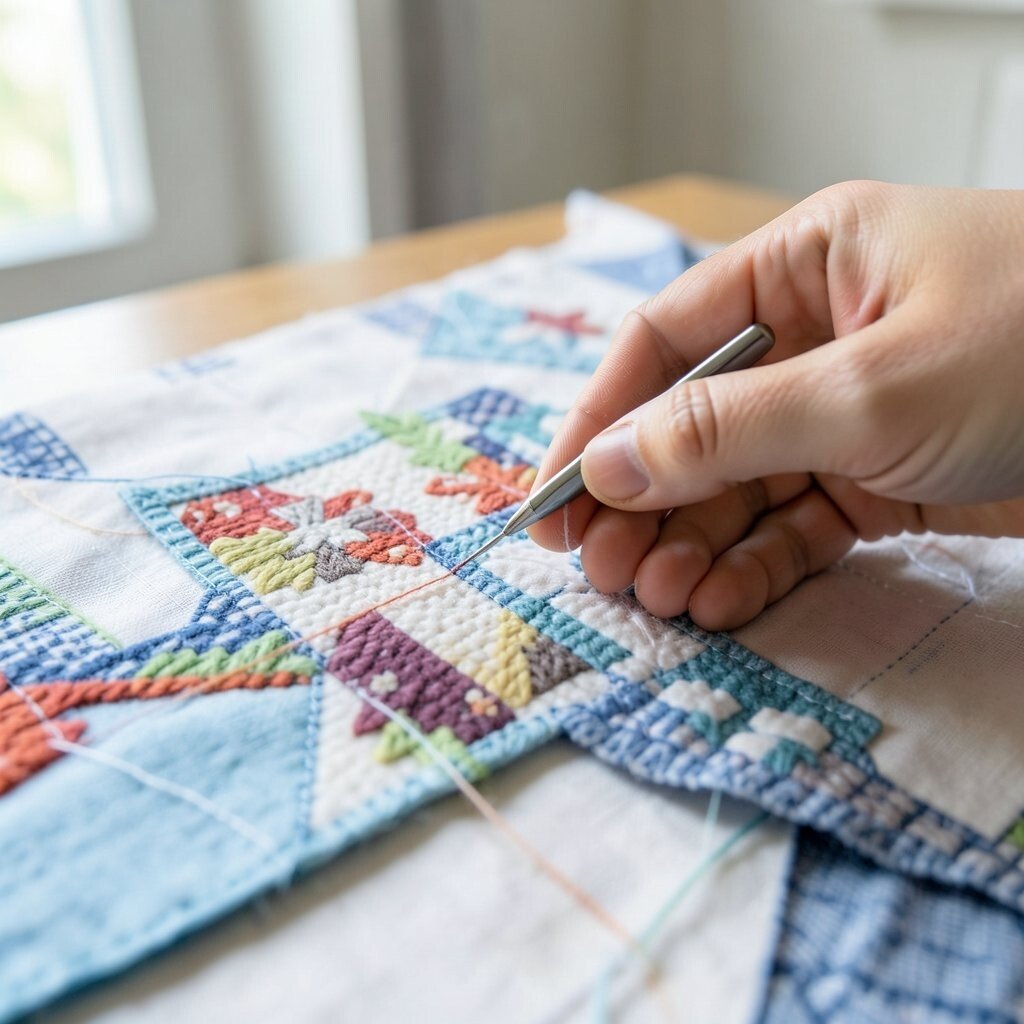
2. Skipping the Test Stitch on Scrap Fabric
Top Skipping The Test Stitch On Scrap Fabric Craft Tutorials
- 🍅 Testing stitches on scrap fabric before sewing from facebook.com.
- 🗺️ Skipping Stitches: Expert Solutions for Perfect Sewing Results from maggieframes.com.
- 🍁 Stitchcraft Saturday ✨ Testing your stitches on a piece of scrap … from instagram.com.
- 👓 Machine binding skipping stitches and I have tried … from reddit.com.
- 🖼️ Sewing tip ✂️ Always test stitch on scrap fabric before … from facebook.com.
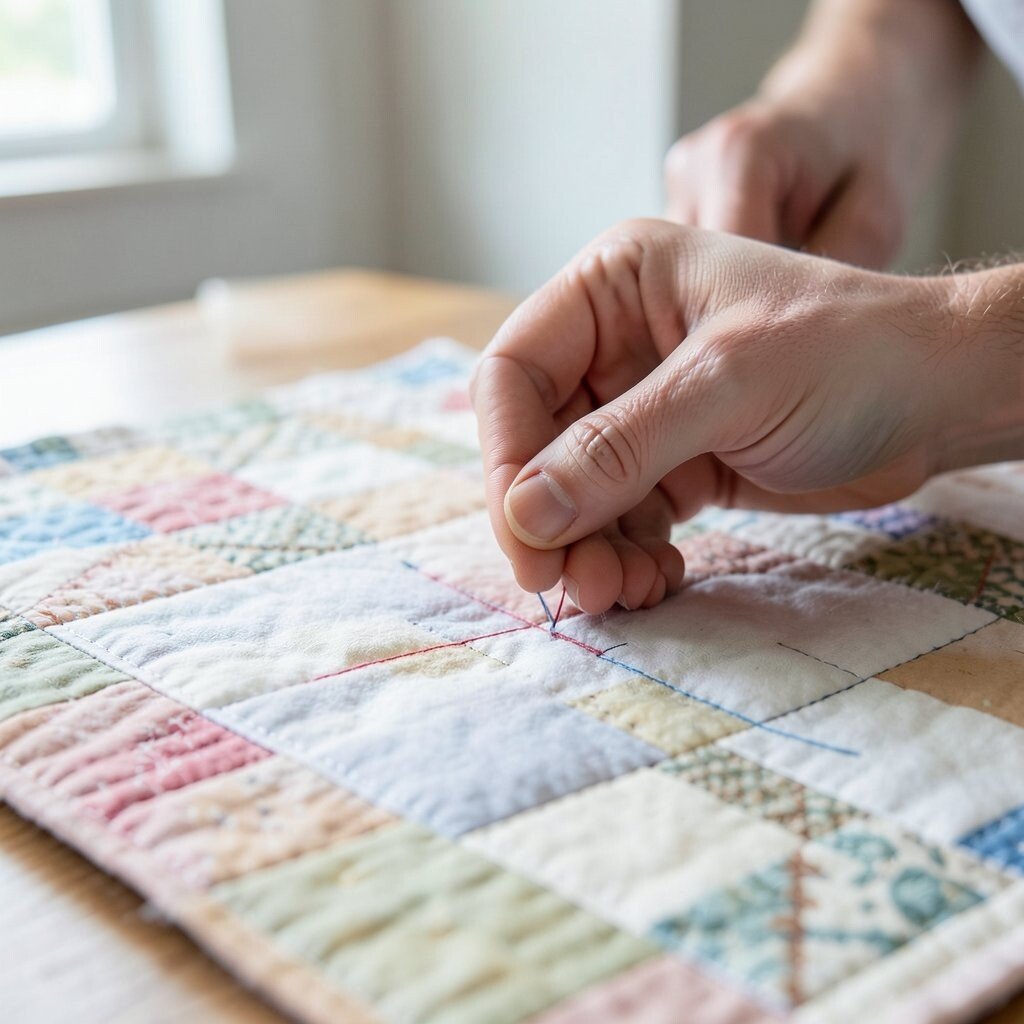
Test stitches save time because they show problems before they reach the quilt top. A small scrap can reveal tension issues, skipped stitches, or a line that looks too heavy.
This step also helps you see how the thread color blends with the fabric print. Try a few stitch lengths and note which one gives the cleanest edge and the nicest texture. Personal touches matter here, so keep a little sample card with your favorite settings for future quilts.
When quilters skip testing, they often end up unpicking long seams later. That extra work costs time and can wear out delicate fabric, so a quick scrap test is a smart habit.
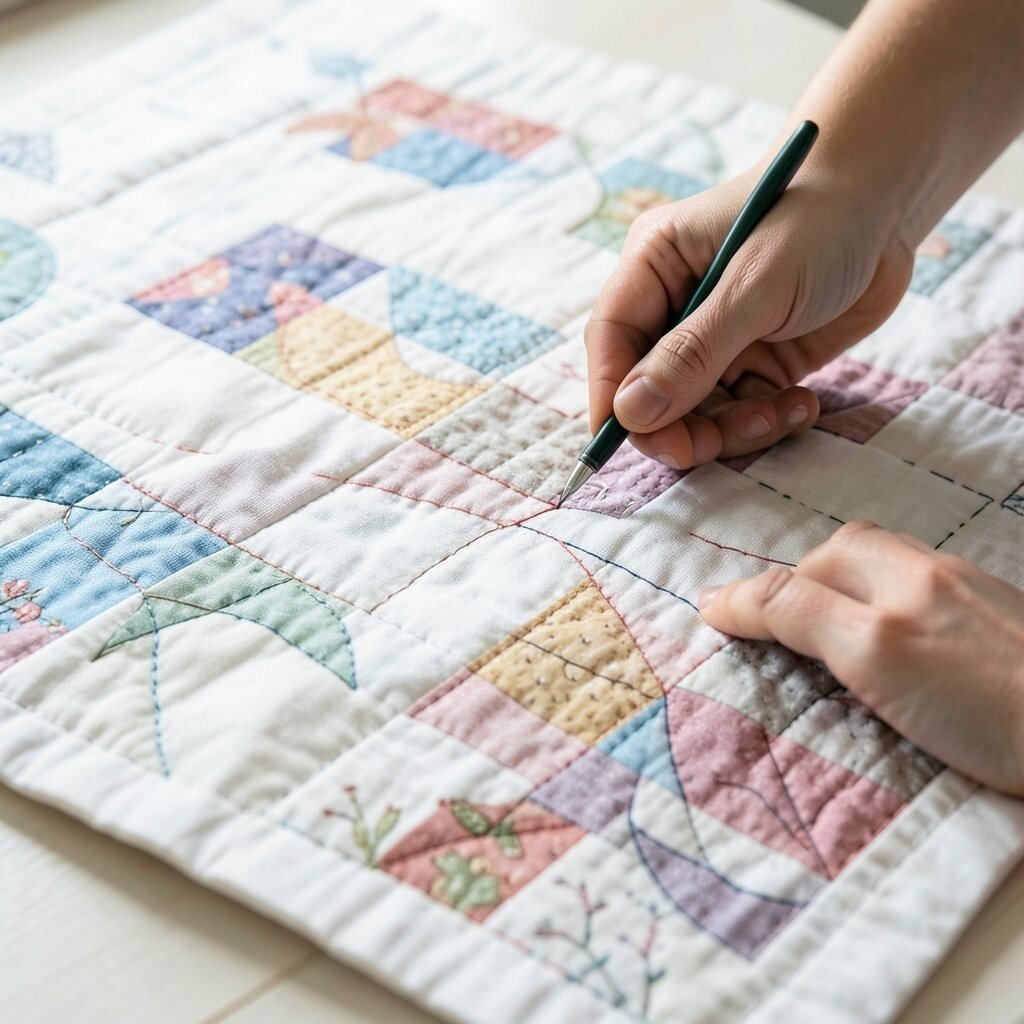
3. Choosing Stitch Length That Is Too Short or Too Long

Top Choosing Stitch Length That Is Too Short Or Too Long Craft Tutorials
- 🍁 Sewing Essentials: Stitch Width, Stitch Length & Needle … from blog.fabrics-store.com.
- 🍂 The Stitch Length Lowdown – The Quilted Cow Raymore from thequiltedcowraymore.com.
- 🍁 What is the preferred stitch length for quilting? from facebook.com.
- 🧑🌾 Understanding Stitch Length for Perfect Quilting Results from janomelife.wordpress.com.
- 🧑🌾 Please help me understand what stitch length and tension … from reddit.com.
Stitch length changes the whole mood of the quilt surface. Short stitches can look tight and busy, while long stitches can look loose and soft.
For most quilting stitch application, a medium length gives a neat line and steady strength. On bold modern quilts, a slightly longer stitch may look stylish and fresh. If you want a handmade, vintage feel, a shorter stitch can add charm, but too much of it may make the fabric stiff.
Use the quilt style as your guide and think about how the quilt will be washed and used. A table quilt may need a different stitch feel than a wall hanging, so choose with purpose.
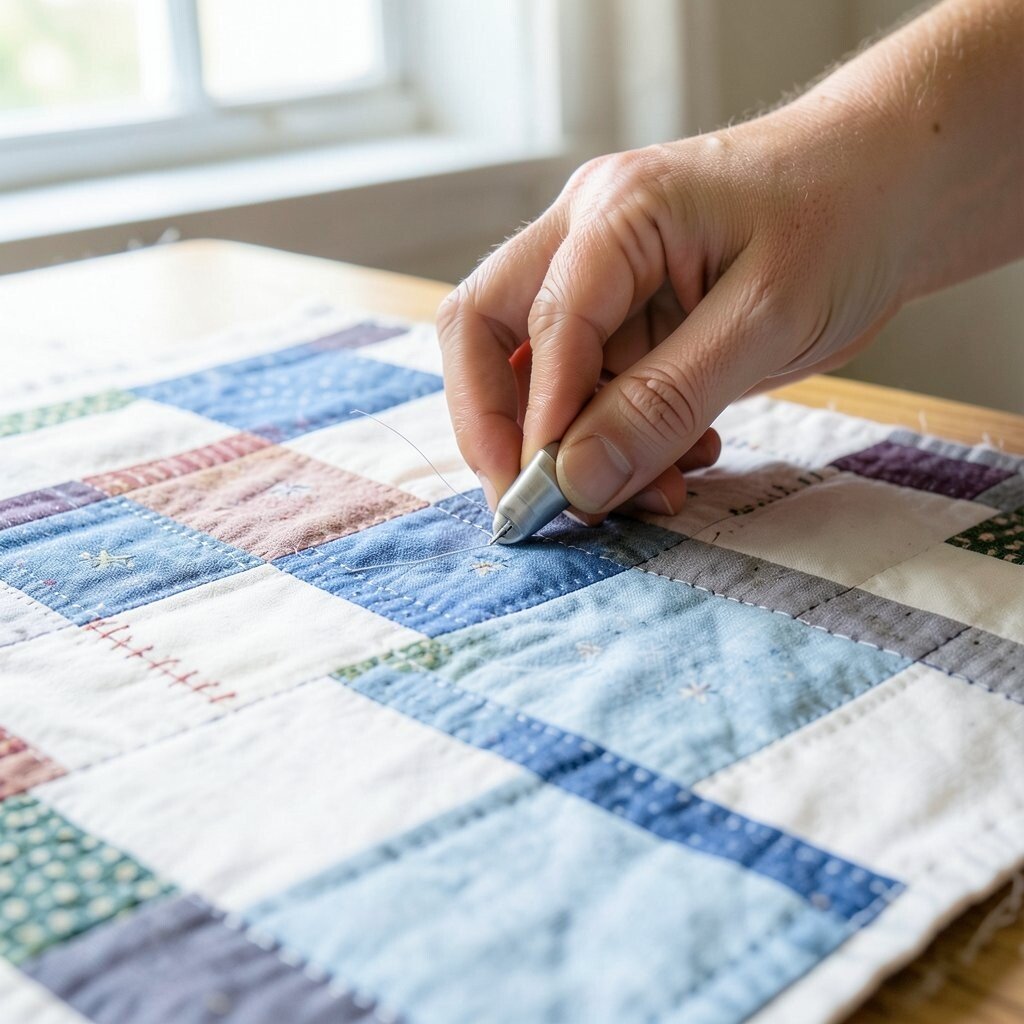
4. Ignoring Tension Problems
Top Ignoring Tension Problems Craft Tutorials
- 🎄 Knitting tips for beginners with tension issues? from facebook.com.
- 🧑🌾 Any tips on how to keep tension through work? from reddit.com.
- 🎄 How to Fix Skipped Stitches Quilting | Troubleshooting Guide from mrsquilty.com.
- 🧑🌾 How to Cure the Tension Headache Caused by Your Thread … from uhohembroidery.com.
- 🍁 Community Reinforcement and Family Training Support … from mirecc.va.gov.
Tension problems can make the top thread sit too high or the bobbin thread pull through. The result may look messy even if your stitch path is neat.
Check both the top and bobbin tension before you start a long quilting session. If the stitches look uneven, make tiny changes and test again on scrap fabric. Good tension gives a smoother finish, better durability, and a more polished look.
5. Not Matching Stitch Style to Quilt Design
Top Not Matching Stitch Style To Quilt Design Craft Tutorials
- 🎄 Easy quilting ideas for mismatched front and back? from facebook.com.
- 🖼️ Is this your kind of quilt style? from facebook.com.
- 🍂 Have you ever tried decorative stitches as a quilting design … from instagram.com.
Every quilt has its own voice, and the stitch style should support it. A soft floral quilt may call for gentle curves, while a sharp geometric quilt may shine with straight lines.
Mixing the wrong stitch style with the quilt design can make the whole piece feel confused. Think about the shapes in the fabric, the size of the blocks, and the mood you want to create. Many makers now enjoy modern echo quilting, free-motion swirls, or simple grid lines because each style gives a different kind of beauty.
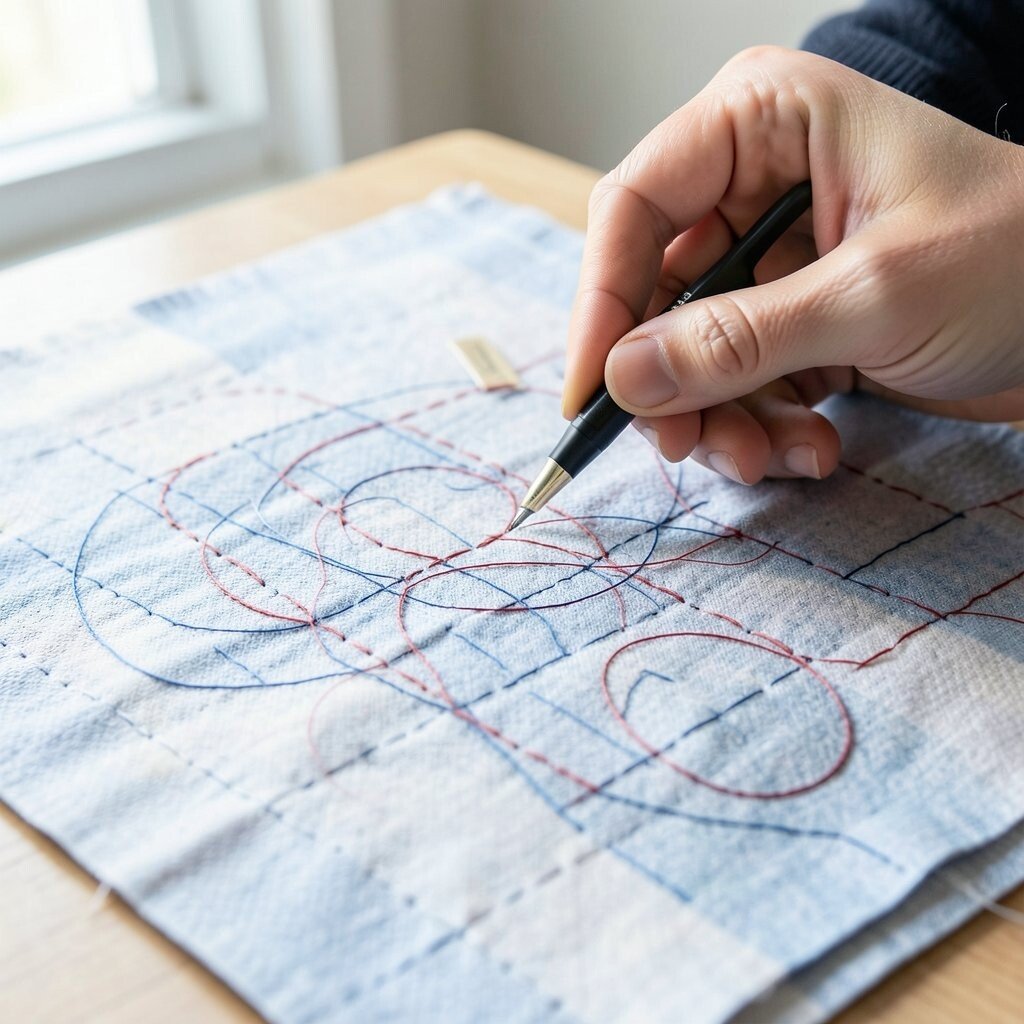
Try sketching the stitch path on paper before sewing. That small planning step can help you create a unique finish that feels personal and balanced.
6. Quilting Too Fast for the Material
Top Quilting Too Fast For The Material Craft Tutorials
- 🧑🌾 How to fix quilting tension issues and slow stitching on a … from facebook.com.
- 🗺️ How to Get Perfect Tension from karenbolan.com.
- 🍅 6 Tips for Straight Line Machine Quilting (a.k.a. Matchstick … from suzyquilts.com.
- 🍁 How to Free Motion Quilt: The Basic Motion and Tension from freemotionquiltingadventures.com.
Fast stitching can look exciting, but it often leads to wobbly lines and missed spots. Thick batting, slippery fabric, or many layers need a slower hand and steady control.
When speed takes over, curves can turn sharp and corners can fold the wrong way. Slow down near tricky places and guide the quilt with gentle hands. This careful pace creates cleaner lines, less stress on the machine, and a more elegant final look.
If you enjoy a relaxed sewing rhythm, put on music and work in short sessions. That simple habit can make quilting feel calm and can help you keep your stitches even.
7. Forgetting to Secure the Quilt Layers Well
Top Forgetting To Secure The Quilt Layers Well Craft Tutorials
- 🍅 How to Fix Quilting Mistakes and 7 Things You Might Be … from quiltingwemple.com.
- 👓 Pin Basting Methods – New Every Morning … from patchwork-quilting.co.uk.
- 🧑🌾 What is the best way to hold quilts in place for quilting? from facebook.com.
- 🧑🌾 How to Baste a Quilt – With Video from applegreencottage.com.
- 🍅 How to Baste a Quilt from suzyquilts.com.
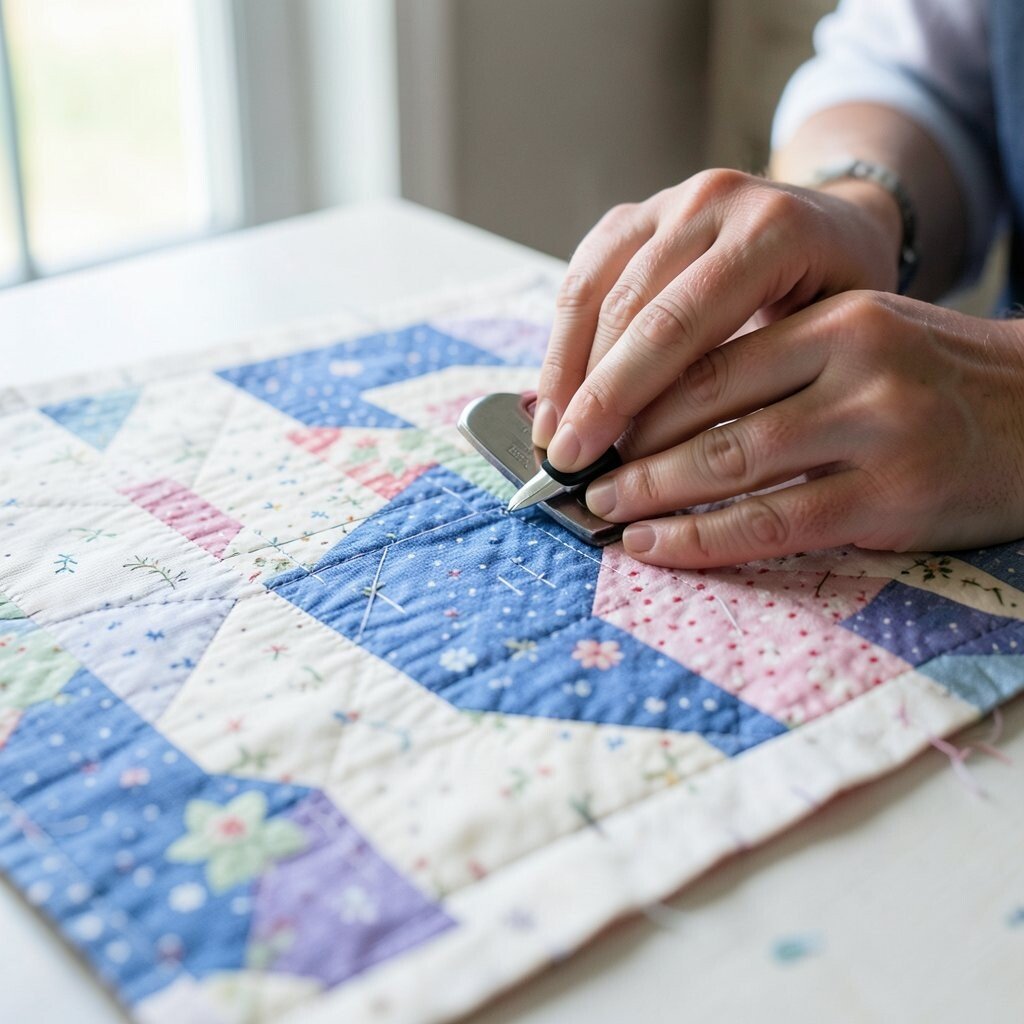
Loose layers can shift under the needle and ruin a beautiful stitch path. Basting, pinning, or using spray hold can keep the quilt sandwich flat and ready.
Without strong layer control, the top may pucker and the backing may wrinkle. That can make even careful stitch work look uneven. A well-secured quilt also feels easier to handle, which is a big help for beginners and for large projects.
Some quilters use pins for a low-cost option, while others like washable spray for speed. Pick the method that fits your budget, your space, and your comfort level.
8. Using Dull or Wrong Needles
Top Using Dull Or Wrong Needles Craft Tutorials
- 🎄 Needles. Part 2. How to understand that … from instagram.com.
- 🗺️ How do I recognize when a needle is dull? from facebook.com.
- 🎄 Hand Embroidery Needles: How to Choose Them & Use … from needlenthread.com.
- 🍂 Needles Guide from jjneedles.com.
- 🍁 Sewing Machine Needles Explained from madamsew.com.
A fresh needle can make stitches look cleaner right away. A dull one may snag the fabric, skip stitches, or leave tiny holes that show too much.
Needles come in different sizes and points, so the right choice depends on the fabric and thread. A sharp needle can help with tightly woven cotton, while a quilting needle may glide better through layered work. If you like a smooth, crisp finish, keep extra needles close by and change them often.
This is a small cost that pays off fast because good needles protect both your quilt and your machine. Many quilters also label needle packets by project type for easy planning.
9. Overcrowding the Design with Too Many Stitch Lines
Top Overcrowding The Design With Too Many Stitch Lines Craft Tutorials
- 🍅 How to handle crossing lines in sashiko stitching? from facebook.com.
- 🖼️ [WIP] Started a big project and my stitches are bumpy? Help! from reddit.com.
- 🍁 How Many Strands Should I Use? from needlenthread.com.
- 🗺️ Easy Yarn Art & Painting: DIY Textured Craft Ideas You'll … from lemon8-app.com.
- 🧑🌾 NatCroMo from mamas2hands.com.
Busy stitching can hide the fabric pattern and make the quilt feel heavy. Sometimes the prettiest choice is a simple line that gives the eye room to rest.
Too many stitch paths can also make the quilt stiff and harder to fold. Look at the fabric print, block size, and batting loft before adding more lines. Modern quilting trends often favor open space, clean grids, and bold negative space because they let the design breathe.
Personal style still matters, so you can add more detail in small areas and keep other parts calm. That mix can make the quilt feel special without looking crowded.
10. Not Planning the Back of the Quilt
Top Not Planning The Back Of The Quilt Craft Tutorials
- 🍅 Any tips for quilting without puckering the backing? from facebook.com.
- 🍅 10 Ways to Make a Quilt Back from aquilterstable.blogspot.com.
- 🍁 10 Quilt Backing Ideas – From Super Simple to … from scrapfabriclove.com.
- 🍅 Quilt-As-You-Go Quilt : 10 Steps (with Pictures) from instructables.com.
The back of the quilt matters as much as the front because stitches show there too. A neat backing can make the whole project feel thoughtful and well made.
If the backing fabric is too busy, stitch lines may disappear. If it is too plain, every wobble may stand out. Plan the backing with the same care as the top so the quilt looks good from both sides.
Some makers choose a bold backing for a playful surprise, while others pick a soft tone for a calm finish. Both choices can be beautiful when they match the quilt’s purpose.
11. Ignoring Comfort and Hand Position
Top Ignoring Comfort And Hand Position Craft Tutorials
- 🎄 Everything I've made since I started about 6 weeks ago. … from facebook.com.
- 🎄 How to Make 6-Pointed Paper Snowflakes from instructables.com.
- 🧑🌾 getting crafty with the kiddos 💫🫧 ignore my stuffy voice we … from instagram.com.
- 🧑🌾 How to Get Results Faster by Ignoring Pretty Much Everyone from proofreadanywhere.com.
- 🍁 Why Your Job Cover Letter Sucks (and what you can do to … from theprofessorisin.com.
Hand and body comfort affect stitch quality more than many people expect. If your shoulders are tight or your hands are cramped, your stitches may drift off line.
Set your chair, table, and machine so your body feels relaxed. Take short breaks, stretch your fingers, and keep your wrists in a natural position. Better comfort can lead to steadier stitching, less pain, and more time enjoying the craft.
Many quilters now use wrist rests, machine extension tables, or better lighting to make long sewing time easier. These tools can cost a little, but they often improve both speed and comfort.
12. Rushing the Final Press and Trim
Top Rushing The Final Press And Trim Craft Tutorials
- 🧑🌾 Bourbon Release Calendar from breakingbourbon.com.
- 🍂 There will NEVER be another. • 🫡 CollegeFBonX from instagram.com.
- 💅 Who else is rushing ( & failing ) making last minute gifts? from reddit.com.
- 🧑🌾 Cutesy Crafts from youtube.com.
- 🎨 Sarah Fraps' Post from linkedin.com.
Pressing and trimming may seem small, but they shape the final look in a big way. A well-pressed quilt shows stitches more clearly and sits flatter on the bed or wall.
Rushing this last stage can leave ripples, curled edges, or hidden thread tails. Press with care, trim stray threads, and check the surface under good light. These finishing steps help the quilt look neat, show off the stitch work, and feel ready for use or gift giving.
If you want a personal touch, press the quilt in sections and inspect each area as you go. That habit helps you catch tiny issues before they become part of the finished piece.