Quilting can feel calm, cozy, and surprisingly quick. A tiny stitch can change the whole look.
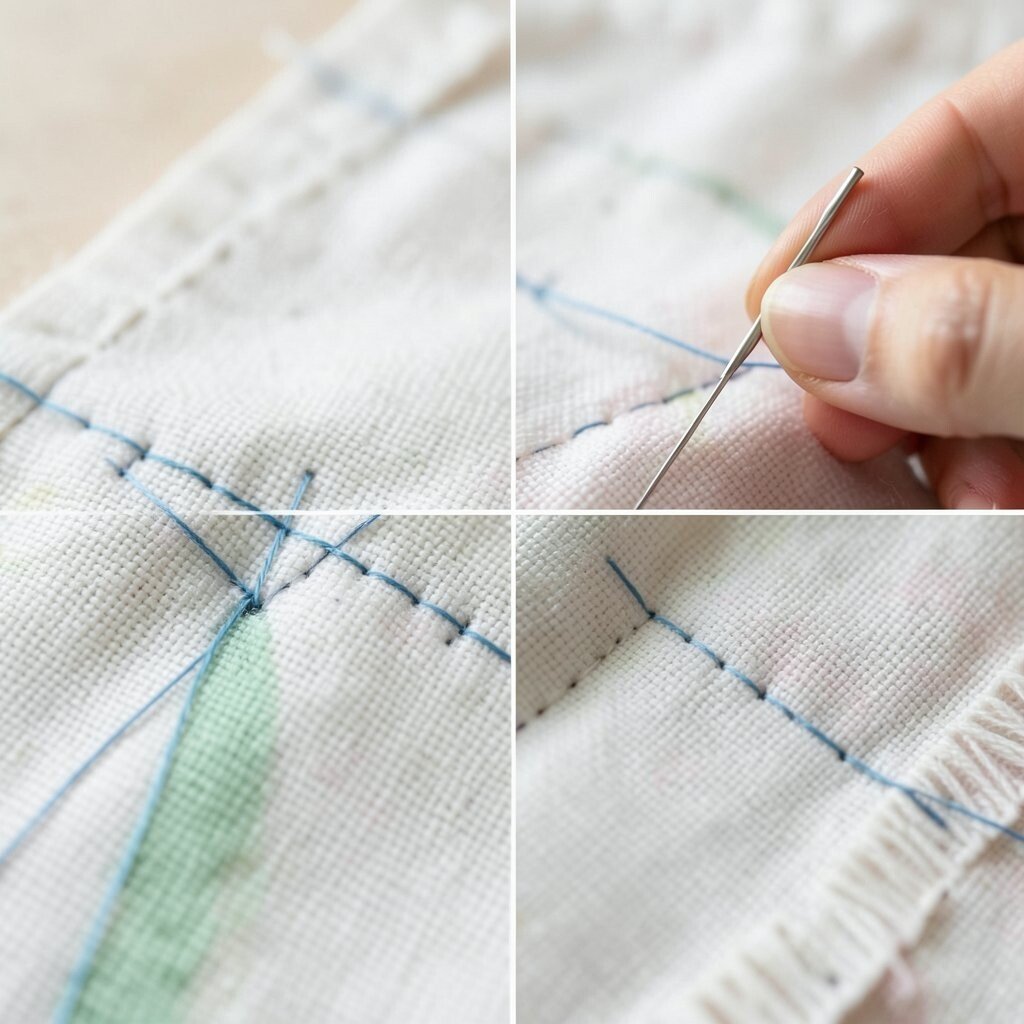
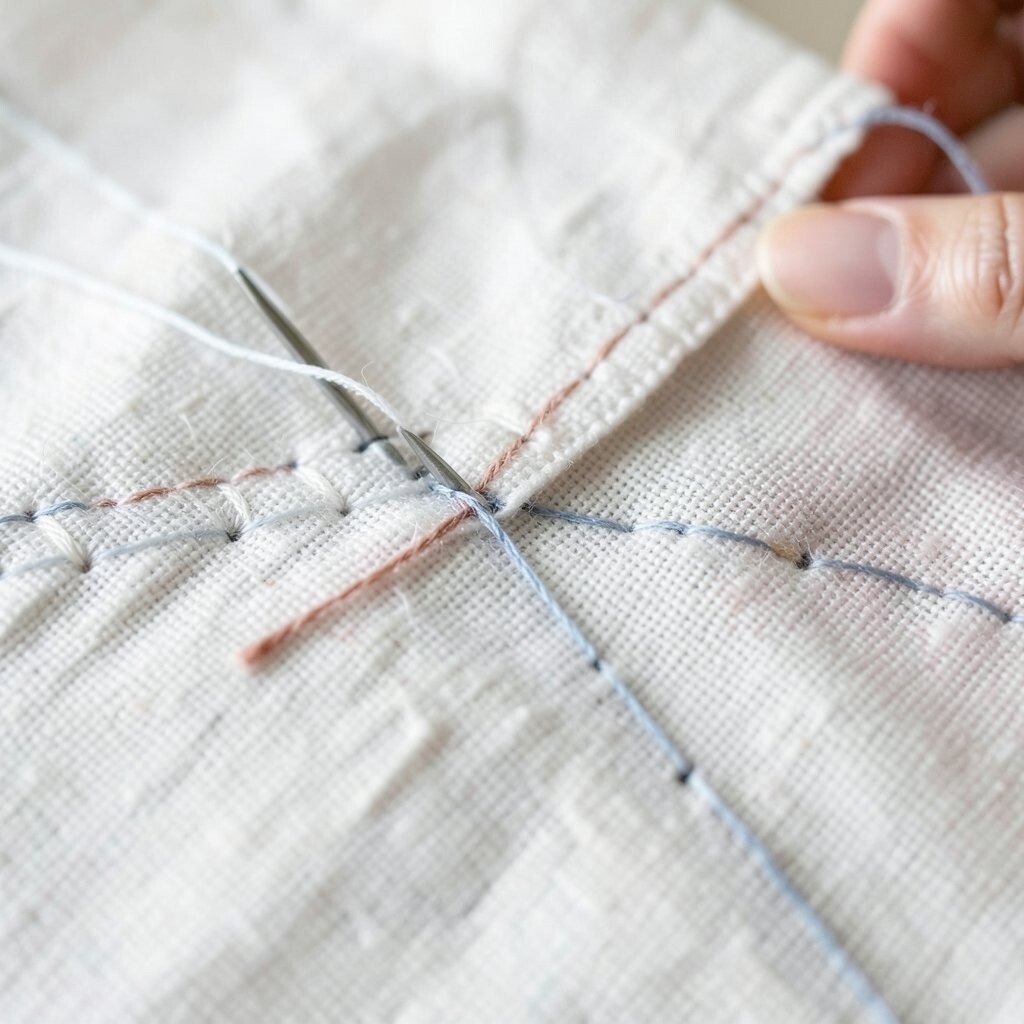
1. Simple Running Stitch
Top Simple Running Stitch Craft Tutorials
- 💅 Sewing the Running Stitch : 5 Steps from instructables.com.
- 🍅 Running stitch tutorial from stitchfloral.blogspot.com.
- 🎨 Running Stitch: An Easy Embroidery Stitch Tutorial from popshopamerica.com.
- 🍁 The Running Stitch | Sewing and Embroidery Basics from pastelcraftcafe.com.
- 🍁 Running Stitch – Learn This Modern Embroidery Technique from cleverpoppy.com.
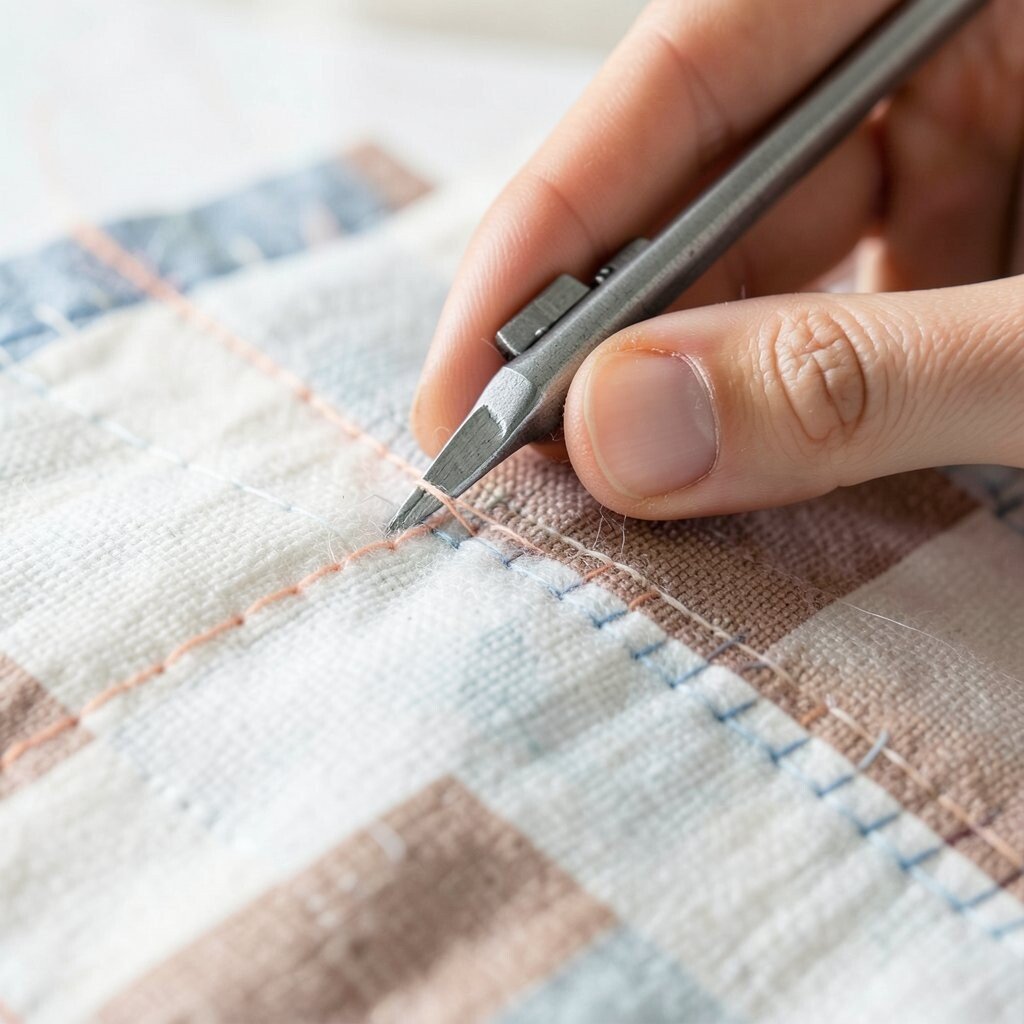
The running stitch is a classic that looks sweet on patchwork and hand-sewn edges. It makes a neat dotted line that feels soft and handmade.
Use a small needle and even thread to keep the dots tidy. This stitch is easy on the hands, so it works well for beginners and for fast mending jobs. It costs very little because you only need basic thread, a needle, and a thimble if you like one.
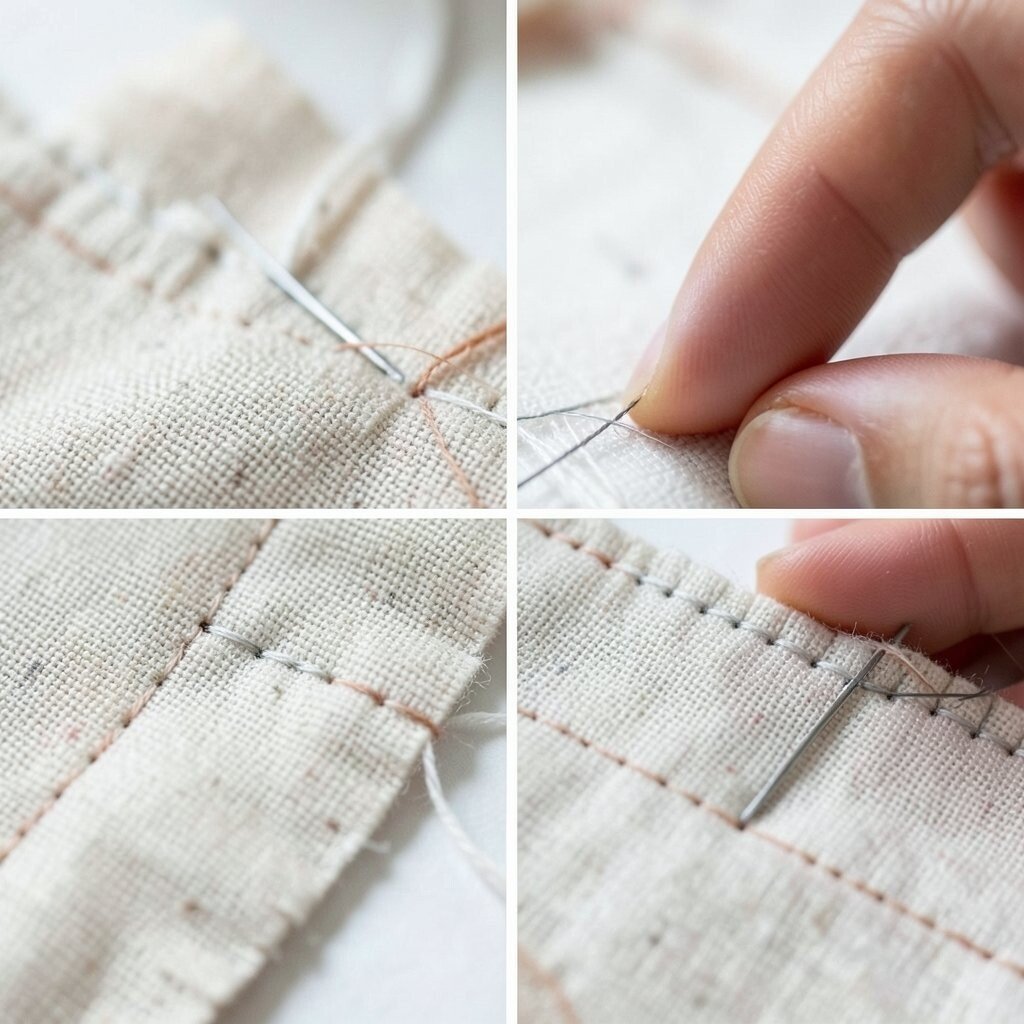
2. Backstitch for Strong Seams
Top Backstitch For Strong Seams Craft Tutorials
- 🎨 How to Backstitch by Hand from thesprucecrafts.com.
- 🍁 How to do the Back Stitch from embroidery.rocksea.org.
- 🎨 Couture Hand Stitches: The Backstitch and the Pickstitch from threadsmagazine.com.
- 🎄 How to Hand Sew a Back Stitch from onlinefabricstore.com.
- 🎨 Basic Hand Sewing: Back Stitch Seam from blossomsandposies.com.
The backstitch gives a firmer line that holds quilt pieces together with confidence. On the fabric, it makes a smooth, almost solid trail that looks cleaner than many simple hand stitches.
This stitch is great for spots that get pulled a lot, like bag handles or quilt labels. Try using it in a bright thread color for a bold edge, or match it to the fabric for a quiet look. Many makers enjoy it because it feels sturdy without needing fancy tools.
If you want a neat finish, keep your stitches short and even. A small hoop can help keep the fabric flat while you sew.
3. Blanket Stitch Edging
Top Blanket Stitch Edging Craft Tutorials
- 💅 Sewing the Blanket Stitch : 6 Steps from instructables.com.
- 🖼️ Blanket Stitching – Part 3 – Corners and Sewing 2 Pieces … from weefolkart.com.
- 🗺️ Blanket Stitch Edging: 19 Decorative Embroidery Techniques from practicalembroidery.eu.
- 🍅 Crochet Dot Border Stitch from daisyfarmcrafts.com.
- 🍅 Blanket Stitch – How To Sew (With Video) from craftpassion.com.
Blanket stitch gives a playful border that stands out right away. Its little loops make the edge look charming and a bit old-fashioned in the best way.
This stitch is useful for applique pieces and edge finishing. It is also a fun way to show off a contrast thread, which is a popular trend in handmade quilts right now.
For a personal touch, use a soft pastel thread on baby quilts or a bold color on wall hangings. Keep the spacing steady so the edge looks crisp and cheerful.
Because it uses simple supplies, it stays budget friendly and easy to start. Many quilters like it for its mix of beauty and usefulness.
4. Whip Stitch for Fast Joining
Top Whip Stitch For Fast Joining Craft Tutorials
- 🗺️ How to Whip Stitch Crochet Together (and anything else) in … from hanjancrochet.com.
- 🖼️ The Easy to Follow Guide on How to Whip Stitch [Tutorial] from funclothcrafts.com.
- 🍁 Hand-Sewing Basics: Easy Whipstitch Tutorial from diaryofanorthernbelle.com.
- 🍁 Video Tutorial: Whip Stitch Seaming from mooglyblog.com.
- 🗺️ How to Use the Whip Stitch in Crochet from hearthookhome.com.
Whip stitch wraps around the edge of fabric in a quick spiral. It looks tidy from the side and can almost vanish into the seam when you use matching thread.
This stitch is a smart pick for binding small pieces or joining folded edges. It saves time, which makes it perfect for a short sewing break after school, work, or chores.
5. Invisible Ladder Stitch
Top Invisible Ladder Stitch Craft Tutorials
- 🖼️ How to Sew the Ladder Stitch – Hand Sewing Tutorial from whatthecraft.com.
- 🍁 How to Do an Invisible Stitch (aka the Ladder Stitch) from theruffledpurse.com.
- 💅 Ladder Stitch Tutorial from happiestcamper.com.
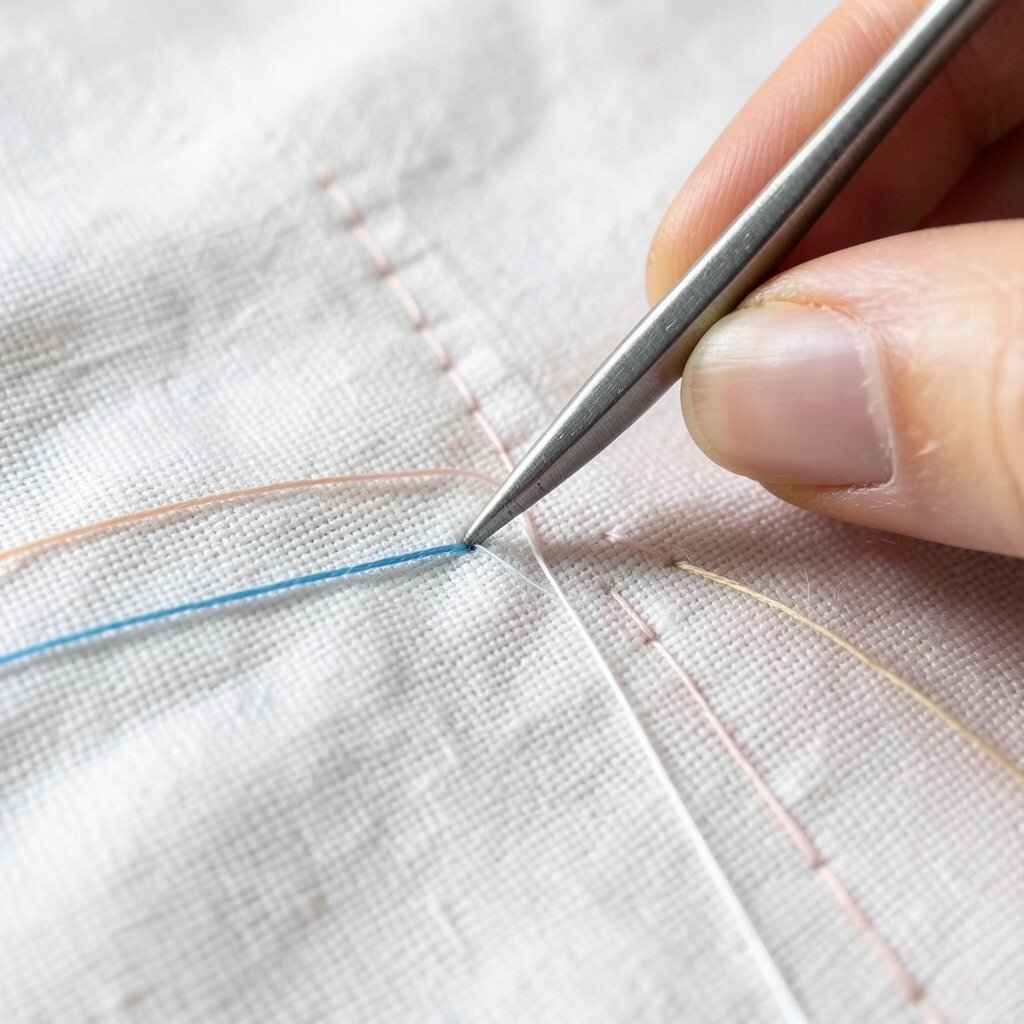
Ladder stitch is a neat trick for hiding seams inside soft projects. When done well, the stitches disappear and leave a smooth, clean look.
It works nicely for closing quilted pouches, stuffed shapes, and small repairs. Use fine thread and tiny bites of fabric so the seam stays hidden and polished.
Many makers love this stitch because it feels almost magical. It adds a high-end finish without high cost or special gear.
6. Cross Stitch Accent Lines
Top Cross Stitch Accent Lines Craft Tutorials
- 🖼️ How To Cross Stitch, With 29 Free Beginner's Patterns from craftpassion.com.
- 🖼️ Stitching coaster designs with long lines? from facebook.com.
- 🖼️ 54 Popular Needlepoint Stitches from thesprucecrafts.com.
- 🍅 10 Basic Embroidery Stitches Every Crafter Must Know from caydo.com.
- 🎨 10 Cross stitch types of stitches You Should Know from cross-stitched.com.
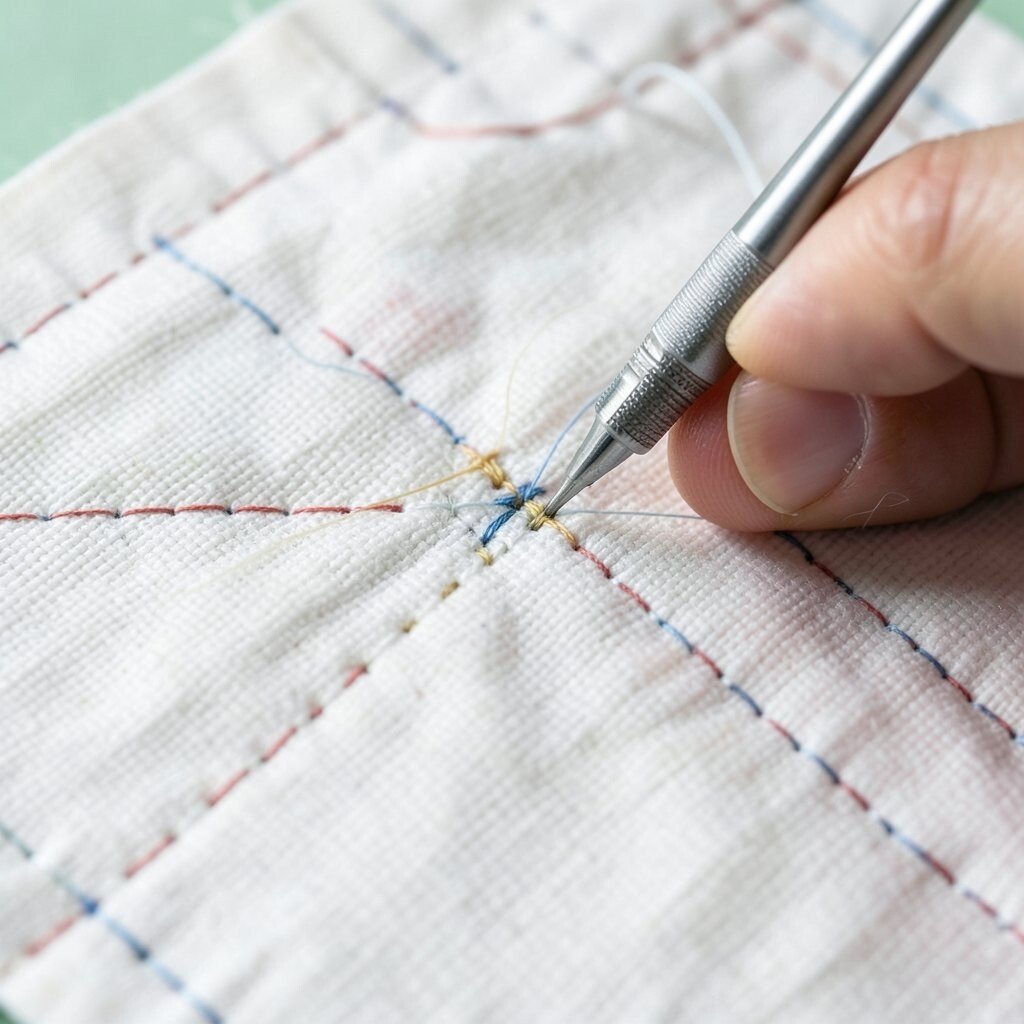
Cross stitch can add tiny X shapes that sparkle across a quilt block. The pattern gives a folk-art feel and makes plain fabric look lively.
This stitch is a fun way to mark corners, centers, or decorative borders. It also fits current handmade trends that favor bold texture and visible stitching.
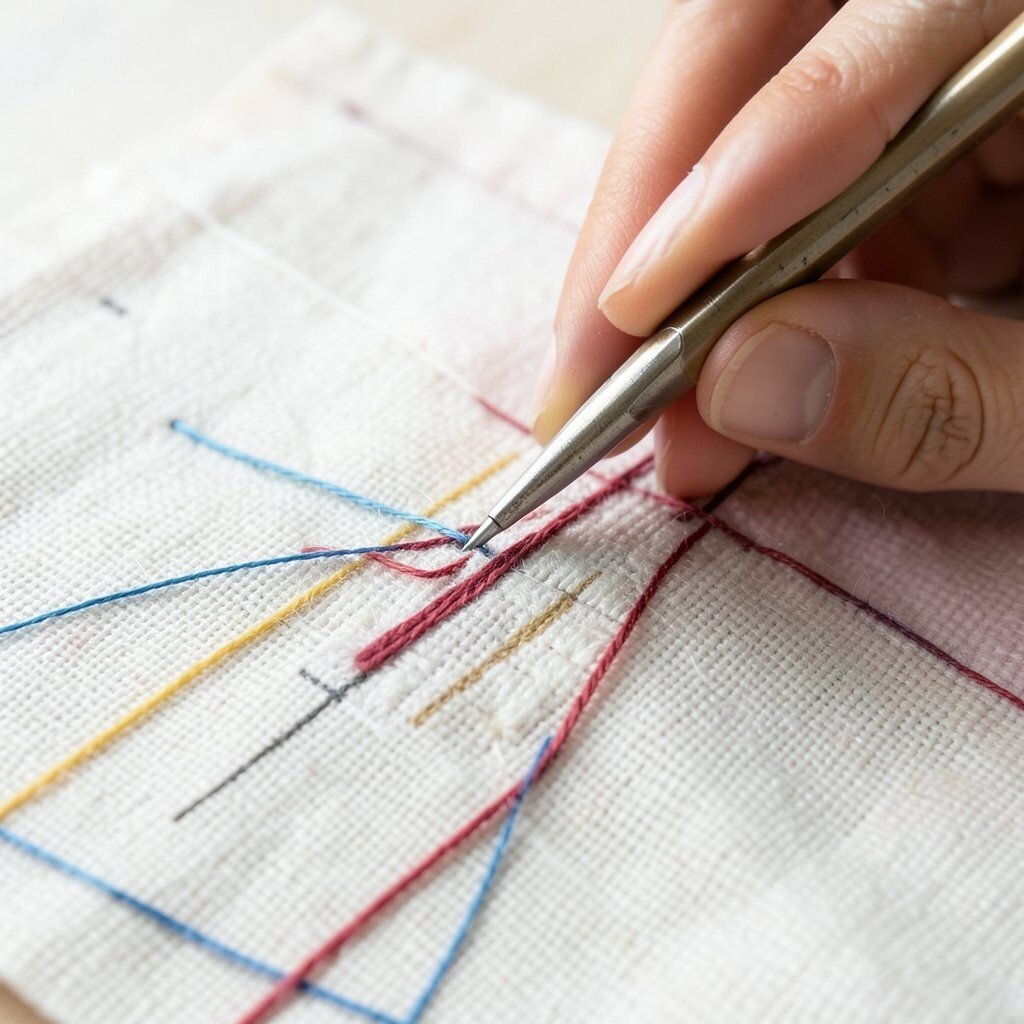
Pick one color for a calm look or mix colors for a bright patchwork feel. A simple pencil mark can help keep the X shapes lined up.
Because the stitch is easy to learn, it is a great choice for kids or new sewists. It can turn leftover thread into a pretty detail with almost no extra cost.
7. Herringbone Stitch for Fancy Texture
Top Herringbone Stitch For Fancy Texture Craft Tutorials
- 🍂 Fancy Herringbone Stitch from pintangle.com.
- 🖼️ Herringbone Stitch: from interweave.com.
- 🗺️ Day 7 of Stitch Series: Meet the Herringbone … from instagram.com.
Herringbone stitch makes a crisscross pattern that looks rich and woven. On a quilt edge, it adds movement and a lovely handmade feel.
This technique is useful for joining binding or decorating seams. It gives a bit more flair than a plain line stitch, yet it still works quickly once your hands learn the rhythm.
Try a thick thread for a bold look or a thin one for a delicate touch. You can also change thread color with each section to make the design feel more personal.
It is a nice choice when you want style without spending much. A few practice stitches on scrap cloth can make the whole job smoother.
8. Chain Stitch for Curvy Lines

Top Chain Stitch For Curvy Lines Craft Tutorials
- 🎄 8. Aari chain stitch practice straight line and curved line using silk … from youtube.com.
- 👓 How to do Heavy Chain Stitch from embroidery.rocksea.org.
- 🎨 Twisted chain stitch from hopebroidery.com.
- 🧑🌾 14 Chain Stitch Variations For Borders, Outlines, and … from practicalembroidery.eu.
- 🍂 Master These 8 Basic Embroidery Stitches for Beginners in 2026 from famcut.com.
Chain stitch forms linked loops that look soft and playful. It is a lovely match for vines, swirls, and flowing quilt designs.
This stitch stands out on solid fabrics because the looped shape is easy to see. It also feels current when used with bright embroidery floss on modern quilts.
For a custom touch, stitch a name, a flower stem, or a little border wave. Keep your loops the same size so the line looks balanced and neat.
The supplies are simple, so the cost stays low. A hoop can help keep the fabric steady while you build each loop.
9. Stem Stitch for Smooth Outlines
Top Stem Stitch For Smooth Outlines Craft Tutorials
- 🍅 Stem stitch – RSN StitchBank from rsnstitchbank.org.
- 🎄 Stem stitch crash course: everything you need to know from stitchfloral.blogspot.com.
- 🎨 How To Stem Stitch By Hand – – Polkadots & Blooms from polkadotsnblooms.com.
- 👓 Embroidery 101: Stem Stitch, Split Stitch, Chain Stitch, and … from mscleaver.com.
- 🧑🌾 What stitch to use for a smooth seamless outline? from reddit.com.
Stem stitch makes a tidy rope-like line that works well around shapes. It has a smooth, slightly twisted look that feels elegant on quilted art pieces.
Use it to outline flowers, leaves, or patch shapes with gentle curves. It is a favorite for people who want their stitching to look polished but not stiff.
Choose thread that blends in for a soft edge or contrasts for a bold frame. This stitch is easy to personalize with thick or thin lines, depending on the style you want.
It works well with low-cost supplies and tiny leftover thread bits. The clean finish can make simple fabric pieces look more special.
10. Feather Stitch for Soft Decoration
Top Feather Stitch For Soft Decoration Craft Tutorials
- 🍂 10 Hand Embroidery Stitches for Stems & Branches from needlenthread.com.
- 👓 How to Work a Feather Stitch – Cross Stitch from anniesattic.com.
- 🎄 A Guide to Feather Stitch Embroidery – Magnetic hoops from magnetichoop.com.
- 💅 10 Basic Embroidery Stitches Every Crafter Must Know from caydo.com.
- 🎄 Top 10 Embroidery Stitches Every Crafter Should Know from threadcollective.com.au.
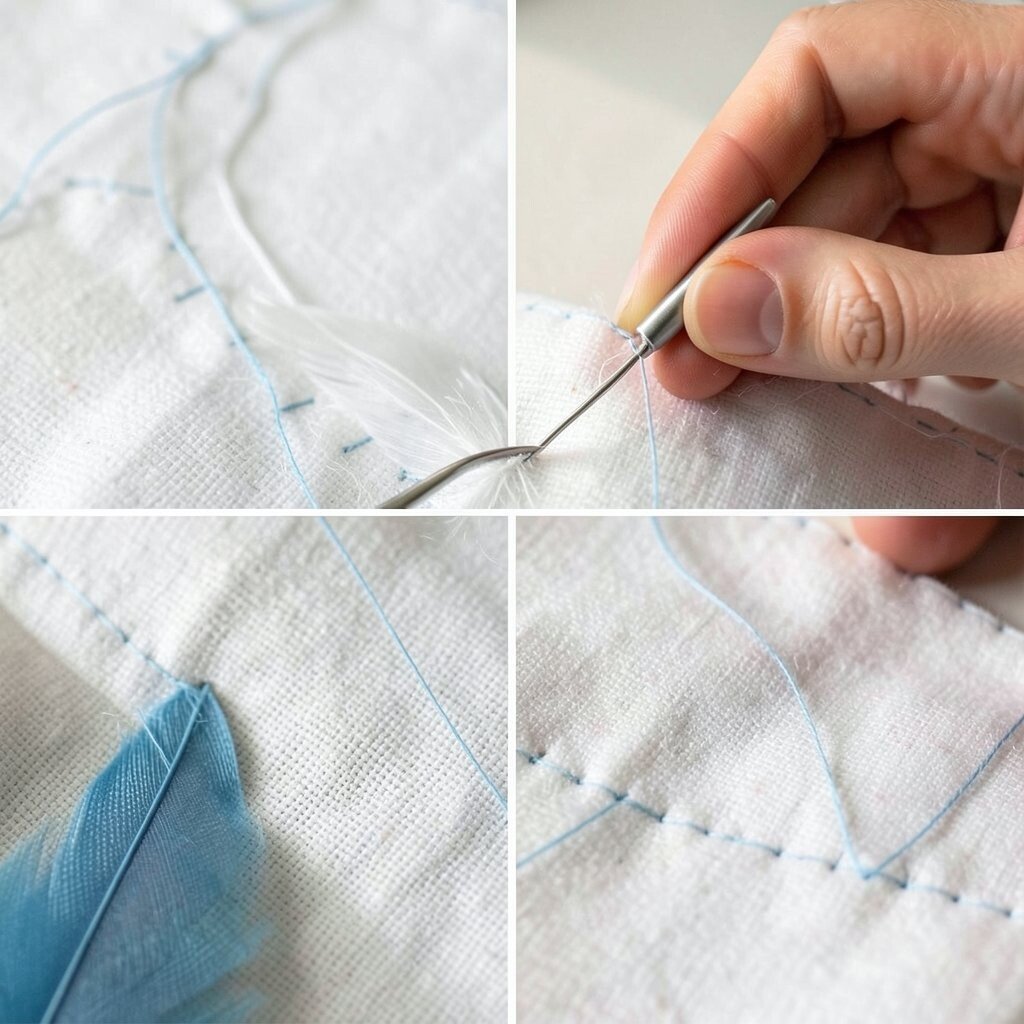
Feather stitch has a light, airy shape that looks like little branches or leaves. It brings a graceful feel to borders and quilt labels.
This stitch can make a plain seam look fancy without much effort. Many quilters like it because it adds texture while still keeping the fabric soft and flexible.
Use it in a single color for a classic look or mix shades for a springtime feel. It is a nice way to make a quilt feel personal, especially on gifts.
The stitch does not need pricey tools, just patience and a steady hand. A practice line on scrap fabric can help the pattern stay even.
11. Sashiko-Inspired Running Patterns
Top Sashiko-Inspired Running Patterns Craft Tutorials
- 🧑🌾 Free Sashiko Repeating Embroidery Patterns from thesprucecrafts.com.
- 💅 Sashiko: Simple Japanese Stitching from aplacebetweenthetrees.com.
- 🎄 Sashiko runner design and creation with combined patterns from facebook.com.
- 🍁 15+ sashiko embroidery patterns and tutorials from swoodsonsays.com.
- 🍂 Sashiko Inspired Quilt Blocks 11 from designsbyjuju.com.
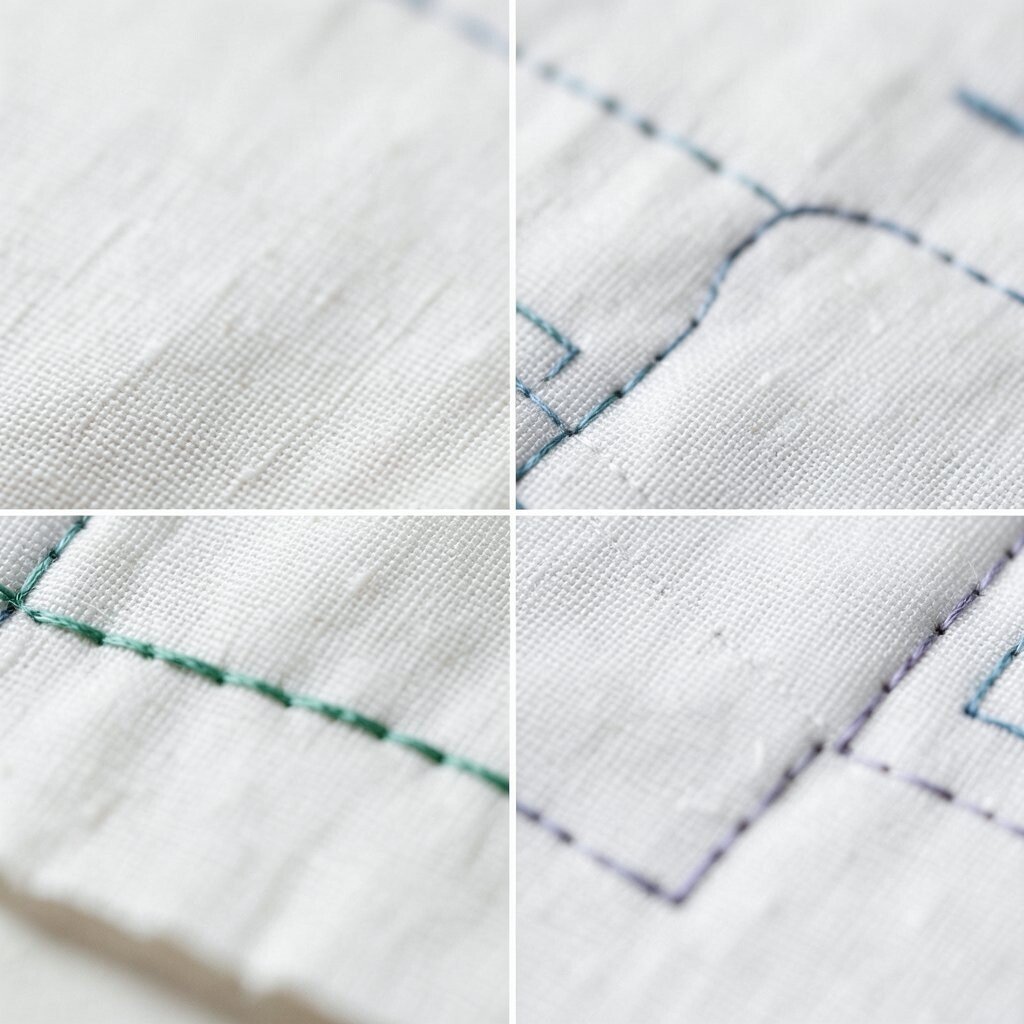
Sashiko-inspired stitching brings bold, simple lines that feel calm and modern. The repeated marks create a neat grid or wave that looks clean on cotton fabric.
This style is popular because it mixes beauty with function. It can strengthen quilt layers while giving the surface a fresh, graphic look.
Use white thread on dark cloth for a striking effect, or try soft blue for a classic feel. Marking lines with chalk can help keep the pattern straight and stylish.
It is also a good way to use affordable cotton scraps. A small amount of thread goes a long way, which makes the technique kind to your sewing budget.
12. Crossed Darning Stitch
Top Crossed Darning Stitch Craft Tutorials
- 🖼️ Mending Patterns – DMC from dmc.com.
- 🎄 Darning Stitch Embroidery from japanese-creative-books.com.
- 🎄 Darning Stitch Embroidery, Nyz from folkcostume.blogspot.com.
- 🍂 Needle weaving pattern darning and cross stitch from facebook.com.
- 🎨 ✖️Crossed blanket stitch is one of the many decorative … from instagram.com.
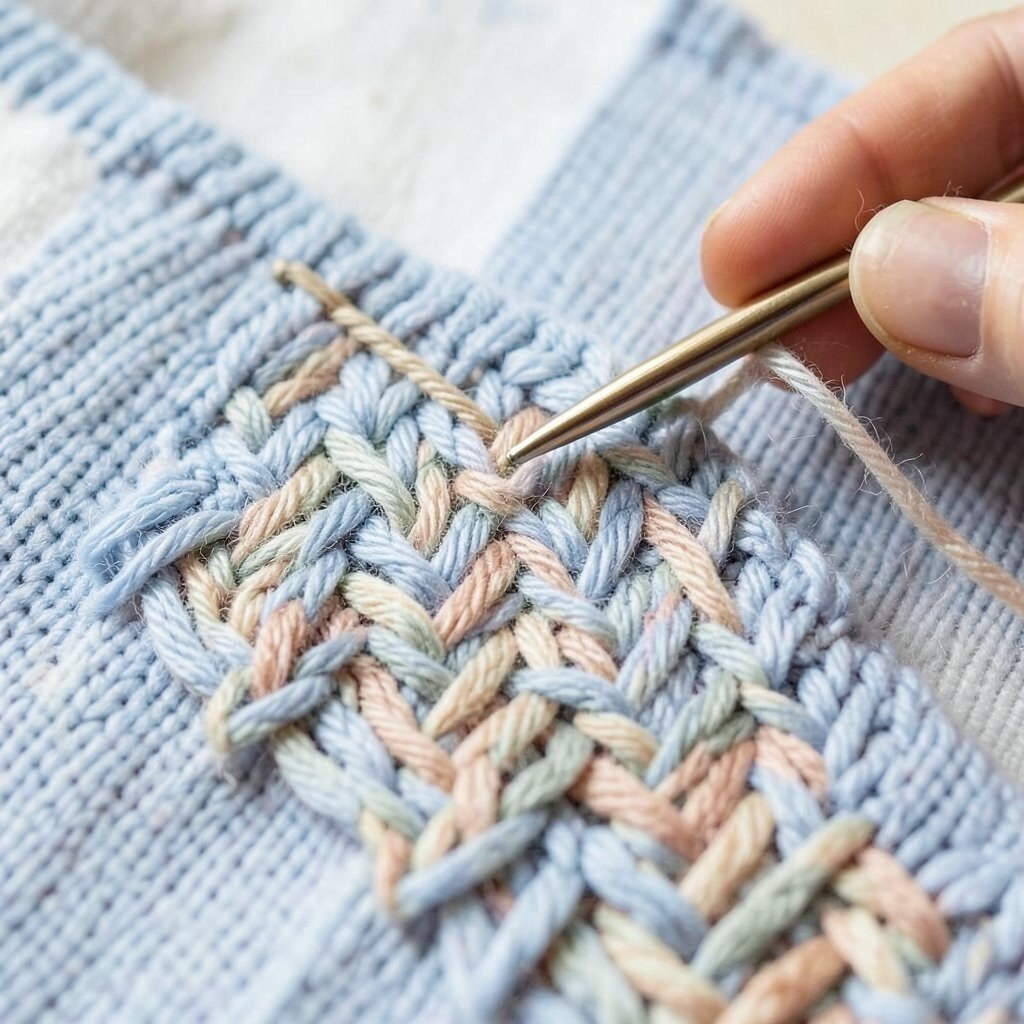
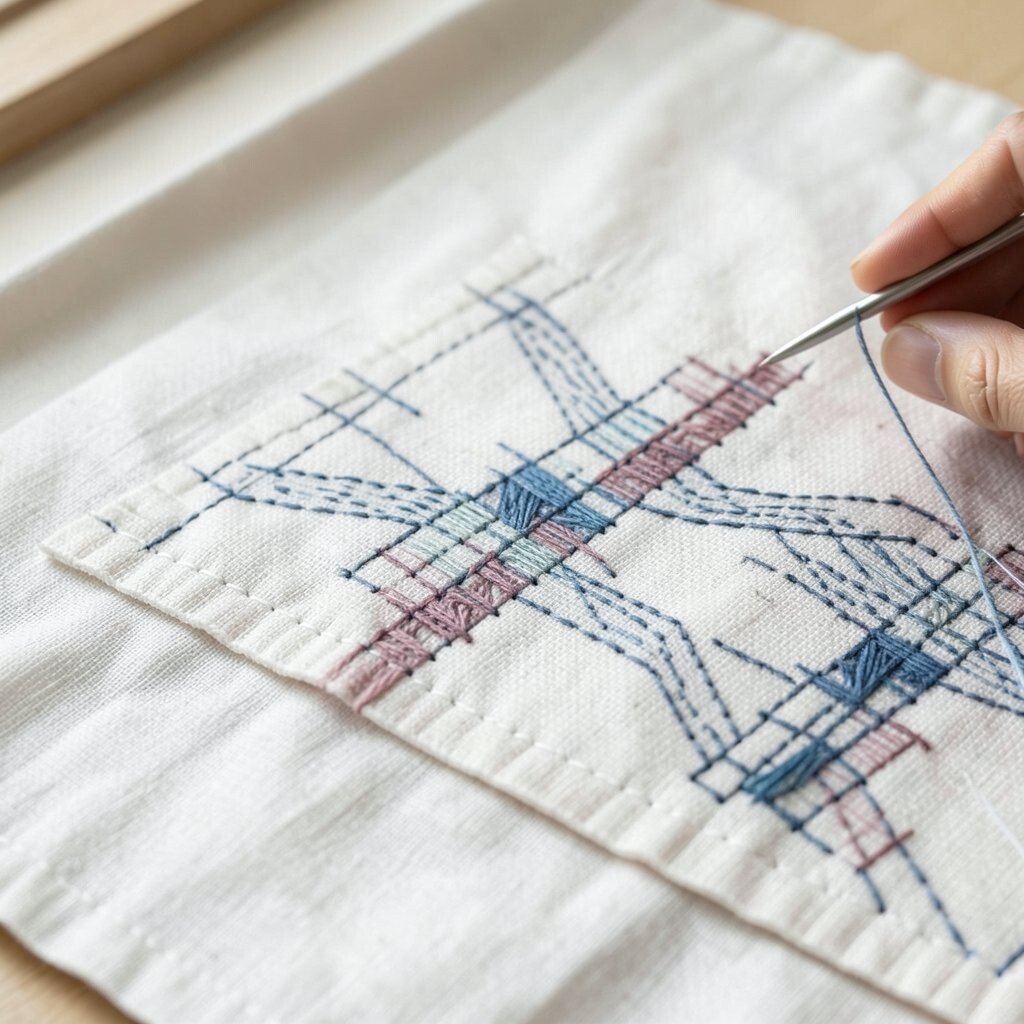
Crossed darning stitch makes a woven pattern that can fill small spaces with charm. It looks a little like tiny fence slats crossed over each other.
This stitch is useful for mending worn spots or decorating plain areas. It gives old fabric new life and fits well with the slow-sewing trend many crafters enjoy.
Try it in a single shade for a soft patch or in two colors for a lively grid. You can also shape it into diamonds, bars, or small blocks.
Because it works with scraps and basic thread, the cost stays low. It is a neat choice when you want both repair and decoration in one step.
13. Fly Stitch for Tiny Leaf Shapes
Top Fly Stitch For Tiny Leaf Shapes Craft Tutorials
- 🎨 Faux Fly Stitch: A Tutorial from needlenthread.com.
- 🎨 Leaf Sampler – Part 1, Fly Stitch from annascottembroidery.blogspot.com.
Fly stitch makes little V shapes that can look like leaves, wings, or petals. It adds a light, graceful touch to quilt blocks and borders.
This stitch is nice for filling open spaces without making the design feel crowded. It gives a soft, handmade look that feels sweet on baby items and wall quilts.
Use one color for a calm pattern or repeat several colors for a garden feel. A few well-placed fly stitches can make a simple design seem full of life.
It is easy to practice and does not need special tools. That makes it a friendly choice for anyone sewing on a small budget.
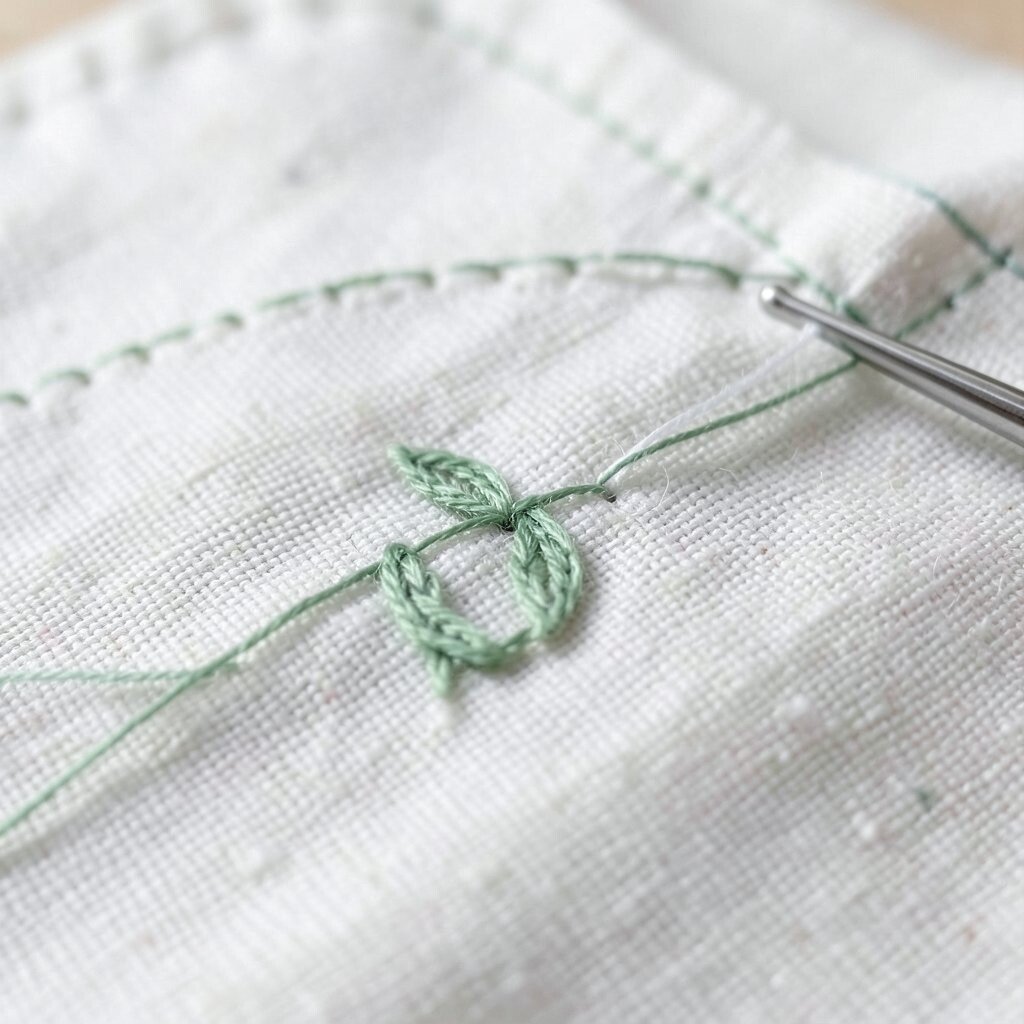
14. Lazy Daisy Stitch
Top Lazy Daisy Stitch Craft Tutorials
- 🍁 How to do Lazy Daisy Stitches from paraffle.com.
- 🎄 Lazy daisy stitch – embroidery how-to, quick video, and … from penguinandfish.com.
- 🍂 How to do the Lazy Daisy from embroidery.rocksea.org.
- 🧑🌾 How To Sew Lazy Daisy Stitch from awilson.co.uk.
Lazy daisy stitch forms tiny looped petals that look cheerful and bright. It is a charming way to add flowers, stars, or simple accents.
This stitch is quick to learn and very useful for personal touches. Many people like it for quilt labels, children’s quilts, and spring-themed projects.
Try making one flower in each corner or a line of petals along a border. You can switch thread colors to match a season, a room, or a favorite outfit.
The look is sweet, and the cost is low because the stitch uses only a little thread. It is a great pick when you want something cute in just a few minutes.
15. Split Stitch for Fine Lines
Top Split Stitch For Fine Lines Craft Tutorials
- 💅 How to do the Split Stitch Embroidery: Hand … from createwhimsy.com.
- 🖼️ Split stitch – RSN StitchBank from rsnstitchbank.org.
- 🍂 Branching Out with Split Stitch from needlenthread.com.
- 🍁 How-To: Split Stitch for Hand Embroidery from sublimestitching.com.
- 🎨 15 Basic Line Stitches for Embroidery from adventuresofadiymom.com.
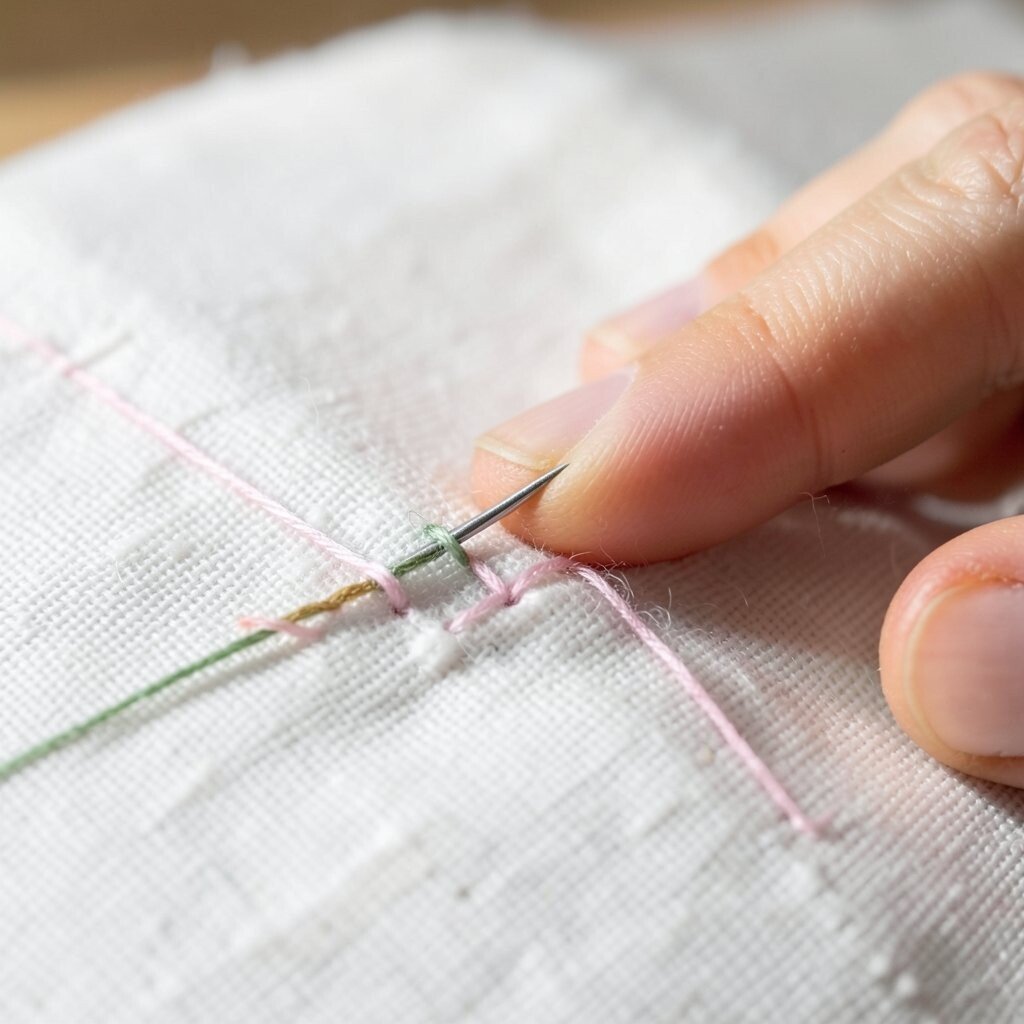
Split stitch creates a smooth line that looks almost braided. It works well for fine outlines and small details that need a tidy finish.
This stitch is especially nice on quilt labels and decorative lettering. It gives a clean, hand-drawn feel that fits both classic and modern styles.
Use it with a single thread for delicate work or thicker floss for a bolder edge. Matching thread makes the line quiet, while contrast thread makes it pop.
It is a smart choice if you want a polished look without spending much. A sharp needle helps the thread split neatly and keeps the stitch even.
16. Couching for Bold Thread Lines
Top Couching For Bold Thread Lines Craft Tutorials
- 🧑🌾 Couching Stitch Embroidery: Types, Techniques & Designs from needlework-tips-and-techniques.com.
- 🍁 April Stitch Spotlight: Couching Stitch Ready to add texture … from instagram.com.
- 💅 Create a Couched Embroidery Design – Threads Magazine from threadsmagazine.com.
- 🍁 Create Bold Embroidery in My Design Center from moores-sew.com.
- 🧑🌾 Post | Minerva from minerva.com.
Couching lets you lay a thicker thread or yarn on top of fabric and tack it down. The result is bold and textured, almost like drawing with thread.
This technique is a favorite in modern quilting because it makes strong lines fast. It also works well with leftover yarn, ribbon, or decorative thread, which can save money.
Try couching around a shape or across a border for a fresh look. You can use tiny stitches in matching thread so the holding line blends in.
For a personal twist, choose shiny thread, wool yarn, or even two colors twisted together. The design can feel very custom without needing expensive supplies.
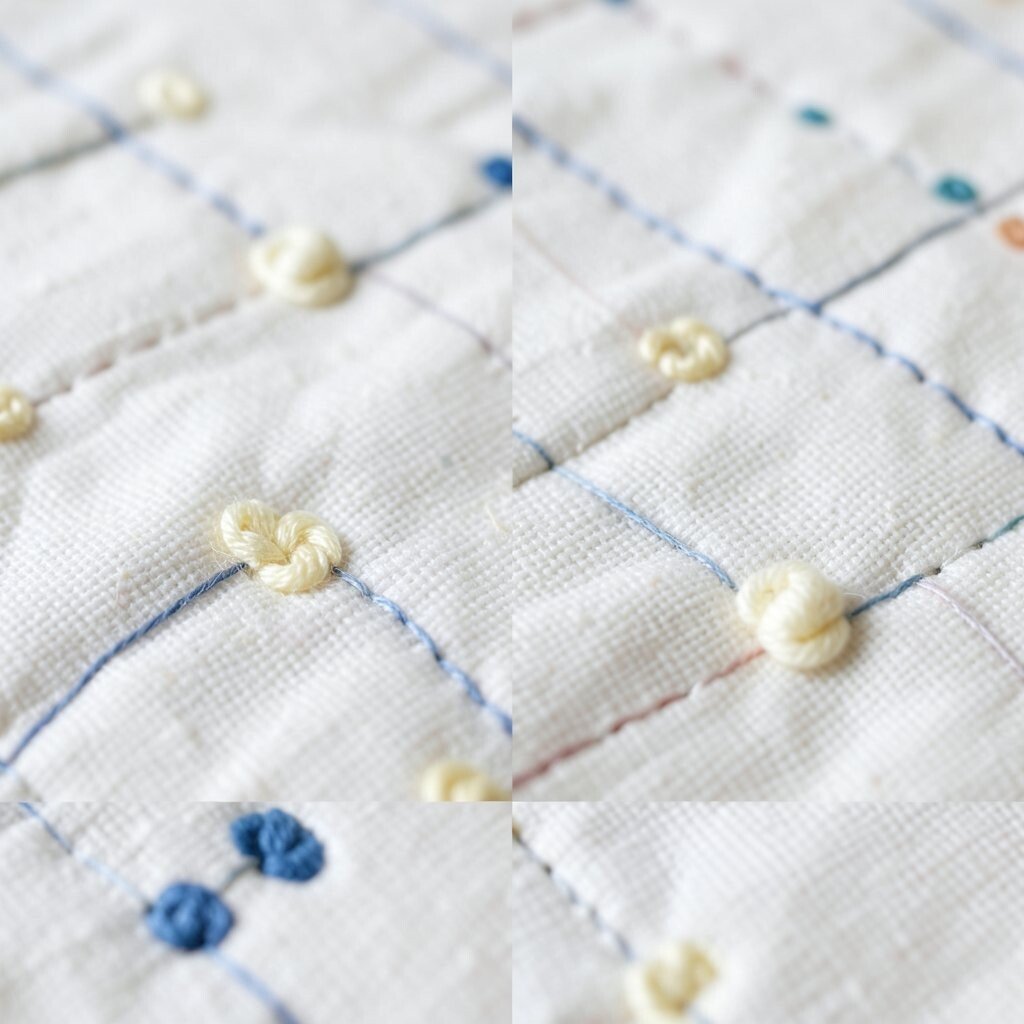
17. French Knot Dots
Top French Knot Dots Craft Tutorials
- 🎄 How to Do French Knots: Complete Step-by-Step Guide 2025 from crossstitchboutique.com.
- 💅 French Knot from purlsoho.com.
- 🗺️ 5 Tips for Successful French Knots – Every Time! from needlenthread.com.
- 🎨 This embroidery on canvas has hundreds of French knots. from facebook.com.
- 🍁 Floating French knot dots French knots and watercolor 8×8 … from instagram.com.
French knots make tiny raised dots that add sparkle and texture. They look like berries, flower centers, or little beads stitched into cloth.
This stitch is perfect when you want a quilt to feel lively up close. It works well on labels, accent blocks, and small decorative panels.
Keep the knot size small for a neat look or make it larger for a playful style. A mix of colors can make the surface feel bright and happy.
French knots use only thread and a needle, so they are a low-cost way to add charm. They are also a fun way to use up short thread ends that might otherwise go unused.
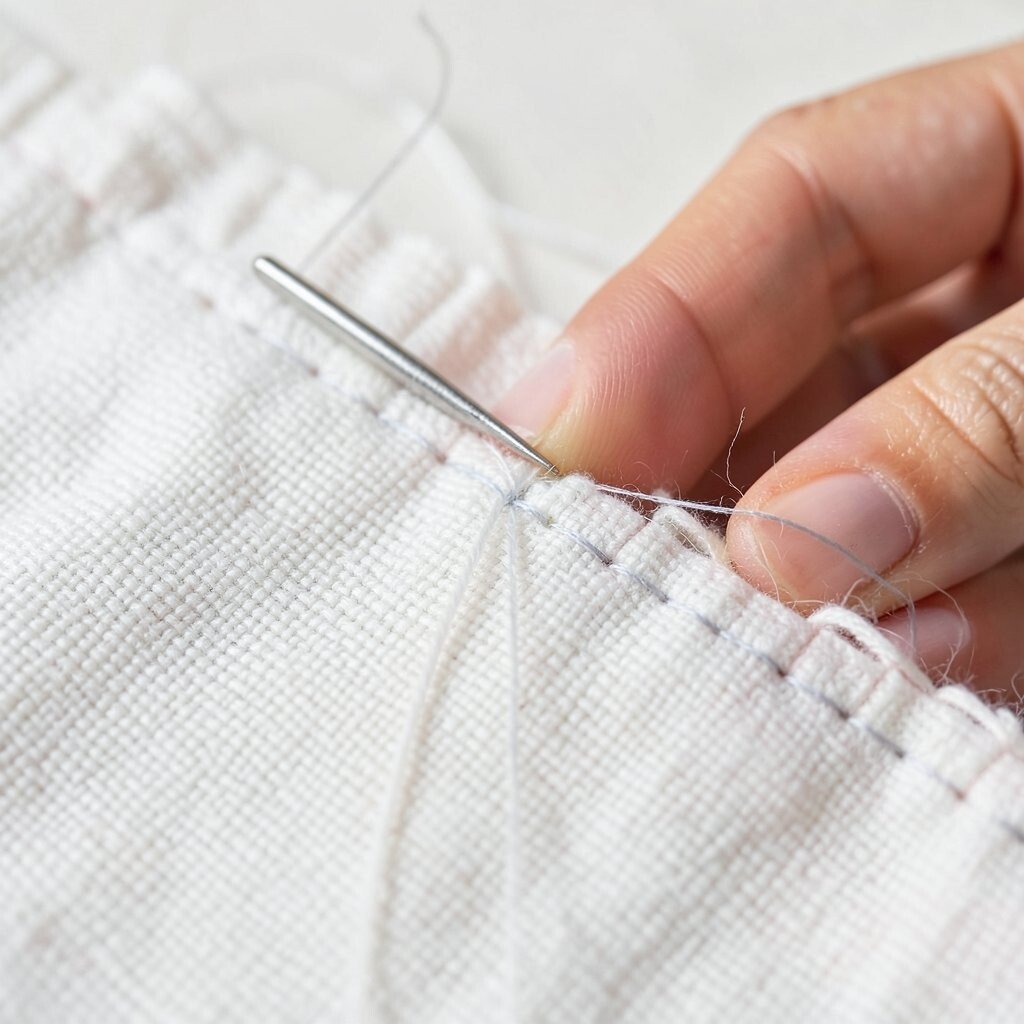
18. Basting Stitch for Easy Planning
Top Basting Stitch For Easy Planning Craft Tutorials
- 🍅 How do you do a basting stitch? from facebook.com.
- 🖼️ Basting Your EPP Shapes – Glue vs Thread from talesofcloth.com.
- 👓 How to Sew a Basting Stitch—Sewing Basics Tutorial from sewdiy.com.
- 🗺️ Sewing curves is the bees knees especially with glue … from facebook.com.
Basting stitch uses long, loose stitches that hold layers in place before the final sewing. It looks simple, but it can make the whole quilting job feel easier and calmer.
This stitch helps keep fabric from shifting, which is useful for straight seams and quilt sandwiches. It is also easy to remove later, so it works well for planning and testing layouts.
Use bright thread if you want the basting line to stand out, or pale thread if you prefer a softer look. Many quilters use it to mark shapes before adding decorative stitches.
It costs very little and saves time by preventing mistakes. For a neat result, keep the stitches long and the tension light.
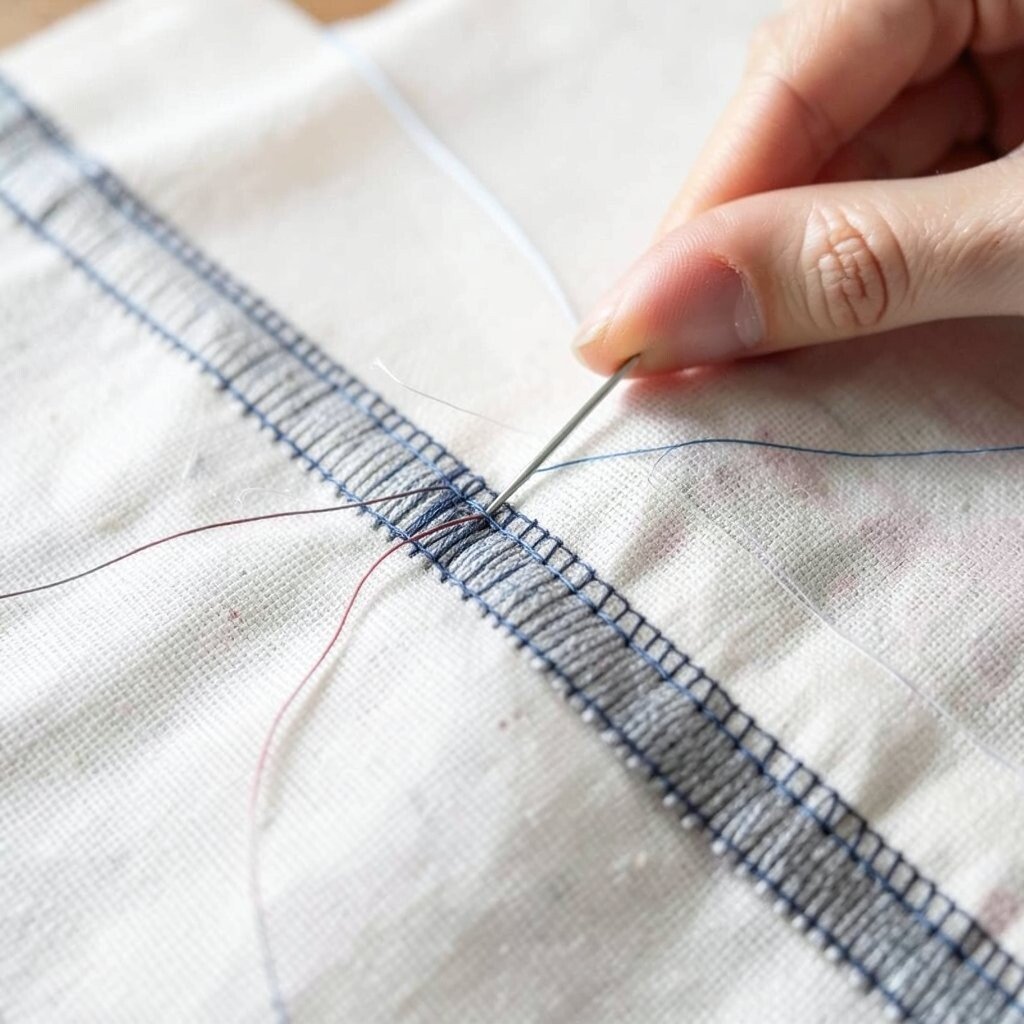
19. Decorative Edge Stitch Mix
Top Decorative Edge Stitch Mix Craft Tutorials
- 🖼️ Mastering Decorative Stitches: Techniques, Types, and … from maggieframestore.com.
- 👓 Blanket Stitch Edging: 19 Decorative Embroidery Techniques from practicalembroidery.eu.
- 🍁 How to do decorative stitch between colors? from facebook.com.
Mixing two or more edge stitches can give a quilt a lively, handmade border. A row of running stitch beside blanket stitch can look rich, layered, and full of charm.
This idea is great for makers who want something more personal than a single repeated line. It also fits today’s love of visible stitching and custom details.
Try pairing a simple stitch with a fancy one, then repeat the same combo around the quilt. You can match the thread to the fabric for a soft finish or use bright contrast for a bold frame.
This method is budget friendly because it uses the same basic tools you likely already have. A little planning on scrap paper can help you choose a mix that feels balanced and fun.