
Stone painting can look simple at first glance. Yet a few small slips can turn a bright idea into a dull rock.
1. Skipping the Cleaning Step
Top Skipping The Cleaning Step Craft Tutorials
- 🍁 How to clean my office/craft room : r/ufyh from reddit.com.
- 🍂 Cleaning a Crafting Space from facebook.com.
- 🍅 Spring Clean Your Craft Room: 4 Easy Steps from amylattacreations.com.
- 👓 Craft Room Spring Cleaning Tips from createroom.com.
- 🍅 Craft cleanup counts as Spring cleaning, right? from facebook.com.
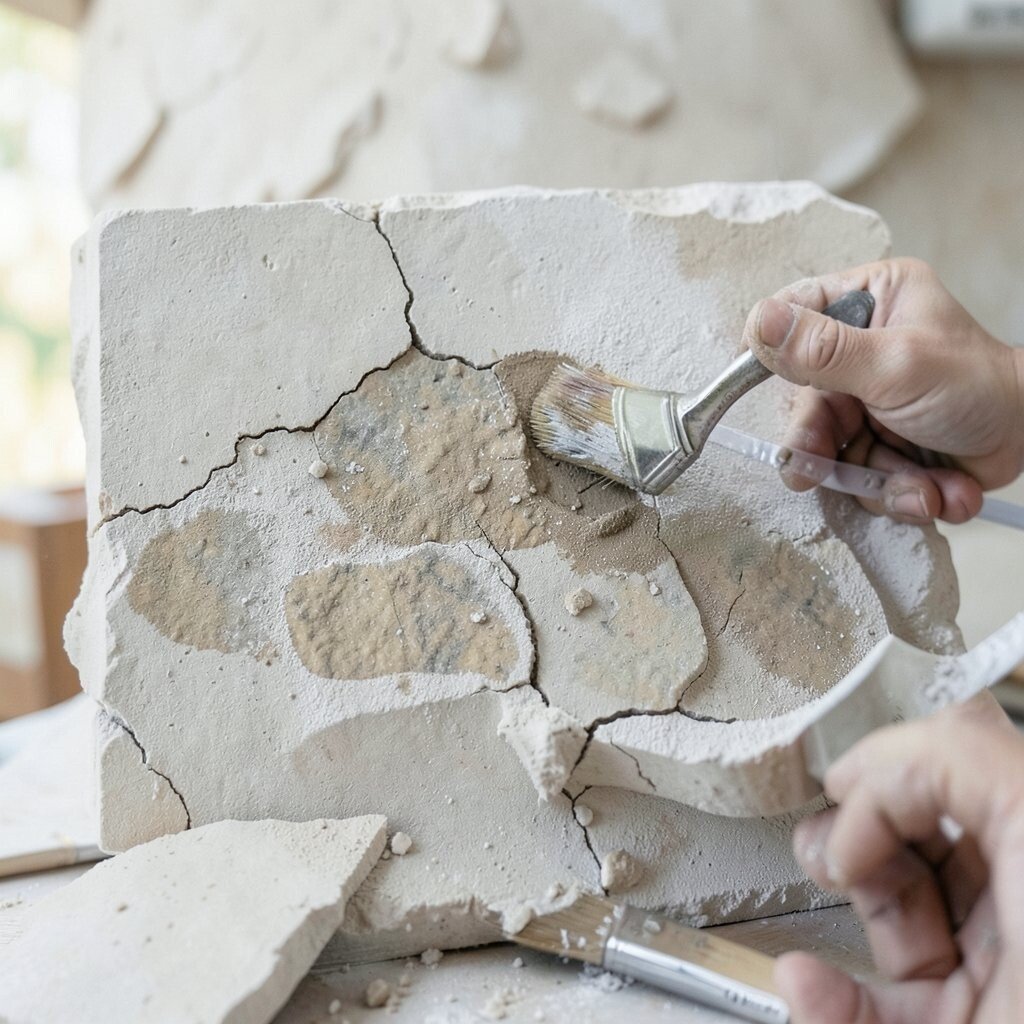
Dirty stones can hide dust, mud, and tiny grit that stop paint from sticking well. A clean surface helps colors look bright and smooth.
Rinse each stone with water and let it dry fully before you start. If the stone feels oily or dusty, wipe it with a bit of soap and a soft cloth. This tiny habit costs almost nothing, but it can save a lot of time later.
2. Using the Wrong Kind of Stone
Top Using The Wrong Kind Of Stone Craft Tutorials
- 🍅 Stone tools should be able to be crafted with normal stone from reddit.com.
- 💅 Can't craft stone tools :: Green Hell Allgemeine Diskussionen from steamcommunity.com.
- 🎨 Stone – use when crafting things – Feedback & Suggestions from forum.albiononline.com.
- 💅 The oldest craft in the world: Flintknapping (& stone tool … from facebook.com.
- 🎄 Ideas for using a stone in a different way? from facebook.com.
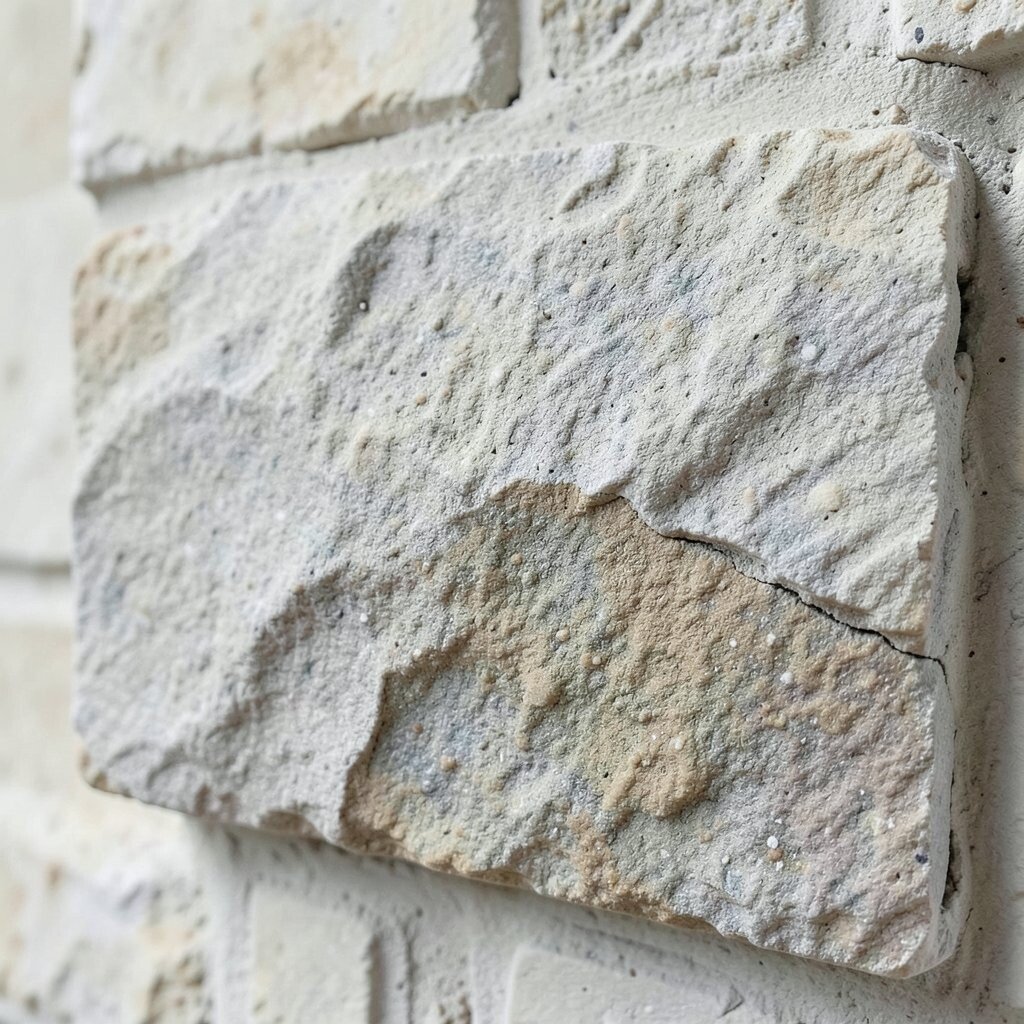
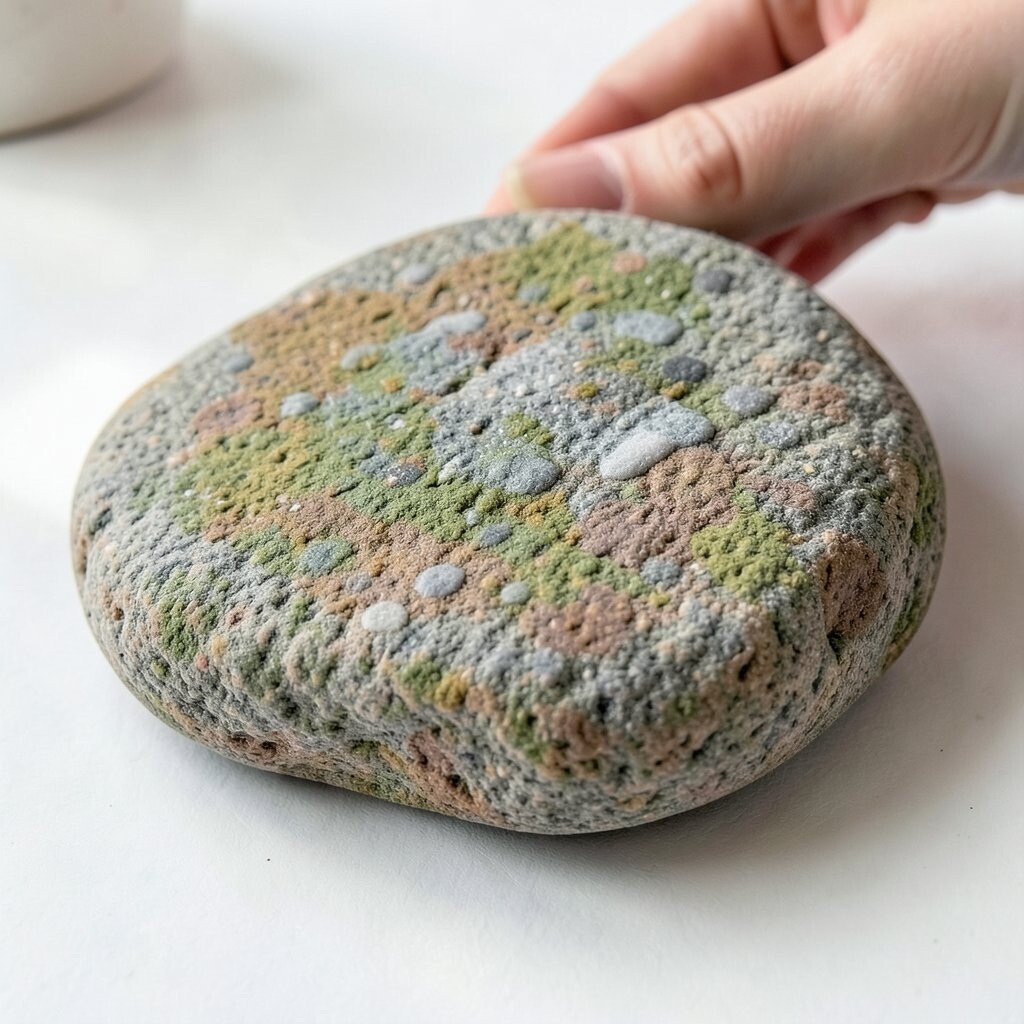
Not every rock is a good canvas. Some stones are too rough, too crumbly, or full of holes that make painting tricky.
Flat stones often work best because they give you a steady space for art. Smooth river stones are popular right now because they look neat and feel nice in the hand. Picking the right stone also makes your finished piece more unique and easier to personalize with names, flowers, or small faces.
Take a quick look at the shape before you begin. A heart-shaped stone, a wide oval, or a round pebble can inspire different ideas and help your design stand out.
3. Forgetting to Plan the Design
Top Forgetting To Plan The Design Craft Tutorials
- 🍂 A well-designed craft room isn't about how much storage … from facebook.com.
- 🍁 Returning to craft from doc.cc.
- 🧑🌾 For Craft Sake: On the laws and principles behind good … from blog.prototypr.io.
- 🎨 Does anyone else design, craft, destroy and build again? from reddit.com.
- 🍁 “Blurred Boundaries”? Rethinking the Concept of Craft and its … from compass.onlinelibrary.wiley.com.
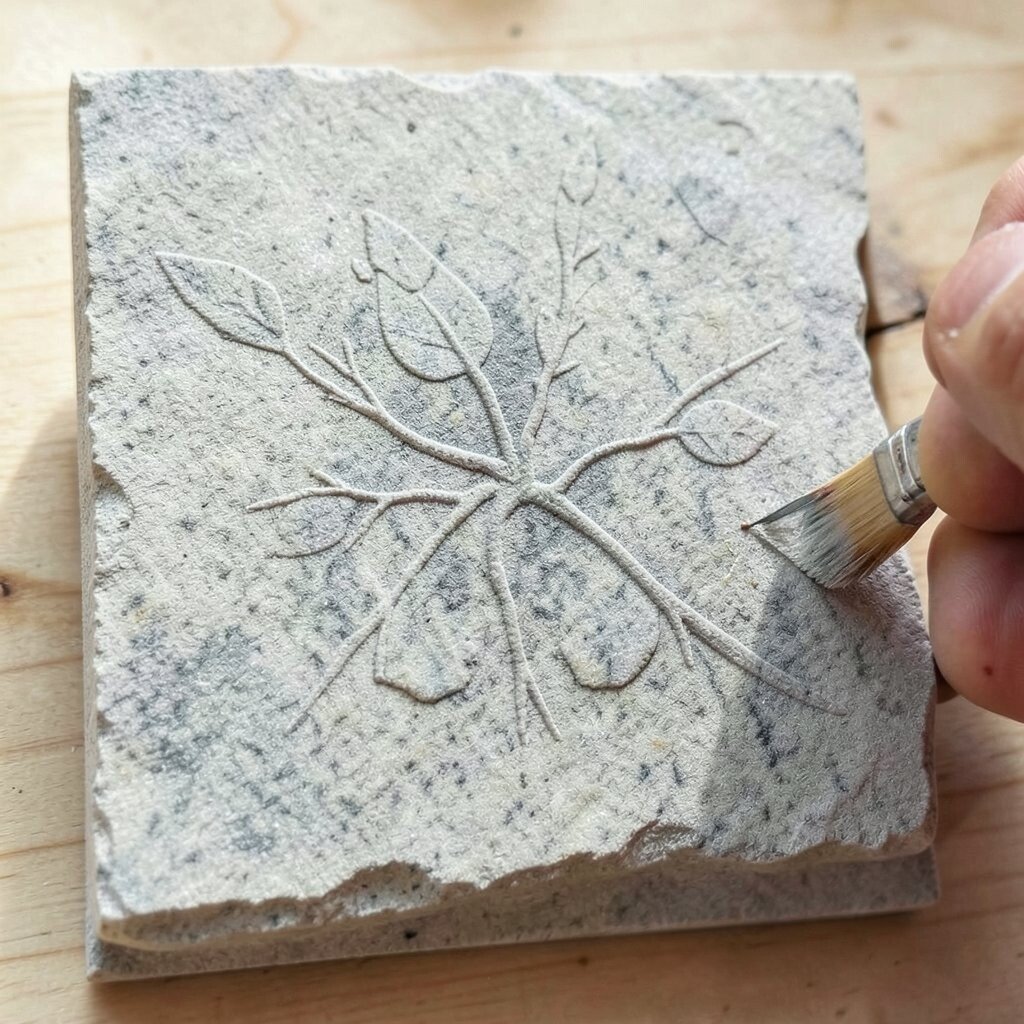
Jumping in without a plan can lead to messy lines and crowded art. A simple sketch can guide your hand and make the stone look more polished.
Try drawing your idea on paper first. This helps you test colors, shapes, and space before paint touches the stone.
Planning also helps you match your style to the stone’s size and shape. If you want a cute animal, a bold pattern, or a tiny quote, a quick layout keeps everything balanced and neat.
Many makers now like minimal designs with clean lines and soft colors. That trend works well on stones because it feels calm, modern, and easy to make at home.
4. Choosing Paint That Does Not Last
Top Choosing Paint That Does Not Last Craft Tutorials
- 🖼️ How to Choose the Right Acrylic Paint for Your Craft Project from decorbytheseashore.com.
- 🖼️ What is the best outdoor craft paint that won't run when … from facebook.com.
- 🧑🌾 4 Types of Acrylic Paint for Visual Artists: The Pros and … from learntopaintpodcast.com.
- 🎄 How to Choose Paint Colors for Your Home: 5 Simple Tips … from designertrapped.com.
- 💅 Best craft paint for kids art projects, safe non-toxic – Nature of Art from ecokidsart.com.
Cheap paint may look fine at first, but it can fade, crack, or peel fast. That means your hard work may not stay pretty for long.
Acrylic paint is a smart pick for most stone art because it dries well and shows up clearly. If you want a stronger finish, look for outdoor-safe paint or seal it later with a clear coat.
Good paint can cost a little more, but it often saves money over time because you do not need to redo the stone. Bright, rich colors also help your work pop, especially on dark rocks.
5. Painting Without a Base Coat
Top Painting Without A Base Coat Craft Tutorials
- 🎨 What type of paint is best for a base coat to prevent … from facebook.com.
- 🗺️ 5 Gorgeous Paint Finishes to Transform Your DIYs and Crafts from lovelyetc.com.
- 🎨 Is it possible to make a model look good with just a base … from reddit.com.
- 👓 You can make these beautiful washed out base coats … from facebook.com.
- 🍁 Add a base coat to your rocks ~ The fast and cheap way! from rockpainting101.com.
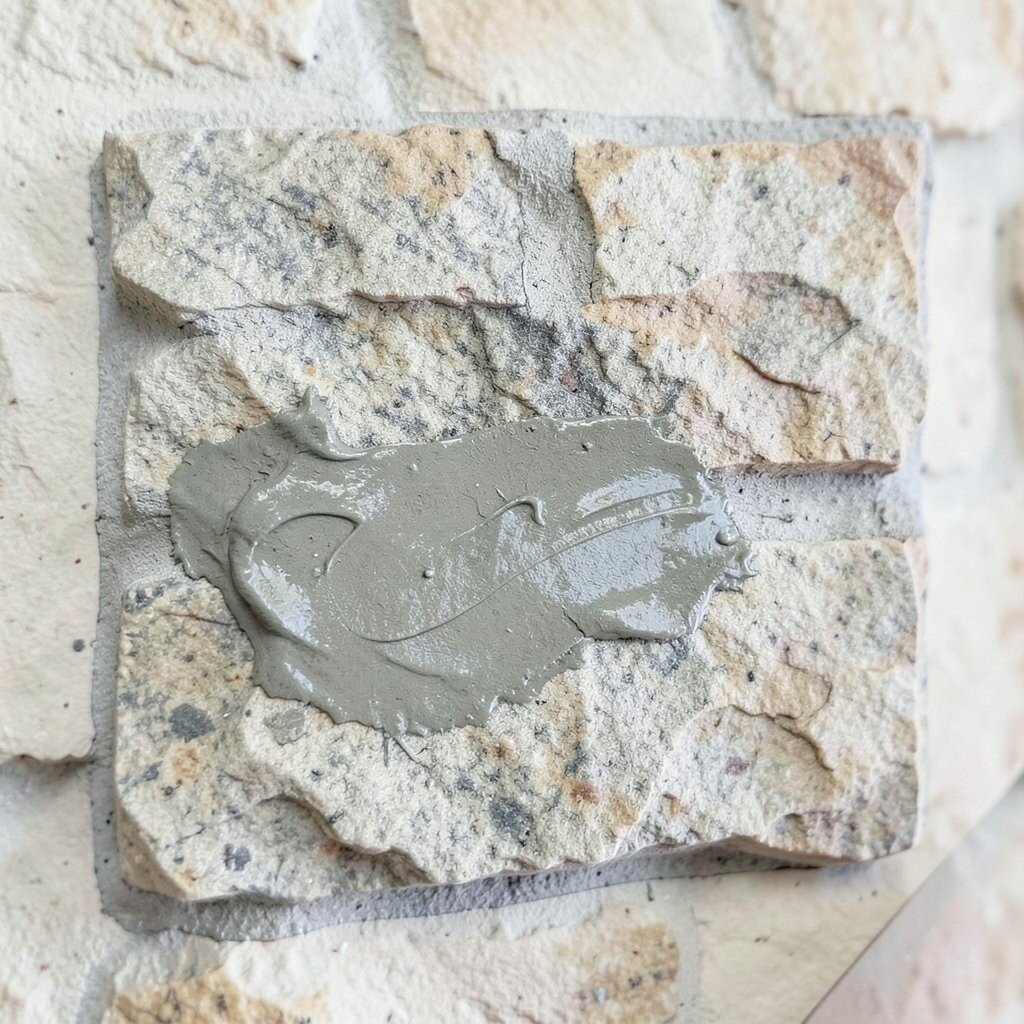
Some stones are so dark or uneven that paint sinks in or looks faded. A base coat gives you a fresh start and helps your colors shine.
White or light gray paint works well as a base on many stones. It makes your final colors brighter and gives your design a smoother look.
This step is especially helpful for detailed art like faces, flowers, or tiny words. It also lets you use less top paint, which can lower supply costs a bit.
If you want a trendy look, try a soft pastel base under bold line art. The contrast can make your stone feel modern and playful at the same time.
6. Rushing the Drying Time
Top Rushing The Drying Time Craft Tutorials
- 🎄 I know you should not rush art but how do I make oil paint … from facebook.com.
- 🖼️ Art and Craft Safety Guide from cpsc.gov.
- 🎄 Here's a fab little kids' craft that kept my boys busy for ages … from facebook.com.
- 🍅 Newbie question! Acrylic paints: drying time before next coat? from reddit.com.
- 🖼️ Craft in Korea is never separate from nature or time. … from instagram.com.
Wet paint can smudge fast if you touch it too soon. A rushed project often ends up with fingerprints, blurry edges, and dull spots.
Give each layer enough time to dry before adding the next one. If you are working on a small stone, place it on a paper towel or tray where it can rest safely.
Patience brings better results and saves you from fixing mistakes later. It also helps colors stay crisp, which makes the finished stone look more professional.
When the weather is humid, drying can take longer than expected. A fan can help, but keep it gentle so dust does not land on the wet paint.
7. Using Brushes That Are Too Big or Too Small
Top Using Brushes That Are Too Big Or Too Small Craft Tutorials
- 🍁 Am I crazy in regards to brush sizes? : r/minipainting from reddit.com.
- 🧑🌾 What is a good size brush for most paintings? from facebook.com.
- 🍂 How do paintbrush sizes work? – ProArte Brushes from proartebrushes.com.
- 🗺️ Miniature Paint Brushes Guide & My Top Recommendations from creativetwilight.com.
- 👓 Buying for a beginner, what sizetype brushes to get? from wetcanvas.com.
The wrong brush can make even a good idea hard to paint. A huge brush may cover tiny details, while a tiny brush can make broad areas slow and streaky.
Keep a few brush sizes ready so you can switch as needed. Flat brushes work nicely for backgrounds, and fine-tip brushes help with dots, lines, and letters.
This simple choice can improve your control and make your stone art look cleaner. It also gives you more freedom to personalize each piece with different styles.
Some artists now like using dotting tools and detail pens for crisp modern looks. These tools are often affordable, and they can make your stones feel extra special.
8. Forgetting to Seal the Finished Stone
Top Forgetting To Seal The Finished Stone Craft Tutorials
- 🍂 What can I put on this to seal it? I forgot 🥴 from facebook.com.
- 💅 How to Seal and Protect Painted Rocks from paintingrocks.blogspot.com.
- 🎨 Don't forget to seal those rocks!! #rockpainting … from facebook.com.
- 👓 Harp seal worry stones + extra! .✦ ݁˖ I made these … from instagram.com.
- 🧑🌾 How to seal painted rocks so they stay beautiful from rockpainting101.com.
A painted stone may look done, but it still needs protection. Without a seal, rain, sun, and handling can wear the art down.
Use a clear sealer once the paint is fully dry. Matte sealers give a soft look, while glossy sealers make colors shine more brightly.
This step is worth the small extra cost because it helps your work last longer. It is especially important for stones that will sit in a garden, on a porch, or in a busy room.
If you want a more natural style, a matte finish can keep the stone looking calm and earthy. That finish is a favorite in many handmade decor trends right now.
9. Adding Too Much Paint at Once
Top Adding Too Much Paint At Once Craft Tutorials
- 🎨 Adding water to heavy bodied acrylic paint can affect its … from facebook.com.
- 🗺️ Are you not supposed to add water to acrylic paint? from reddit.com.
- 🎄 How to make Brilliant DIY Fabric Paint at Home from craftinvaders.co.uk.
- 🗺️ Using Fluid Acrylics in the Art Journal from hopalongstudio.com.
- 🍂 How to Prepare Acrylic Paint for Pouring from leftbrainedartist.com.
Heavy paint can pool, drip, and hide the shape of the stone. Thin layers usually look cleaner and dry faster.
Build your design slowly with light coats. This gives you better control and helps each color stay bright instead of muddy.
Thin layers also make it easier to fix small mistakes as you go. You can add more color later, but removing thick paint is much harder.
For a fun personal touch, try layering dots, stripes, or tiny leaf shapes one step at a time. That careful style can make a simple stone feel rich and full of character.
10. Ignoring the Stone’s Natural Shape
Top Ignoring The Stone’s Natural Shape Craft Tutorials
- 💅 Hello I'm looking to make This space into a more nature … from facebook.com.
- 🍂 My feature for today's @ft_weekend … from instagram.com.
- 🍂 Diatoms: Biology's Unseen Craft from craftsmanship.net.
- 🧑🌾 Shreyans Dholakia from linkedin.com.
- 🎨 THE DANGERS OF OVERSELLING THE "CRAFT … from reddit.com.
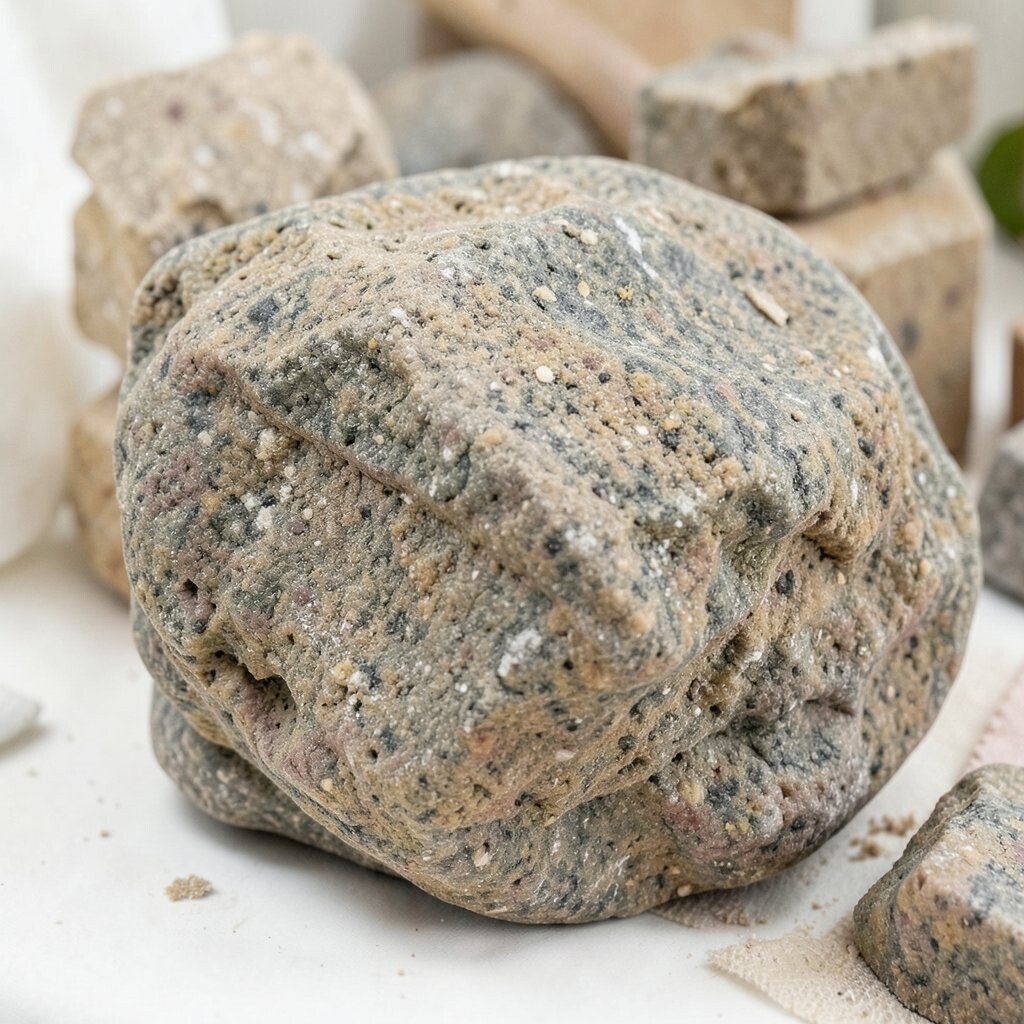
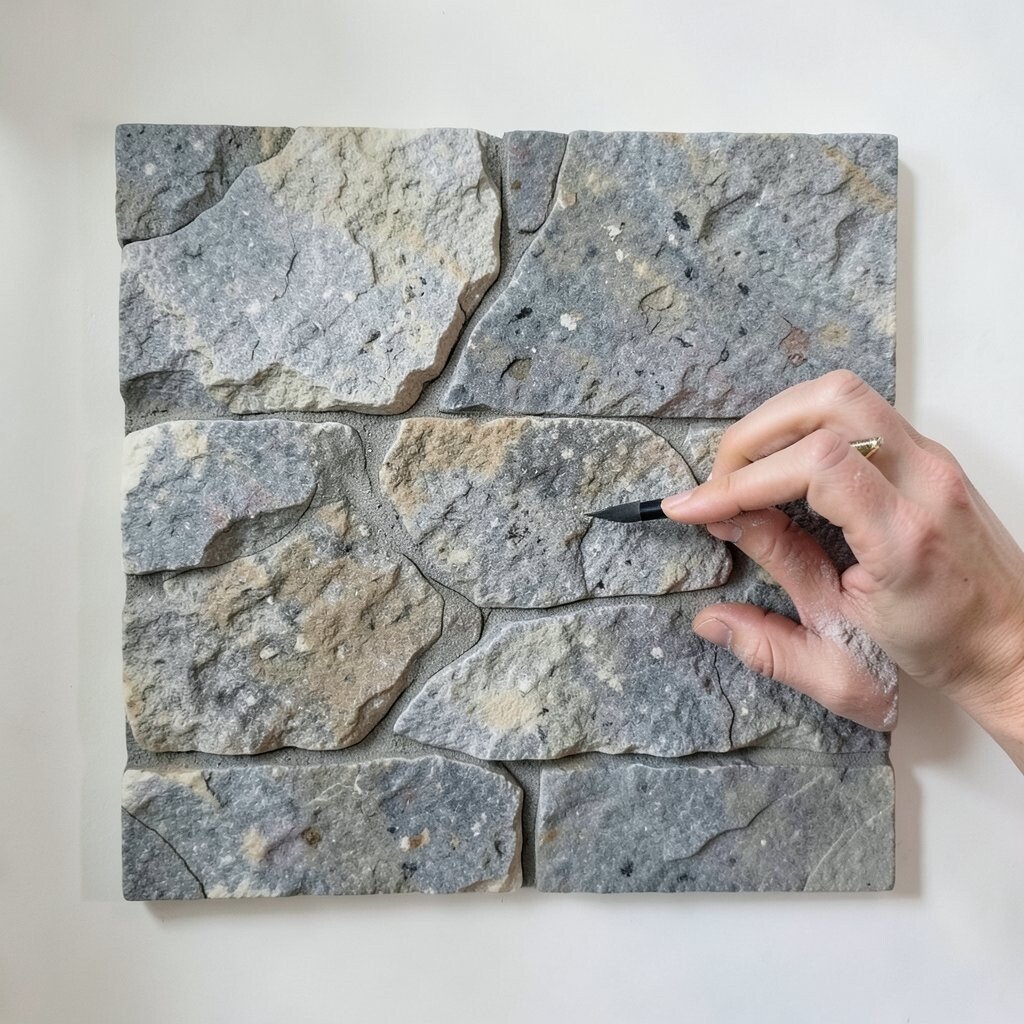
The stone itself can help tell the story of your art. If you paint over every curve without thinking, you may miss a clever design idea.
Use bumps, edges, and curves to guide your picture. A long stone can become a fish, a wide one can become a rainbow, and a round one can become a smiling sun.
This approach makes each piece more unique and more fun to create. It also helps your art feel like it belongs to the stone instead of sitting on top of it.
Many crafters now enjoy designs that work with natural shapes instead of fighting them. That style feels fresh, simple, and very personal.
11. Not Practicing Small Details First
Top Not Practicing Small Details First Craft Tutorials
- 🍁 In the beginning stages how often did you guys practice to … from facebook.com.
- 🎨 r/Leathercraft – Practice won't make perfect, but it will … from reddit.com.
- 🍂 How to Stop Procrastinating and Build a New Crochet … from instagram.com.
- 👓 Deliberate Practice—Becoming a Master of Your Craft from leadyoufirst.com.
- 👓 What are beginner crochet tips? from facebook.com.
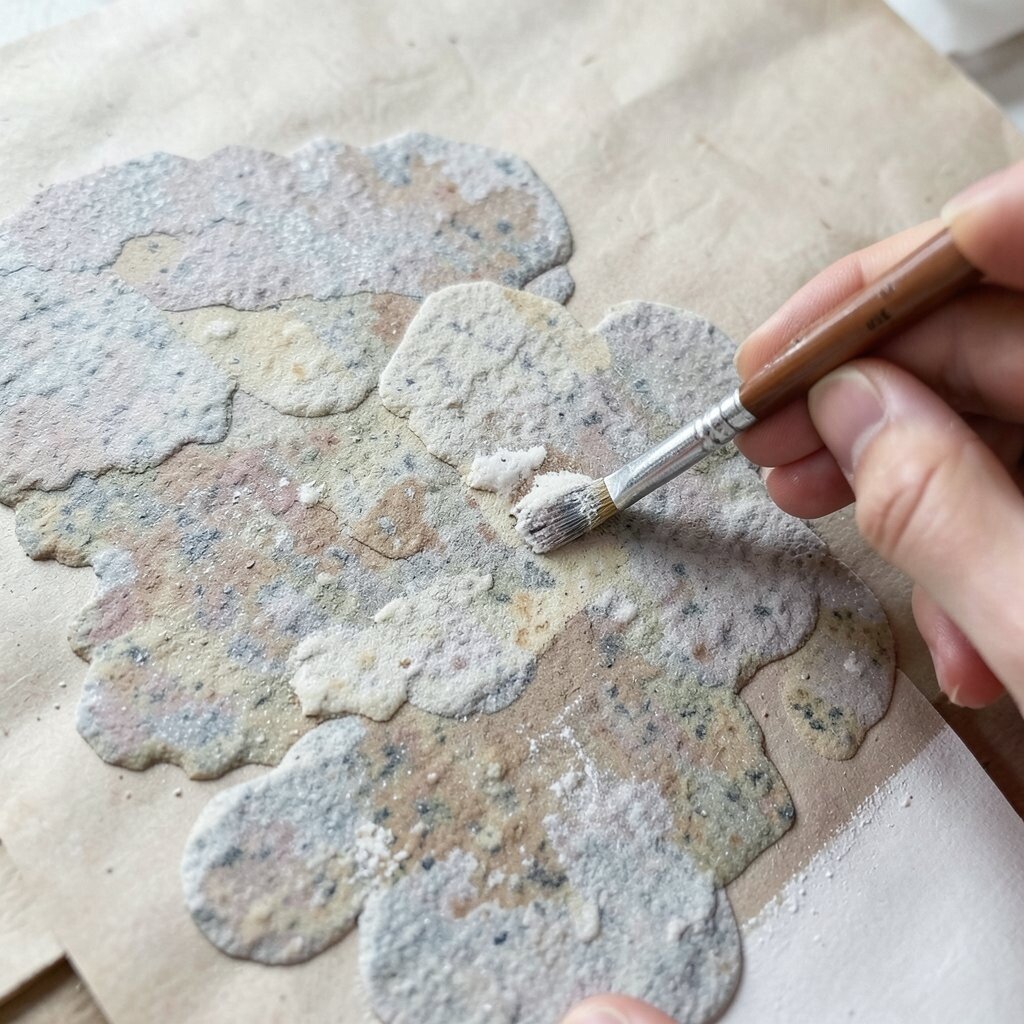
Tiny lines, dots, and letters can be hard on a real stone. If you wait until the final piece to test them, you may feel frustrated.
Practice on paper, cardboard, or a spare rock before you paint your main piece. This helps your hand get used to the brush and makes your final art neater.
Practice also lets you try different color mixes without wasting much paint. That can keep your supply costs low while still giving you a polished result.
If you want to make gifts, this step matters even more. A little practice can turn a simple stone into a sweet keepsake with names, dates, or tiny messages.
12. Forgetting to Make It Your Own
Top Forgetting To Make It Your Own Craft Tutorials
- 🍂 This Month we have a take home craft to make your own … from instagram.com.
- 💅 Single dad seeking craft ideas for 6 & 12-year-old girls from facebook.com.
- 🍁 Parental Control Episode 12 – Arts and Crafts Lockdown from mybaba.com.
- 🎨 Forget Me Not Crafts – Make it. Make a difference from alzheimers.org.uk.
- 🖼️ Bad Art Club: Create Your Own Disaster-Piece Craft Event from calendar.houstonlibrary.org.
Stone painting should feel fun, not stiff. If you copy a design exactly and never add your own touch, the piece may not feel special.
Try using your favorite colors, a family name, a pet face, or a symbol that means something to you. You can also match the stone to a room, season, or garden spot for a more personal feel.
Personal touches make your work stand out and give it more heart. They also make stone painting a low-cost way to create decor, gifts, and keepsakes that no store can copy.
Current trends often mix simple shapes with bold words or soft nature themes. Add your own twist, and even a small stone can feel bright, modern, and full of charm.