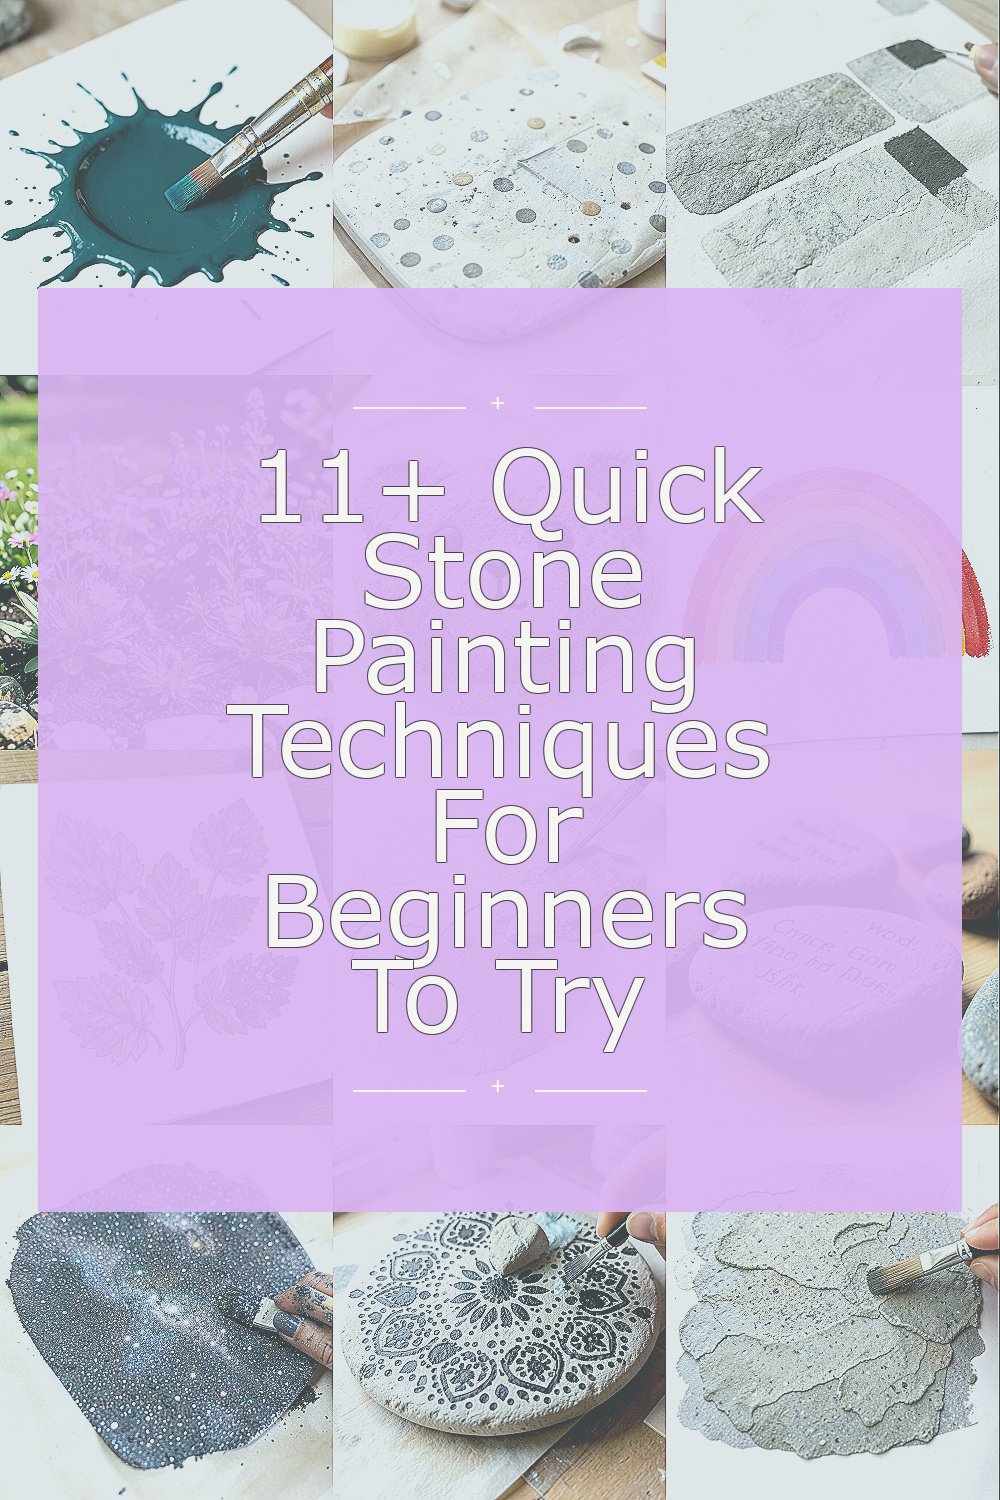
Plain stones can become tiny works of art with a few simple moves. A little paint can make each one feel full of personality.
These easy ideas are fun, budget-friendly, and great for first-time painters. Each technique gives you a new look without needing fancy tools.
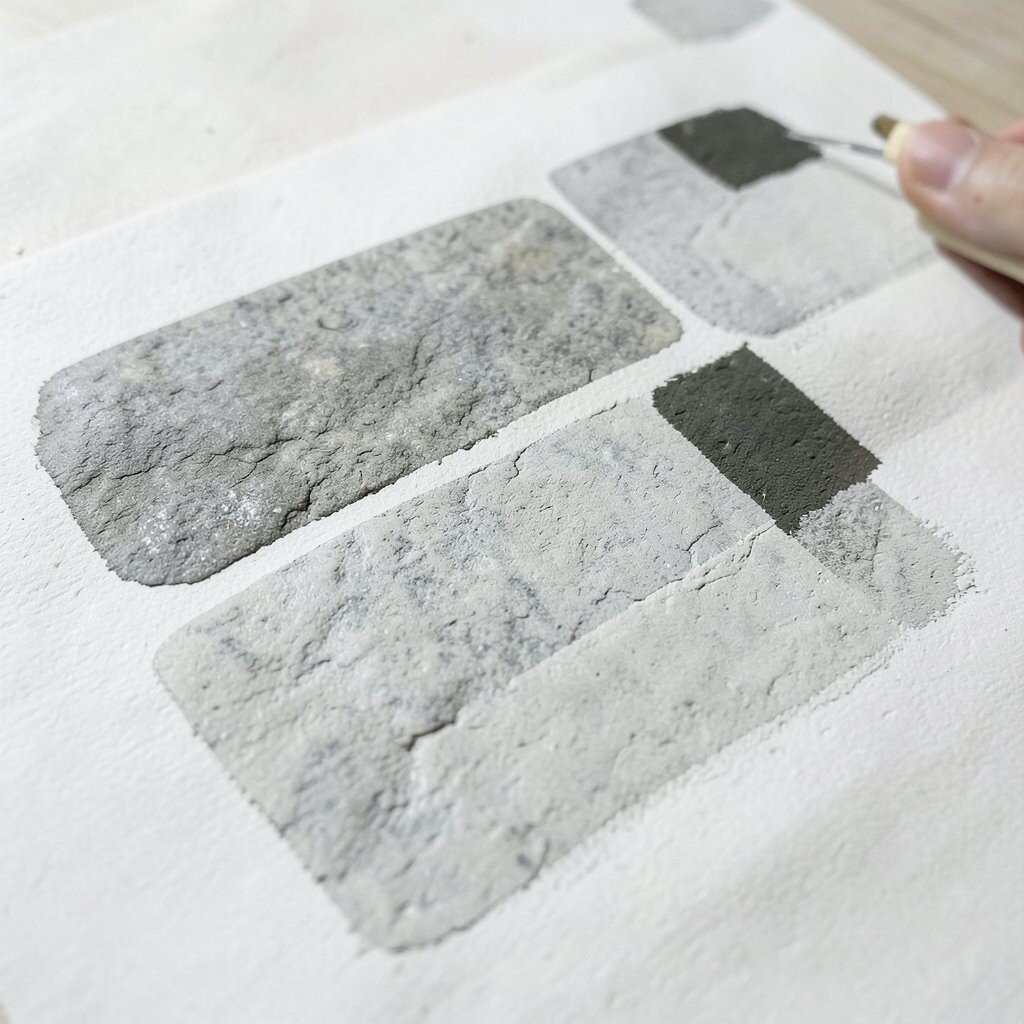
1. Solid Color Splash

Top Solid Color Splash Craft Tutorials
- 💅 I'm an idiot, how do you craft iconic color splash? from reddit.com.
- 🧑🌾 8 Color Splash Favorites For Your Craft Program from ssww.com.
- 🎄 Make a Splash (and a Craft!) With 'Paper Mario: Color Splash' from geekdad.com.
- 🍅 Paints & Brushes | Brand: Color Splash, Craft Smart from michaels.com.
- 🍁 Color Splash Glitter Silver 1lb Shaker Top, Craft Sparkle Art … from ebay.com.
Start with a clean stone and coat it in one bold color. The smooth, bright finish looks cheerful and makes the rock stand out right away.
This is a great choice for beginners because it is fast and simple. Use acrylic paint, which is low-cost and easy to find at craft shops or even dollar stores. You can pick colors that match your room, garden, or favorite team for a personal touch.
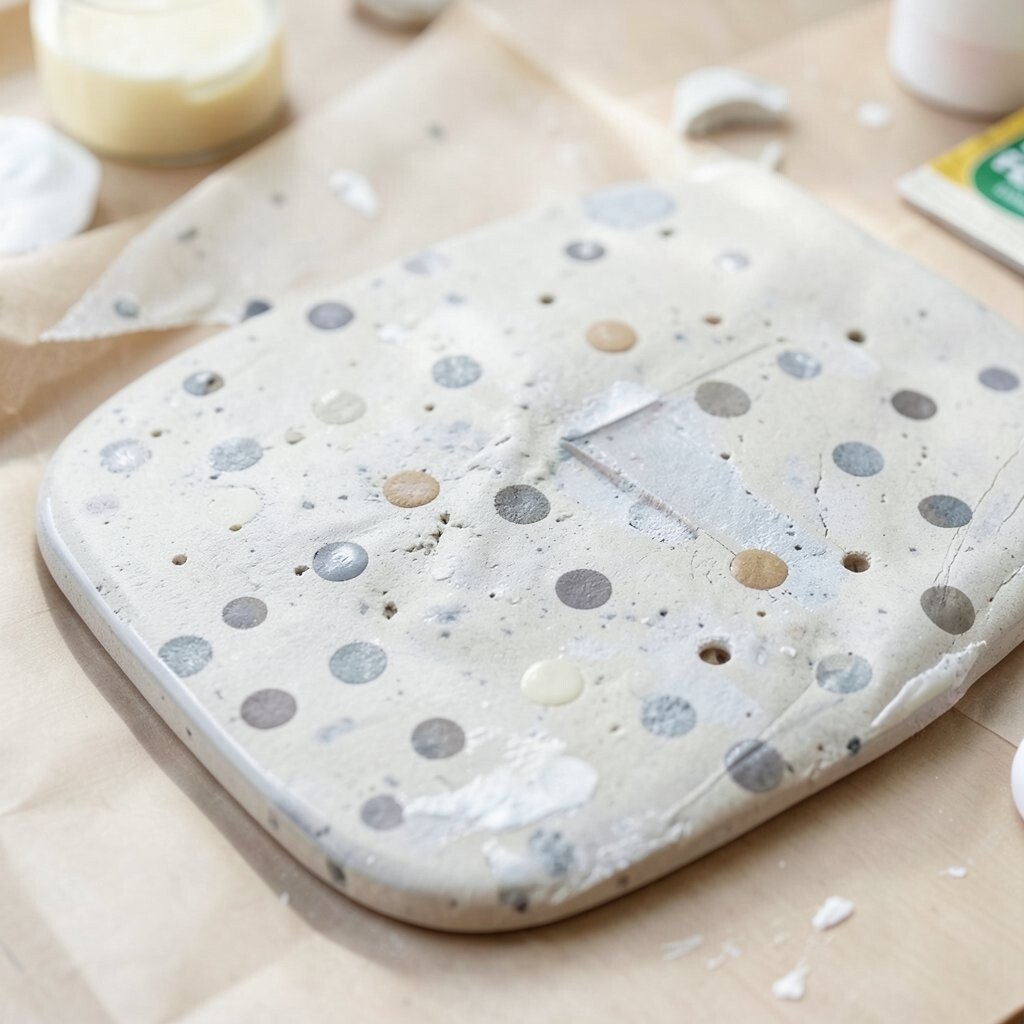
2. Polka Dot Fun
Top Polka Dot Fun Craft Tutorials
- 💅 Polka Dot Snail Craft Idea 🧡 https://www. … from facebook.com.
- 🎨 Playful Crafts for National Polka Dot Day from fairfieldworld.com.
- 🖼️ DIY: Super Cute and Easy 2 Step Gold Polka Dot Party … from pinkpeppermintdesign.com.
- 💅 21 Polka Dot Pattern DIY Craft Ideas from thecraftyblogstalker.com.
- 🍁 30+ Fun and Creative Crafts Projects for Kids & Teens from polkadotchair.com.
Polka dots give stones a playful look that feels happy and modern. The pattern is easy to make with the end of a brush, a cotton swab, or the tip of a pencil.
Try big dots for a bold style or tiny dots for a softer look. This trend works well on small stones and does not need much paint, so it helps keep costs low. Mix colors that you love, or use just two shades for a neat, clean design.
You can also place the dots in rows, circles, or random clusters. Each stone will look a little different, which makes the set feel special and handmade.
3. Simple Stripe Style
Top Simple Stripe Style Craft Tutorials
- 🍅 Stylecraft soft baby easy stripes yarn for c2c blanket from facebook.com.
- 💅 Classic Pattern Styles – Stripes from historyrepeating.se.
- 🎨 Striped and Plain Top from stylecraft-yarns.co.uk.
- 🎄 Custom Commerce Checkout Flow with Stripe from craftcms.com.
- 🍅 Lacy Shell Stripe from attic24.co.uk.
Stripes can make even a small stone look sharp and tidy. Straight lines give a neat feel, while crooked lines can look fun and casual.
Use painter’s tape if you want crisp edges, or paint freehand for a looser look. This technique works well with color pairs like black and white, blue and gold, or pink and orange. It is a smart way to use leftover paint from other projects, which keeps the cost down.
Try horizontal, vertical, or diagonal stripes to change the mood of the stone. You can also make one thick stripe in the center for a bold, modern style.
If you want a personal touch, choose colors that match your bedroom, a holiday theme, or a friend’s favorite shades. A few simple lines can make a stone feel polished without much effort.
4. Tiny Flower Garden
Top Tiny Flower Garden Craft Tutorials
- 🍅 Invitation To Create- Flower Garden from paper-and-glue.com.
- 🖼️ Paper Plate Flower Garden Craft 🌿🌸✨ How sweet is this … from facebook.com.
- 🍁 Flower Garden Craft from teacherspayteachers.com.
- 🎄 Mini Spring Flower Garden craft activity guide from bakerross.co.uk.
- 🍅 A Spring Craft in Full Bloom: A Framed Paper Flower Garden … from youareagardener.com.
Small flowers look sweet on stones and bring a soft, cheerful feel. Even a few petals can turn a plain rock into a pretty keepsake.
Dot the center first, then add petals around it with a small brush or cotton swab. You can paint daisies, tulips, or little wildflowers without needing perfect shapes. This style is popular right now because it feels handmade and calm.
Use light colors for a fresh spring look or bright colors for a bold garden feel. Add green leaves if you want more life and detail on the stone.
Flower stones make lovely gifts, and they are easy to personalize with a name or date on the back. They also work well for garden paths, windowsills, or desk decorations.
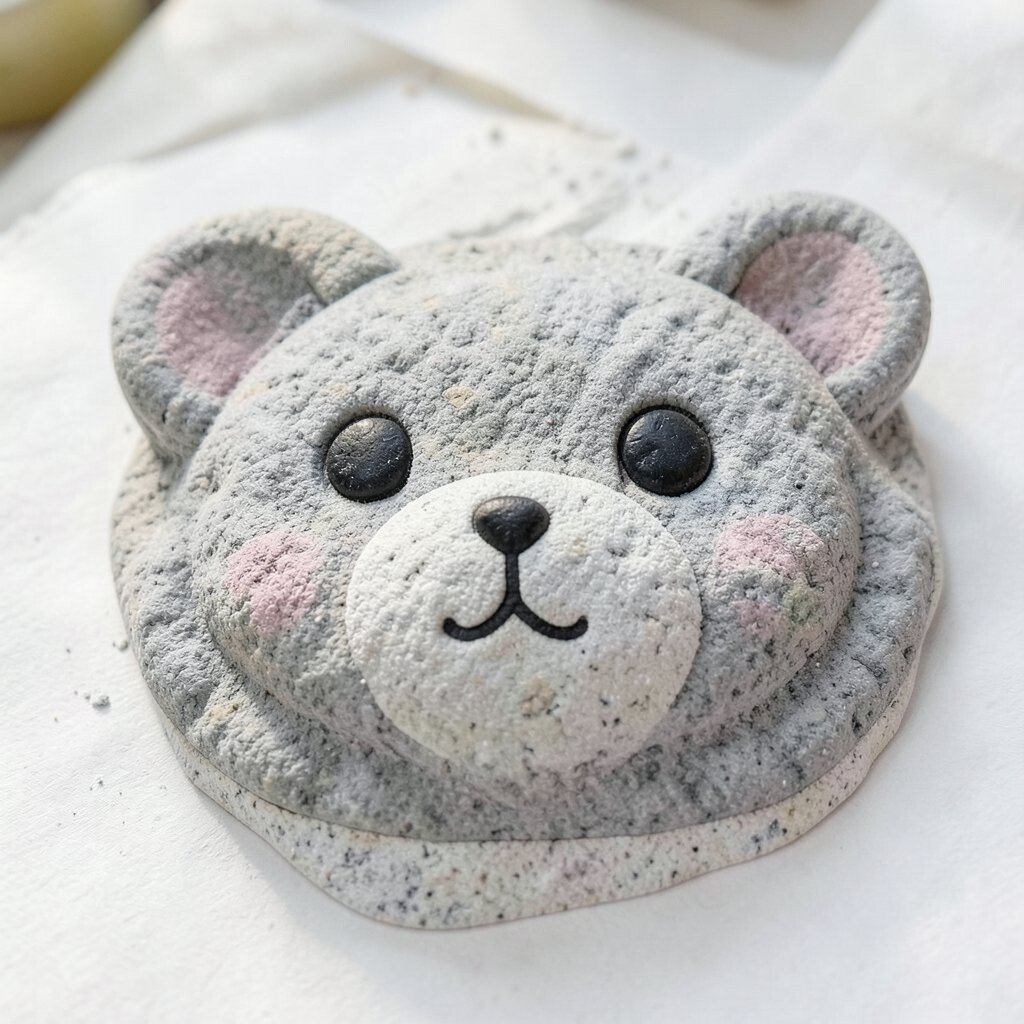
5. Cute Animal Faces
Top Cute Animal Faces Craft Tutorials
- 🧑🌾 Cute Animal Crafts Using Paper from facebook.com.
- 🍁 5 Cute Animal Origami Faces | Easy Paper Folding Crafts … from tv.apple.com.
- 🍅 25 Favorite Animal Paper Plate Crafts from kidsactivitiesblog.com.
- 💅 Animal Paper Crafts For Kids #kidsactivities #paperart # … from instagram.com.
Animal faces are fun because they turn stones into tiny characters. A round stone can become a cat, bear, frog, or owl with just a few painted shapes.
Start with the main face shape, then add eyes, nose, ears, or spots. Keep the design simple so it stays easy and cute, even if the lines are not perfect. This is a great way to use small stones, which are often free if you collect them outdoors.
Try making a whole set of animals with matching colors or different moods. You can even add names on the bottom so each stone feels like its own little friend.
This technique is especially nice for kids, family crafts, or classroom projects. It gives a lot of charm without needing expensive supplies.
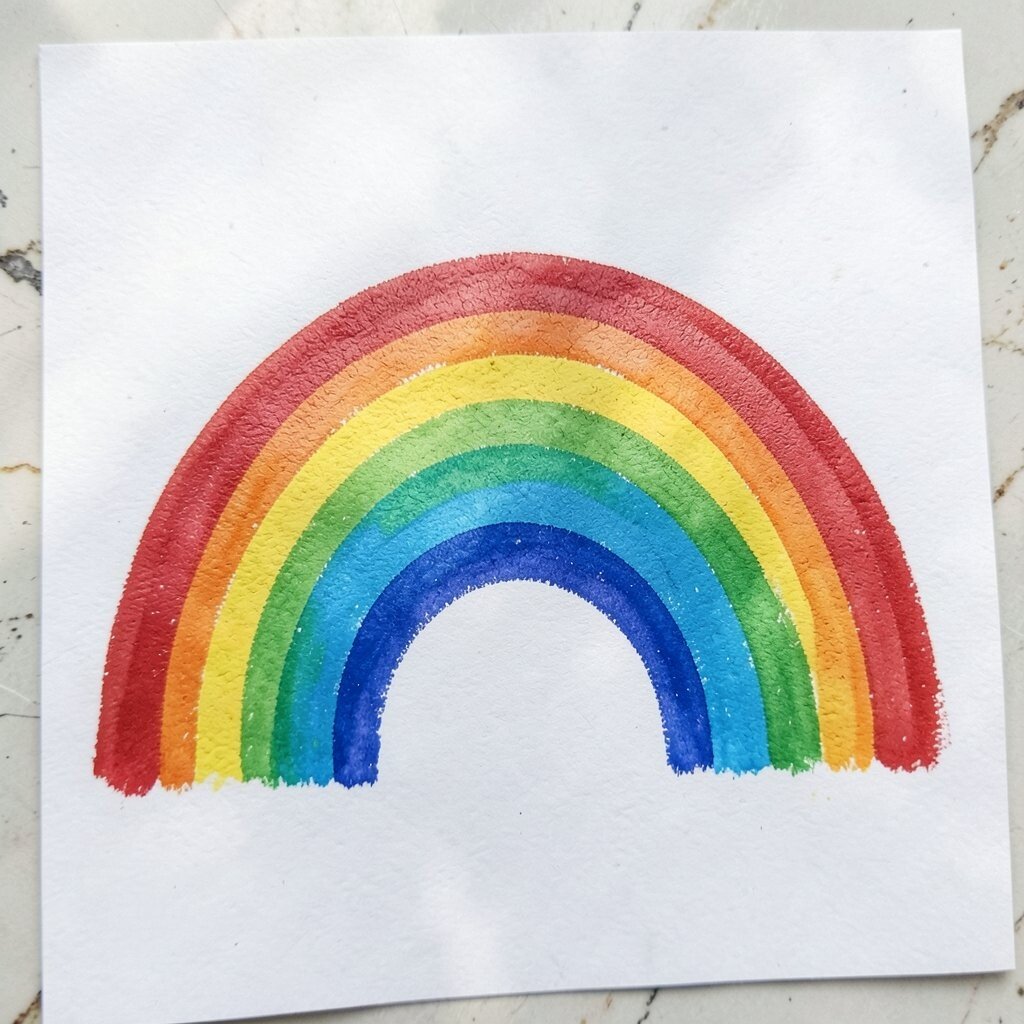
6. Rainbow Arc Design
Top Rainbow Arc Design Craft Tutorials
- 🖼️ Rainbow theme crafts for nursery room arch from facebook.com.
- 🍂 Make a 3D hanging rainbow!🌈 from facebook.com.
- 🎨 Lesson: How to Tie Dye Rainbow Arch Pattern from theneonteaparty.com.
- 🍅 Rainbow Crafts royalty-free images from shutterstock.com.
- 🍁 Paper Rainbow Craft for Preschoolers from redtedart.com.
A rainbow arc brings bright color and a happy mood to any stone. The curved bands look cheerful and feel fresh, which makes them a favorite for many beginners.
Paint each band one at a time and let it dry before adding the next shade. You can make the rainbow full and bold or keep it soft with pastel colors. This style is trendy because it looks good in photos and works well in gift baskets or craft fairs.
For a personal twist, add a cloud, a heart, or a tiny star at one end. A glossy finish can make the colors pop and give the stone a neat shine.
If you want to save money, use a small set of basic paints and mix them to make new shades. That way, one simple project can give you many color choices.
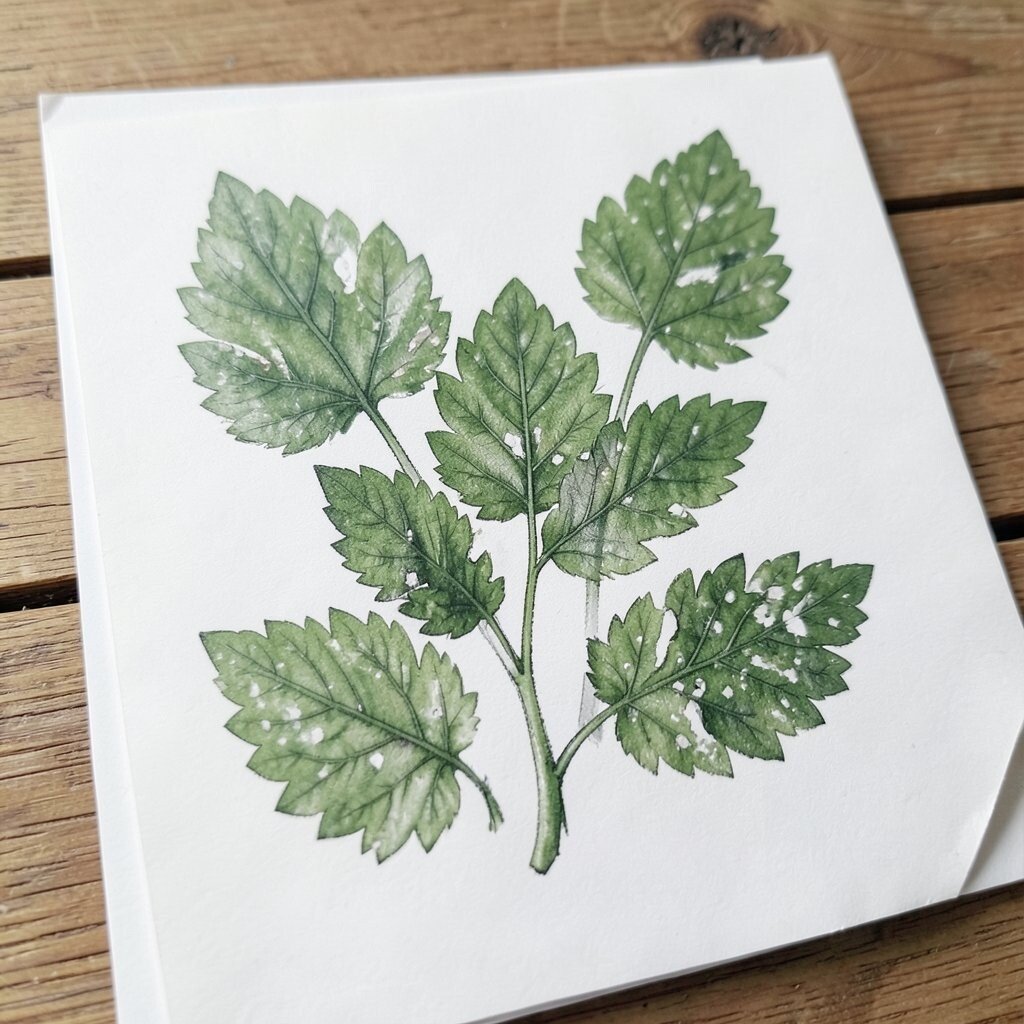
7. Nature Leaf Prints
Top Nature Leaf Prints Craft Tutorials
- 🎨 Creating Leaf Prints: A Nature Activity For Kids from naturestudyhomeschool.com.
- 👓 🍃 Leaf Printing Art 🎨 A simple nature craft that turns … from facebook.com.
- 💅 Nature Craft: making leaf prints – Growing Family from growingfamily.co.uk.
- 👓 5 Minute Beautiful Leaf Prints Art (& 3 Secret Tips) from apieceofrainbow.com.
- 🖼️ Leaf Print Painting | Nature Crafts – Twinkl from twinkl.com.au.
Leaf prints make stones look calm and earthy. The shape of a real leaf gives the design a nice natural pattern that feels special.
Press a leaf against wet paint or trace one with a thin brush for a softer version. Green is a classic choice, but gold, brown, and blue can make the stone feel more stylish. This idea is unique because no two leaf shapes are exactly the same.
Use it for garden stones, plant pots, or a nature-themed shelf display. You can also add a tiny stem or vine to make the design feel fuller.
Since the supplies are simple, this is a low-cost craft that still looks thoughtful. It is a good pick if you want something peaceful and pretty without a lot of steps.
8. Ombre Fade Look
Top Ombre Fade Look Craft Tutorials
- 👓 How to achieve ombre fade without striped effect? from facebook.com.
- 🍁 Ice Cream Ombre Mani DIY from abeautifulmess.com.
- 🎄 Making these Ombré end grain boards is like doing a "paint … from instagram.com.
- 🍁 How To Do Ombre Nails – We're Calling Shenanigans from werecallingshenanigans.com.
- 🎄 Ultraviolet Ombré – Fade Resistant Tips for Brunettes from cocoonuk.blog.
An ombre stone shifts from one color to another in a soft blend. The fade gives the stone a smooth, stylish look that feels a little more advanced but is still easy enough for beginners.
Use a sponge or a dry brush to mix the colors while the paint is still wet. Start with two shades and keep the blend gentle so the colors melt together nicely. This look is very current because soft color fades show up often in home decor and handmade gifts.
Pastels make the stone feel light and dreamy, while dark shades can feel rich and bold. You can also add a tiny symbol or word on top once the fade is dry.
Because you only need a few colors, the cost stays fairly low. The best part is that every stone can look a little different, which gives your set extra charm.
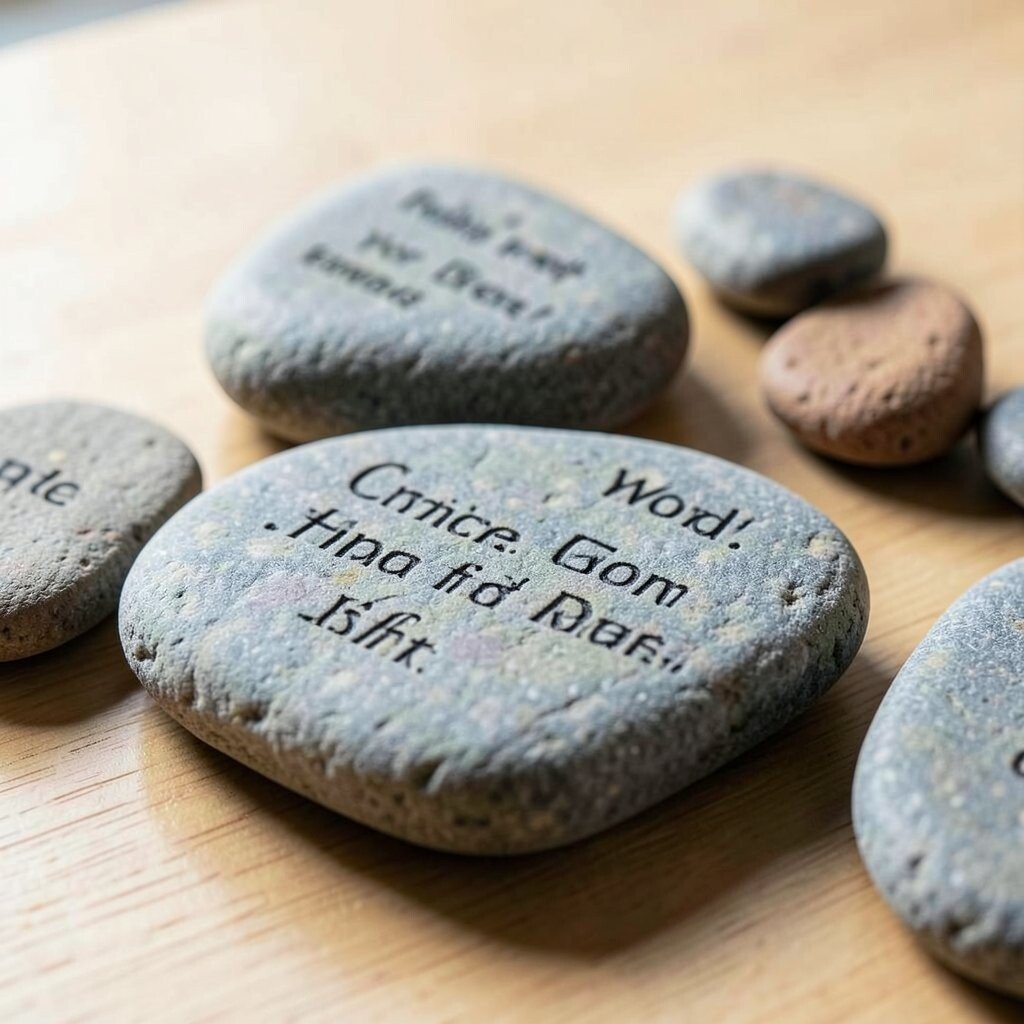
9. Word and Quote Stones
Top Word And Quote Stones Craft Tutorials
- 🗺️ Adding quotes to projects and gifting stones to friends and … from facebook.com.
- 🖼️ How to Make Fun Word Stones From Rocks from thrivingwithless.com.
- 🍂 Stone Painting Quotes from tiktok.com.
- 🖼️ DIY Rock painting craft ideas from facebook.com.
- 🖼️ Craft: Seriously, What Does the Word Mean? from craftcouncil.org.
Words can turn a simple stone into a kind message or personal reminder. Short phrases like “hope,” “joy,” or “breathe” look neat and easy to read.
Use a fine brush or paint pen to write the letters slowly. Keep the stone background plain so the words stand out clearly. This style is popular for gifts, desk decor, and calming spaces because it feels meaningful and simple.
You can make the stone fit your style by choosing a favorite color, font shape, or small border. A heart, star, or dot on each side can make the writing feel complete.
Paint pens are helpful here and often cost less than many art tools. If you make a mistake, just paint over it and try again.
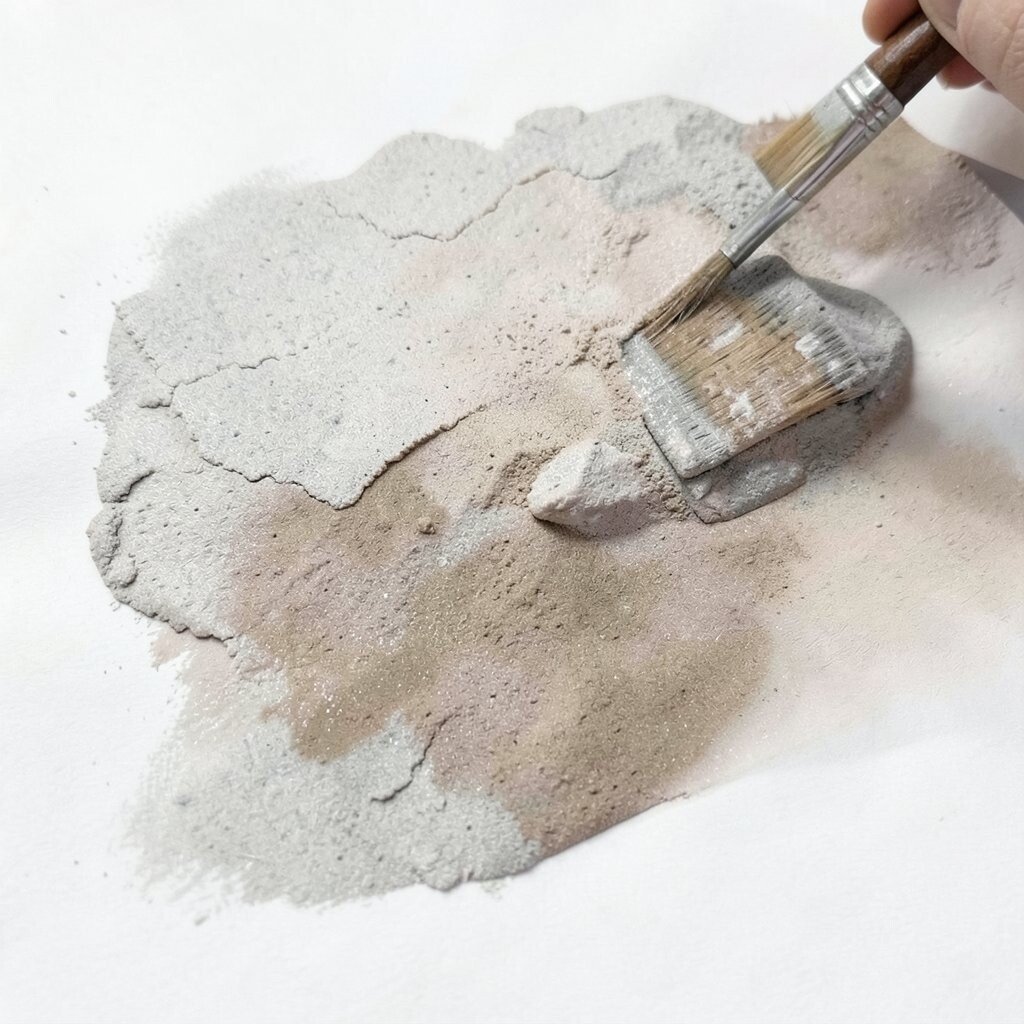
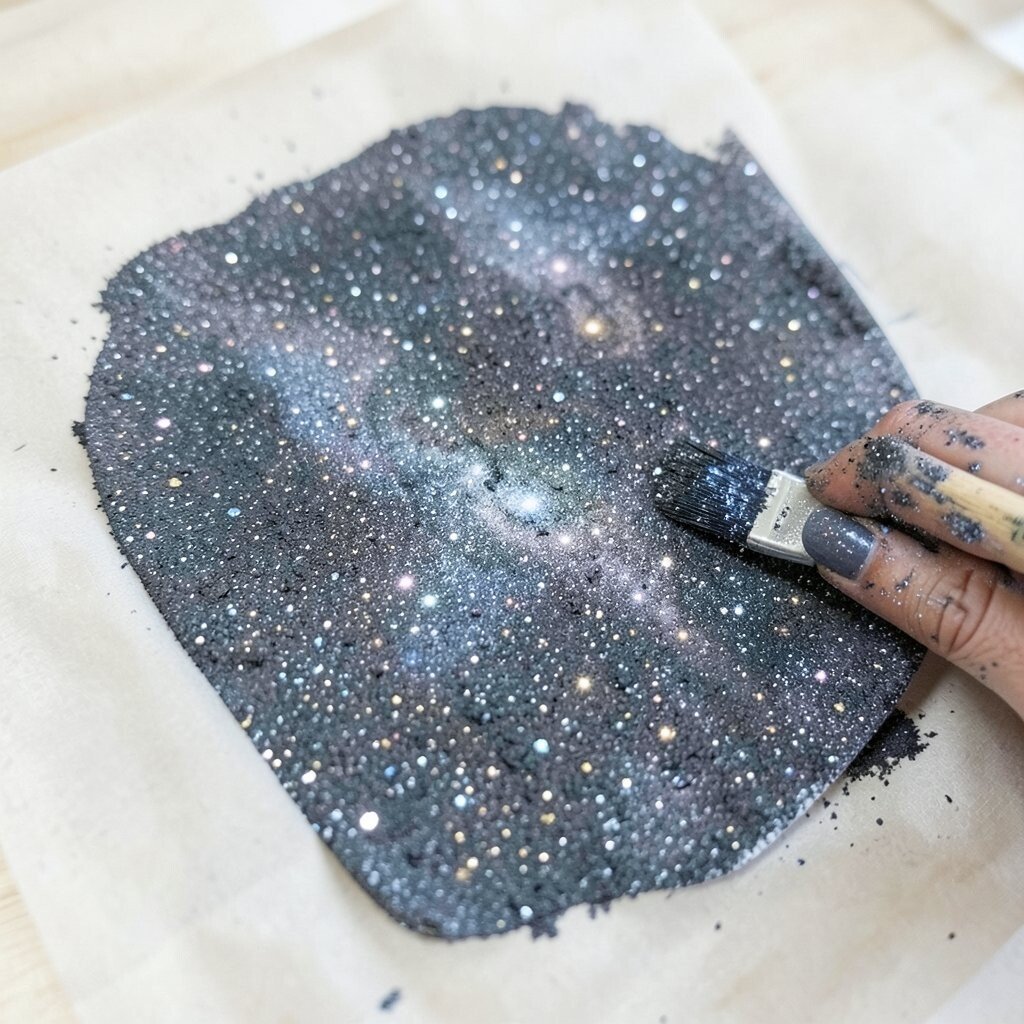
10. Galaxy Speckle Effect
Top Galaxy Speckle Effect Craft Tutorials
- 🍂 Galaxy painted pot from thecrafttrain.com.
- 🍅 Galaxy in a jar craft project from facebook.com.
- 💅 How to make Galaxy Painted Rocks from the-gingerbread-house.co.uk.
- 🍁 Galaxy Painting – Step By Step Acrylic Painting Tutorial from stepbysteppainting.net.
- 🍂 Laser Speckle: Physics & Perception Science Activity from exploratorium.edu.
A galaxy stone looks dark, dreamy, and full of tiny stars. The speckled look gives it a magical feel that catches the eye right away.
Paint the stone in deep blue, purple, or black, then flick on tiny dots of white or silver. A sponge can add soft cloud shapes and make the design feel larger and more space-like. This trend stays popular because it looks cool on shelves, in planters, and in gift boxes.
To make it more personal, add one bright planet, a moon, or even a small name hidden in the design. A little shimmer paint can make the stone shine without needing much extra work.
This is a smart project if you want a dramatic look using only a few supplies. It also works well with stones that have uneven shapes, since the speckles help hide small flaws.
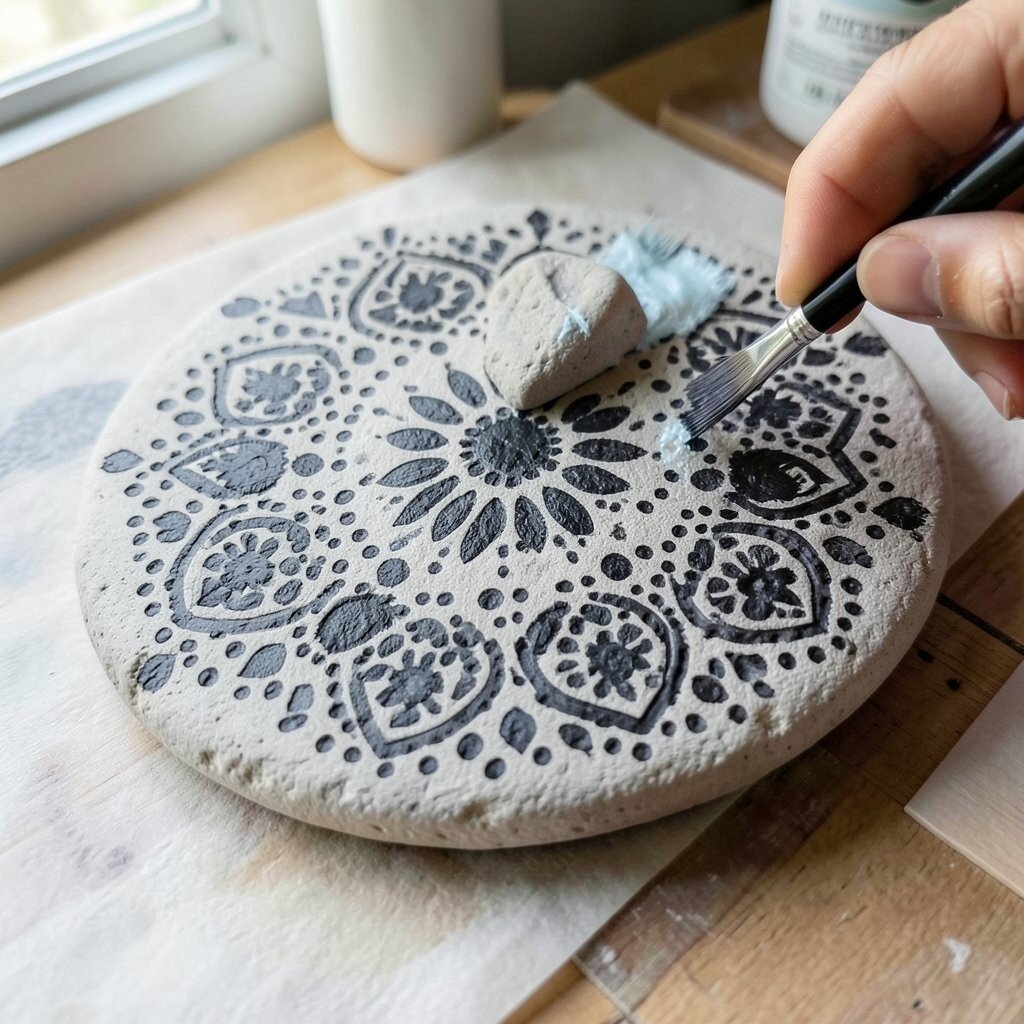
11. Mandala Dot Pattern
Top Mandala Dot Pattern Craft Tutorials
- 🗺️ What are some easy dot mandala patterns for beginners? from facebook.com.
- 🍁 Easy Beginner Mandala Painted Rocks from rockrembrandt.com.
- 🗺️ Dot Circular Stencil 11.7×8.3 inch Mandala Dot Painting … from business.walmart.com.
- 💅 Dot Mandala Holiday Ornament Workshop from hayward.librarycalendar.com.
- 🎄 Dot Mandalas for Beginners from facebook.com.
Mandala dots create a neat, balanced look that feels both calm and eye-catching. The repeated circles make the stone seem detailed even when the steps are simple.
Begin with a center dot, then add more dots around it in rings. Use different sizes to build a pretty pattern that feels full and organized. This style is unique because it looks fancy, yet it can be made with plain tools like cotton swabs or the back of a brush.
Choose soft colors for a peaceful feel or bright colors for a lively one. You can also make each ring a different shade to give the stone more depth.
Many people like mandala stones for meditation corners, desks, and gift sets. They take a little patience, but the cost stays low and the results can look very polished.
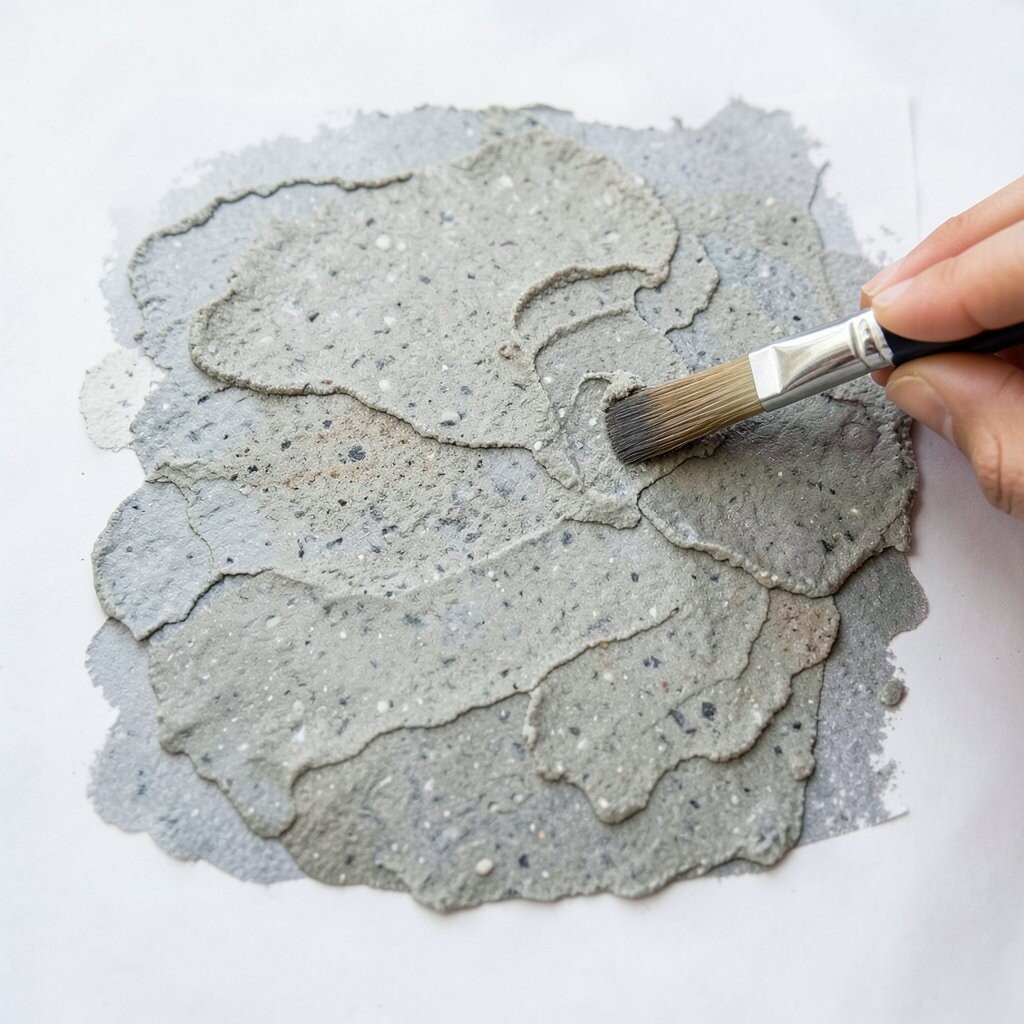
12. Mixed Texture Layering
Top Mixed Texture Layering Craft Tutorials
- 🗺️ Mixed media art project with layers and texture from facebook.com.
- 🍅 12 Pieces Stencils for Crafts, Brick Dot Layering … from shop.tiktok.com.
- 💅 Abstract Collage with Layers of Texture – The Far Pavilion from thefarpavilion.com.
- 👓 Mixed Media Cardmaking: Layered Watercolor & Texture from altenew.com.
- 💅 How to add Layered Textures to a Scrapbook Layout – from papercraftsecrets.com.au.
Layering different paint marks can make a stone feel rich and full of character. You can mix dots, lines, splashes, and little shapes on one rock for a fun collage look.
Start with a base coat, then add details after it dries. Try a stripe with dots on top, or a flower with a speckled background. This approach is great for beginners because there is no single right way to do it, and each stone becomes one of a kind.
You can match the colors to a season, a favorite room, or a special event. If you want a trendy look, use soft neutrals with one bright accent color for contrast.
This idea is also helpful if you have leftover paint from other projects, since many small bits can be used together. It keeps costs low and gives you a playful way to make each stone feel personal.