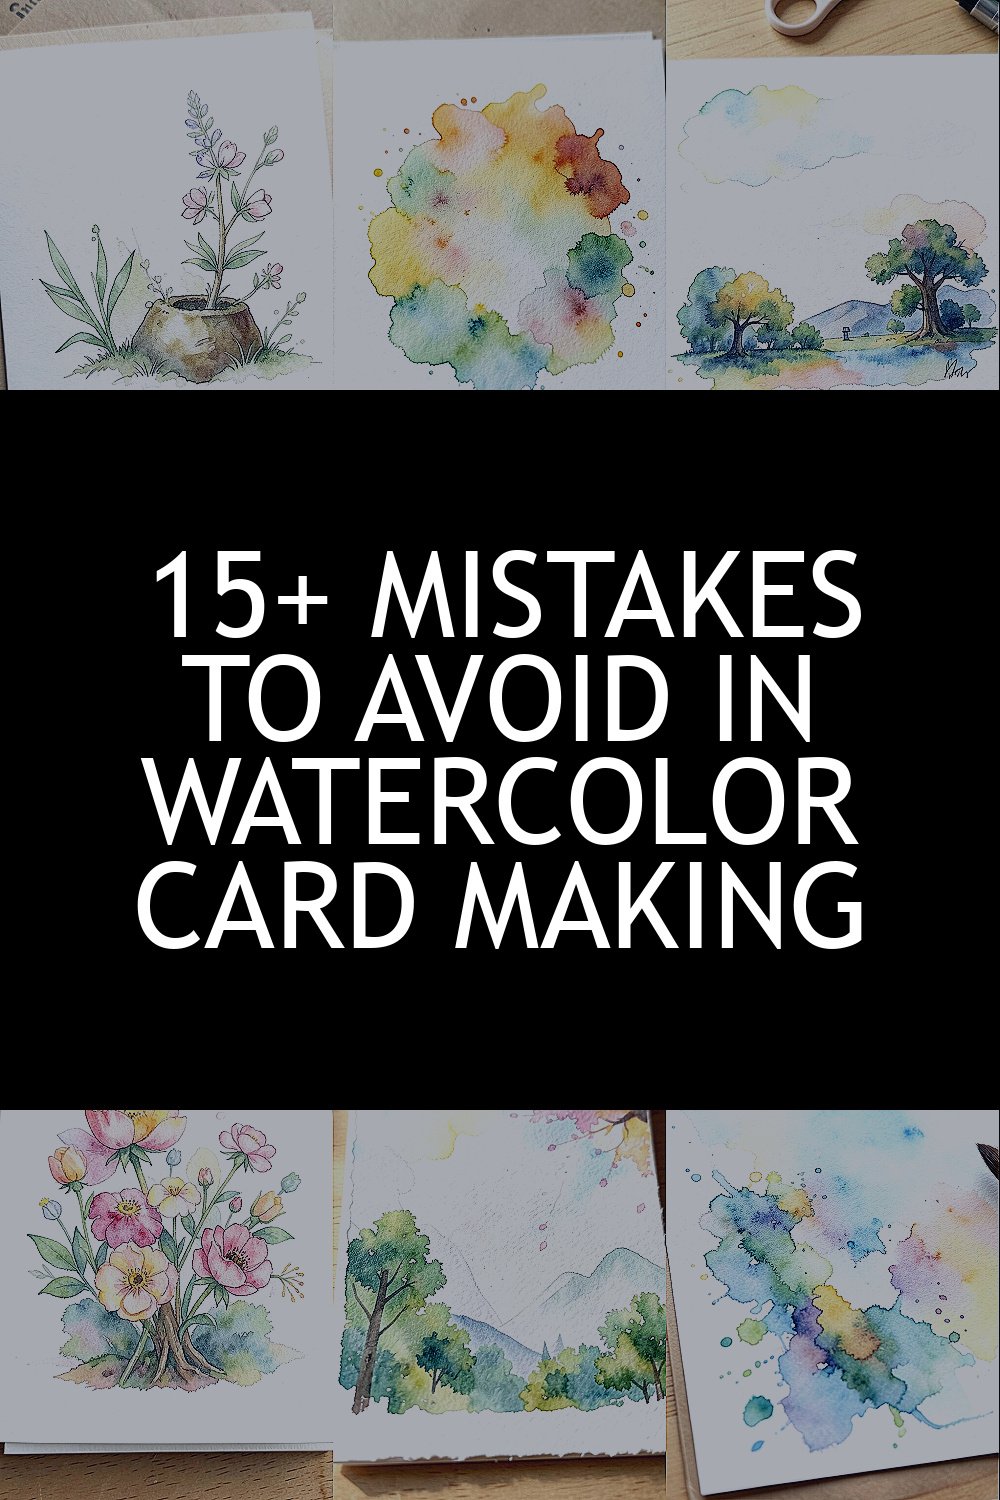
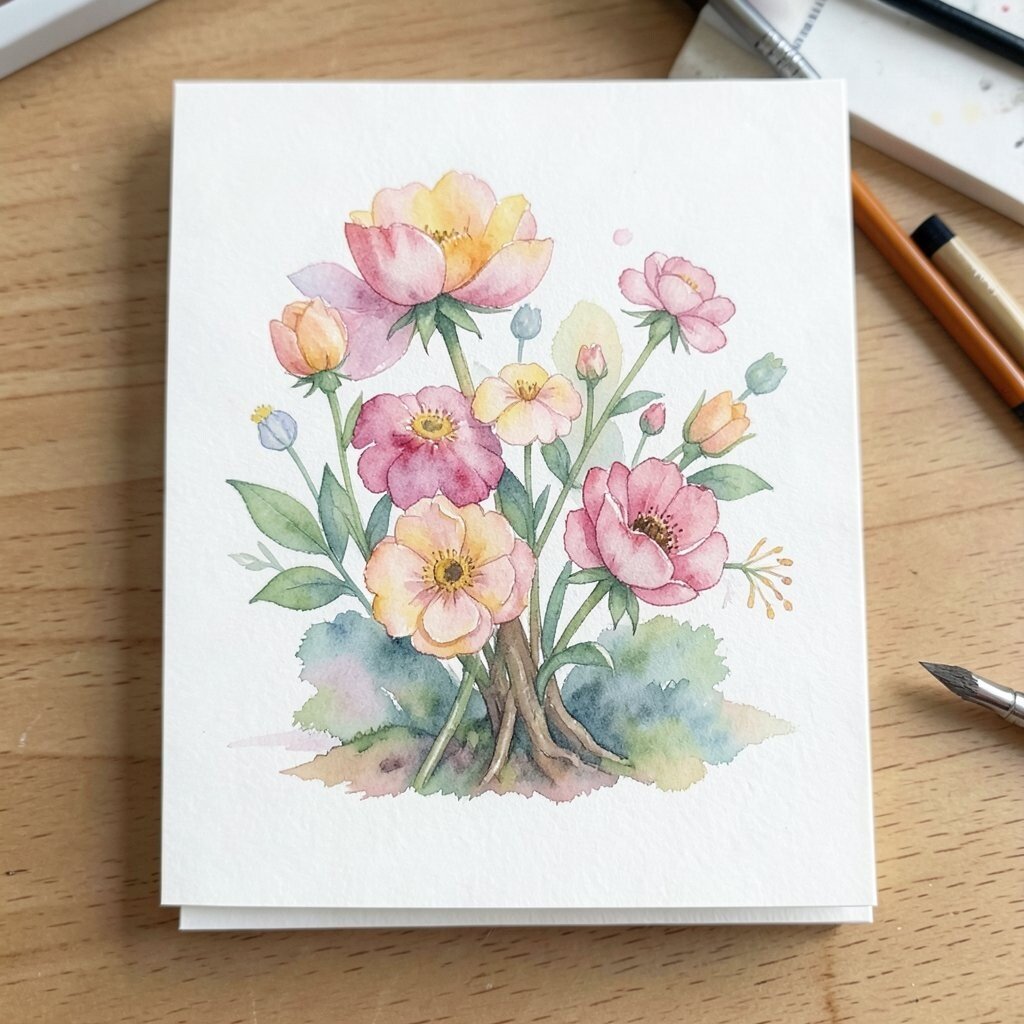
Watercolor cards can look soft, bright, and full of charm. Tiny choices can make them shine or fall flat.
1. Using Paper That Is Too Thin

Top Using Paper That Is Too Thin Craft Tutorials
- 🍅 Creative Things to Make Out of Paper for All Ages from sliceproducts.com.
- 🎄 Making thank you cards with craft paper from facebook.com.
- 🎄 Paper Mache Beginner's Guide (Easy!) from thegraphicsfairy.com.
- 🗺️ How to Make Paper with Kids: A step-by-step tutorial from tinkerlab.com.
- 🖼️ Construction Paper Crafts for Kids to Make from howweelearn.com.
Thin paper buckles fast when wet paint hits it, and the card can end up wrinkled and sad-looking. A sturdy watercolor paper gives your colors a smooth home and helps the finished card look neat and special.
Many makers like cold press paper because it has a light texture that adds interest without stealing the spotlight. If you want a clean modern look, hot press paper can feel sleek, while textured paper can make florals and loose washes feel more handmade. A better paper choice may cost more at first, but it saves time, paint, and frustration.
2. Skipping a Test Swatch

Top Skipping A Test Swatch Craft Tutorials
- 🍂 please stop bragging about skipping a gauge swatch from reddit.com.
- 🍂 Crochet Gauge Swatch: The LAZY method from whistleandivy.com.
- 🍁 To Swatch Or Not To Swatch – The Importance Of Gauge from stitchandstory.com.
- 💅 How to Knit or Crochet a Gauge Swatch – Lion Brand Notebook from blog.lionbrand.com.
- 🎄 Do you make a gauge swatch before starting a project? from facebook.com.
Paint can dry much lighter or darker than it looks in the pan, and that surprise can ruin a pretty card front. A quick swatch on scrap paper helps you see the real color before it lands on your final piece.
This small habit is extra useful when you are mixing custom shades for birthdays, weddings, or holiday cards. It also helps you plan a style that feels personal, from soft blush flowers to bold jewel tones. If you are watching your budget, swatching keeps you from wasting good paper on a color you do not love.
Many card makers keep a little color chart near their desk so they can match shades fast. That simple step makes the process calmer and helps every card feel more planned.
3. Adding Too Much Water at Once
Top Adding Too Much Water At Once Craft Tutorials
- 🍅 Water & Glue… Who Knew? : 11 Steps (with Pictures) from instructables.com.
- 👓 "I need crafting space for water" . . . how am I supposed to … from reddit.com.
- 🧑🌾 What goopy substance to use in a glitter water bottle craft? from facebook.com.
- 🎄 A little bit of water and you can transform foam craft sheets … from instagram.com.
- 🗺️ How to Make Oobleck | Kids Coloring Pages from pbs.org.
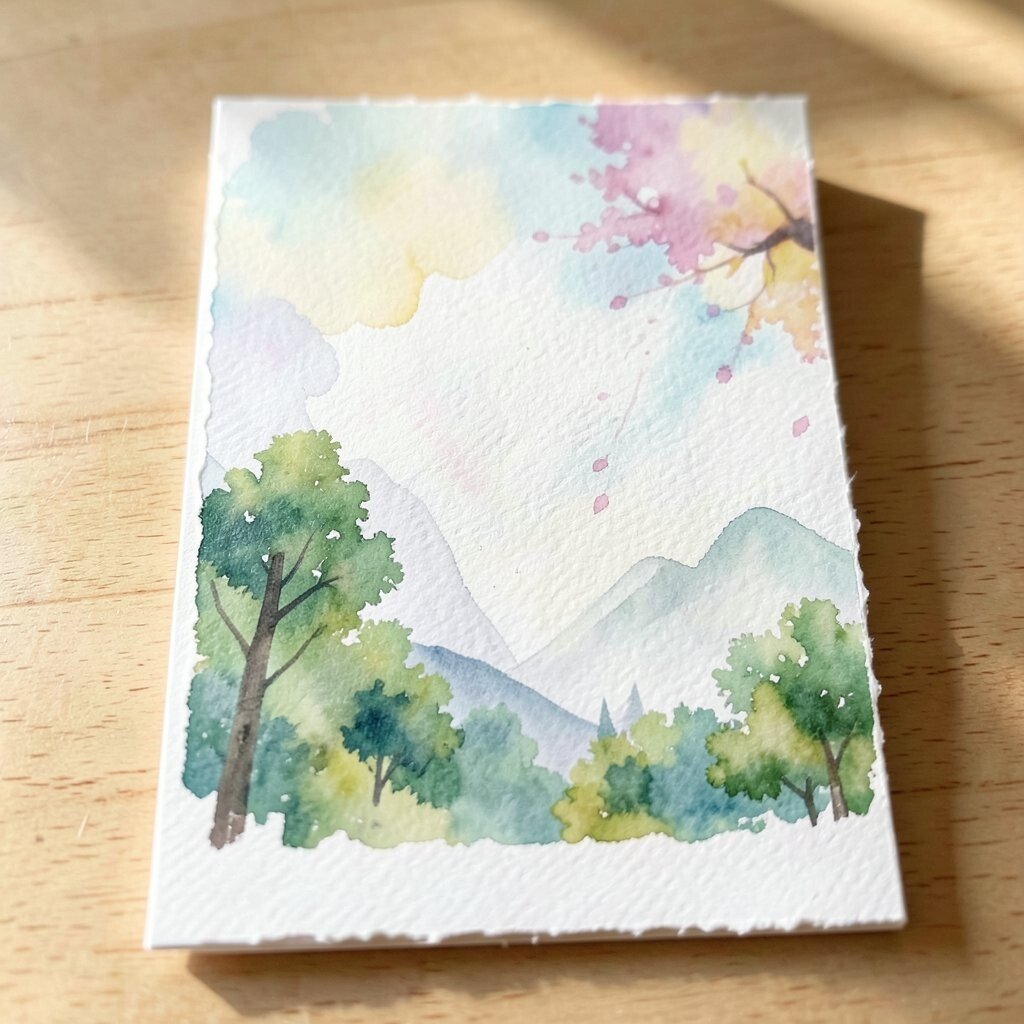
Heavy puddles can push pigment into messy blooms where you did not want them, and the image may lose its shape. Gentle layers give you more control and keep petals, leaves, and lettering looking crisp.
Try loading your brush lightly, then adding more water only when you need a softer edge. This makes it easier to build dreamy skies, soft wreaths, or pale backgrounds without flooding the page. A controlled wash also helps your cards dry faster, which is handy when you are making several at once for gifts or craft fairs.
Some artists like the loose, airy look that comes from extra water, so the trick is using it on purpose. A little practice can turn a common mistake into a style choice that feels fresh and modern.
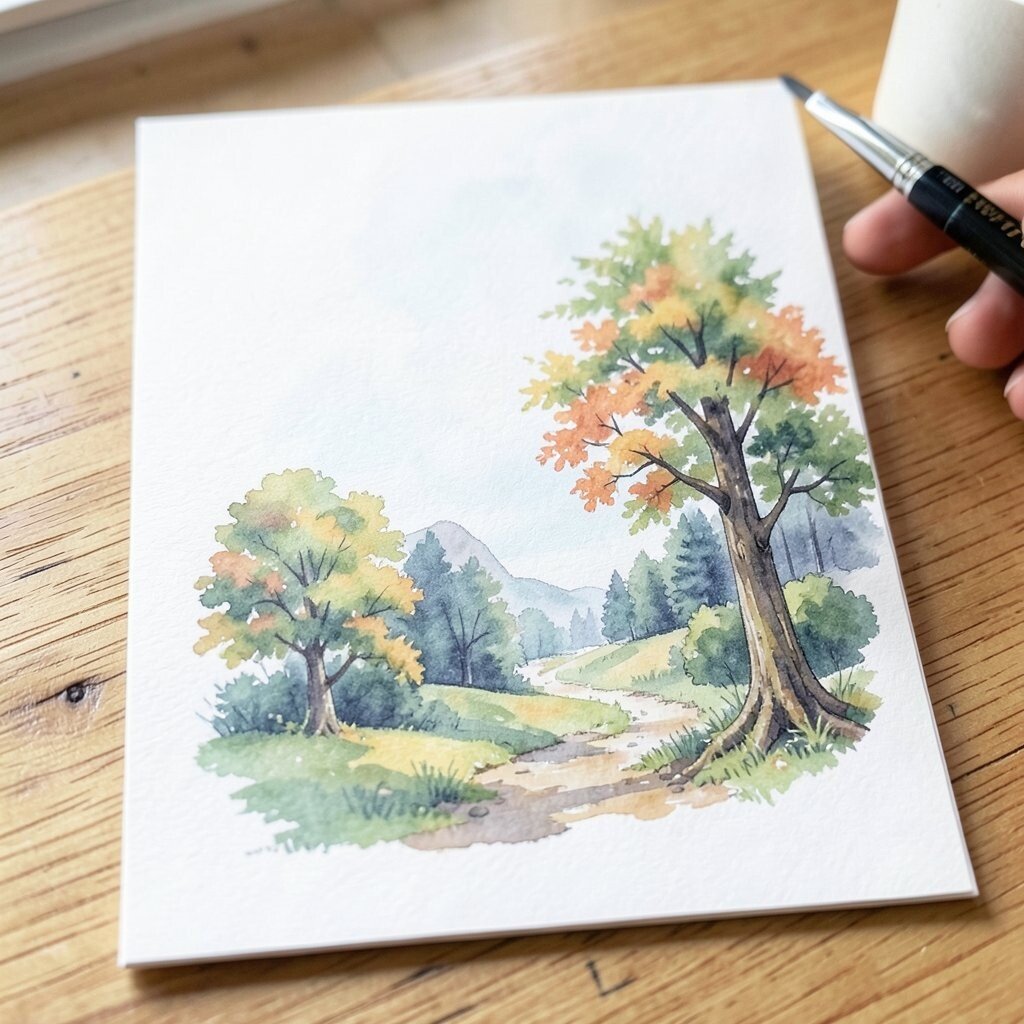
4. Forgetting to Plan the Focal Point
Top Forgetting To Plan The Focal Point Craft Tutorials
- 🎨 Focal point technique for crafting from facebook.com.
- 🍂 118 – 9 Different Types of Focal Points in Art from paintinglessonswithmarla.com.
- 🍅 Focal Point Photography: What to Know & How to Nail It from peerspace.com.
- 🍂 Calendar • Pembroke Pines, FL • CivicEngage from ppines.com.
- 👓 Work in progress focal point collage for class #art #crafts … from instagram.com.
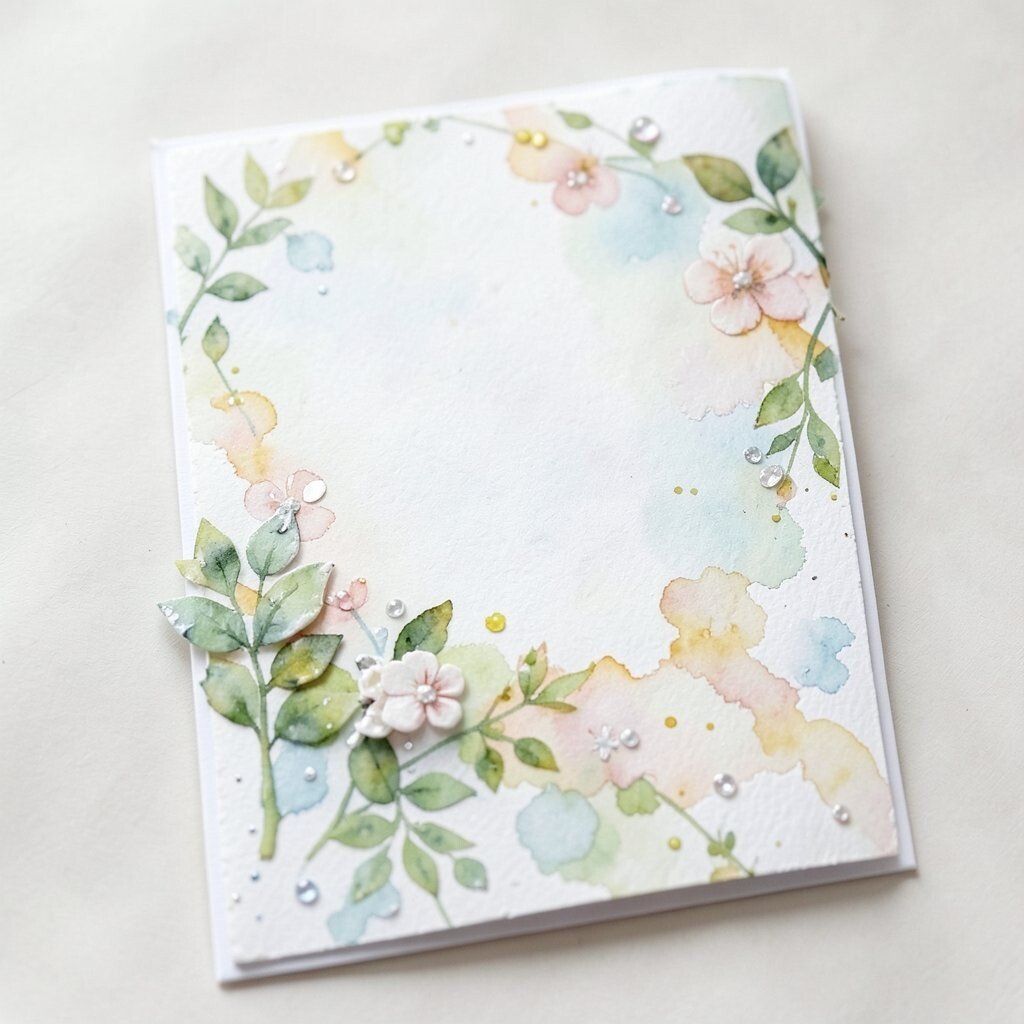
A card can feel busy if every flower, splash, and stamp tries to be the star. A clear focal point gives the eye a place to rest and makes the design feel polished.
Think about where you want the main image, greeting, or painted shape to sit before you start. A centered bloom, a corner wreath, or a soft wash behind a sentiment can all work well. Planning this early also helps you personalize cards for the person who will receive them, which makes the finished piece feel more thoughtful.
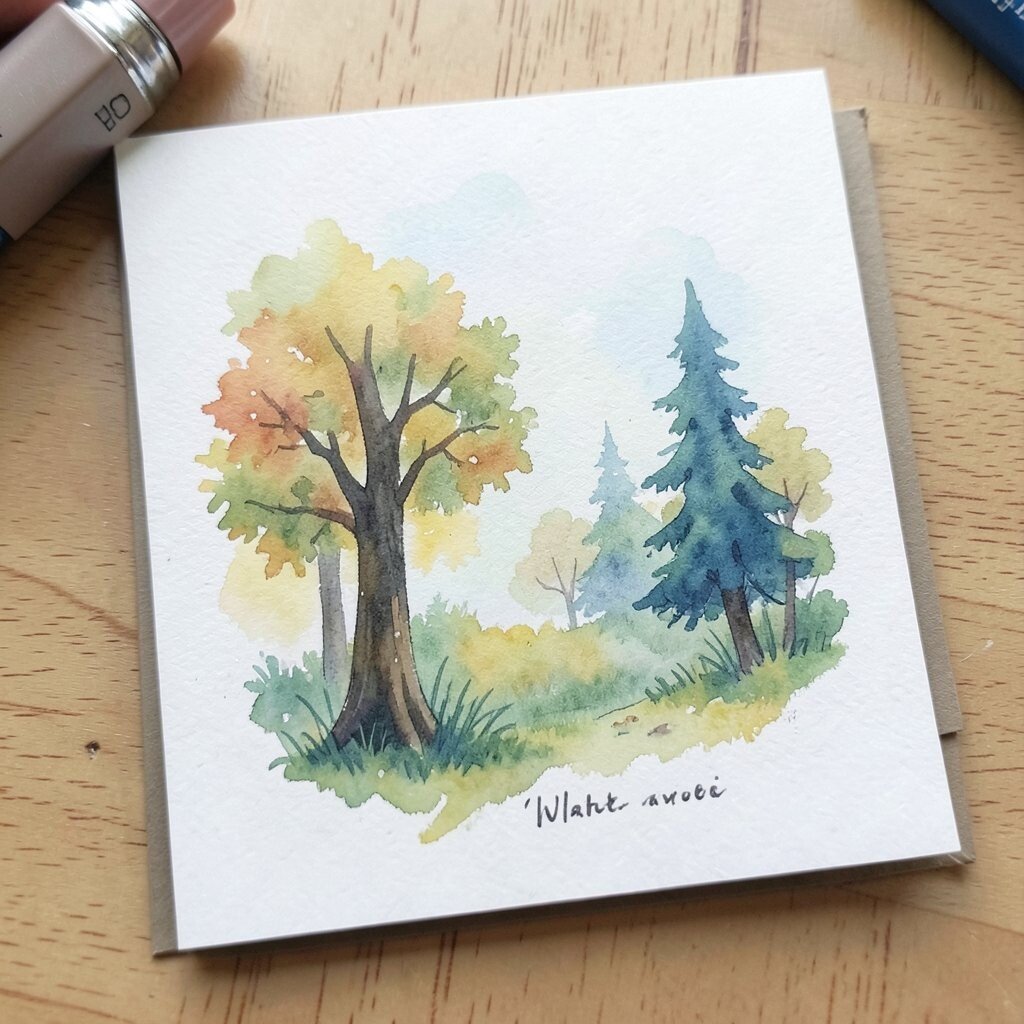
5. Using Colors That Fight Each Other
Top Using Colors That Fight Each Other Craft Tutorials
- 🎄 🌈 Joseph's Coat of Many Colors Craft 📸 Idea found on … from facebook.com.
- 🖼️ Five Minute Crafts: Gel Paint Color Mixing Experiment from leftbraincraftbrain.com.
- 🍅 5 Crafts to Help Your Kids Learn About Colors and Shapes from thecraftpaintery.com.
- 🍂 Fruit of the Spirit Bible Crafts and Bible Games For Sunday … from daniellesplace.com.
- 🎨 Why do complementary colours desaturate each other? from crafts.stackexchange.com.
Some color mixes look loud in a way that feels messy instead of lively, especially on a small card front. Choosing shades that get along can make your art feel calm, bright, or elegant, depending on the mood you want.
Soft blush with sage, blue with gold, or coral with cream are easy pairings that often look good together. If you enjoy trendy looks, muted earth tones, misty pastels, and deep moody florals are popular choices right now. A balanced palette can also save money because you may need fewer paints to make many lovely combinations.
When in doubt, keep one color as the main voice and let the others support it. That simple rule can turn a busy card into a pretty keepsake.
6. Rushing the Drying Time

Top Rushing The Drying Time Craft Tutorials
- 👓 I know you should not rush art but how do I make oil paint … from facebook.com.
- 🍅 Art and Craft Safety Guide from cpsc.gov.
- 🧑🌾 is it possible to make mod podge cure faster? : r/crafts from reddit.com.
- 🎨 Paint Dry and Paint Cure… Two Totally Different Things & A … from salvagedinspirations.com.
- 🍅 Here's a fab little kids' craft that kept my boys busy for ages … from facebook.com.
Wet layers need space to settle, and painting too soon on top can cause muddy edges and dull spots. Patience gives each layer a chance to stay bright and clean.
You can air-dry cards on a flat surface, or use a gentle heat tool if you want to speed things up. Just keep the heat moving so the paper does not curl or scorch. Waiting a bit longer may feel slow, but it often leads to sharper flowers, smoother washes, and a neater final card.
Many makers use drying time to trim sentiments, choose ribbon, or plan the next design. That small pause can make the whole craft session feel more relaxed and fun.
7. Making the Design Too Crowded
Top Making The Design Too Crowded Craft Tutorials
- 🎨 Ever spend a bunch of time designing something… only to … from facebook.com.
- 🧑🌾 A Craft Room Planning Guide – How to Design the Best … from my100yearoldhome.com.
- 👓 Design's Value in Organizations: Reclaiming Craft and Taste from linkedin.com.
- 🍁 How to Design a Quality Booth for Your Next Craft Show from craftlakecity.com.
- 🍂 How to Design Craft Projects for Large Groups – Sophie's World from sophie-world.com.
Cards only have a small space, so too many leaves, dots, and splashes can make the page feel packed. A little open space can be just as lovely as a full painted area.
Leaving breathing room helps your main art stand out and gives the card a clean, modern look. It also makes room for a handwritten note, stamped message, or tiny embellishment. If you want a more personal touch, you can leave extra white space near the recipient’s name or a short quote.
Minimal designs are a strong trend because they feel fresh and easy to read. They can also save time and paint, which is great when you are making several cards for a busy season.
8. Ignoring the Edges
Top Ignoring The Edges Craft Tutorials
- 🎨 What color to add to craft project? from facebook.com.
- 🎄 You will find me ignoring every timeline and craft for the ✨ … from instagram.com.
- 💅 If you resolved to stop ignoring your mending pile in 2026, … from instagram.com.
- 🍁 Crafter hacks for ignoring binding machine limits from facebook.com.
- 🍁 ignore diagonal trees in glade edges – what is it : r/ … from reddit.com.
Messy edges can make even a pretty painting look unfinished, especially when the card is folded and held in the hand. Clean borders help the art feel framed and cared for.
Try masking tape, a deckled edge ruler, or a simple trim after the painting dries. Each choice gives a different look, from crisp and modern to soft and handmade. A tidy edge can also make the card easier to mail and more likely to fit a matching envelope.
If you like a rustic style, you can still keep the edges intentional. Torn paper, stamped borders, or a painted wash that fades off the side can feel unique without looking sloppy.
9. Choosing Brushes That Are Hard to Control

Top Choosing Brushes That Are Hard To Control Craft Tutorials
- 🎨 What brushes are best for dry brushing? from facebook.com.
- 🎨 Do people usually buy stiff brushes for linework and detail? from reddit.com.
- 🍂 10 of the Best Paint Brushes for Artists of All Skill Levels from mymodernmet.com.
- 🖼️ All About Brushes For Acrylic Painting – Beginner Guide from stepbysteppainting.net.
- 👓 Acrylic paint brush guide from montmarte.com.
A brush that is too big or too stiff can make small card details feel clumsy. The right brush helps you make smooth petals, neat stems, and delicate lines with less effort.
Round brushes are a favorite because they can hold water and still make pointed tips for tiny marks. A small liner brush is handy for stems, lettering flourishes, and fine dots. Good brushes may cost more, but they often last longer and give better results, which matters if you make cards often.
Some artists keep just a few trusted brushes instead of a huge set. That simple kit can feel less confusing and more fun to use.
10. Forgetting to Match the Card Style to the Occasion

Top Forgetting To Match The Card Style To The Occasion Craft Tutorials
- 🖼️ 💌 Learn how to make an envelope for any occasion with … from facebook.com.
- 💅 JenniferMaker.com from facebook.com.
- 🗺️ 12 hours to go! Don't forget to download today's Spring … from instagram.com.
- 🍁 Easy DIY Card Garland: Turn Old Cards into Festive Decor! from lemon8-app.com.
- 👓 Learn how to make an envelope for any occasion with my … from facebook.com.
A playful paint splash may be perfect for a birthday, but it may not fit a sympathy card or wedding note. Matching the mood to the event helps your card feel thoughtful and sincere.
Soft florals, pale blues, and quiet greens often suit gentle moments, while bright confetti colors can feel cheerful for celebrations. For a more personal card, you can match the colors to a favorite flower, hobby, or season. This small choice makes your card feel custom-made instead of pulled from a stack.
Current trends often lean toward handmade looks that still feel clean and simple. That balance can make your card feel stylish without losing warmth.
11. Overmixing the Paint
Top Overmixing The Paint Craft Tutorials
- 🍅 This painting wouldn't exist without creating a colour mixing … from instagram.com.
- 👓 Puffy paint is so easy to make and it's SO MUCH FUN … from facebook.com.
- 🍁 Puffy Paint Easter Eggs… mix equal parts of white school … from facebook.com.
- 👓 How to Make Texture Art from sharifacreates.com.
- 💅 Color Mixing Chart: An Artist's Guide to Mixing Paint Colors from visualartspassage.com.
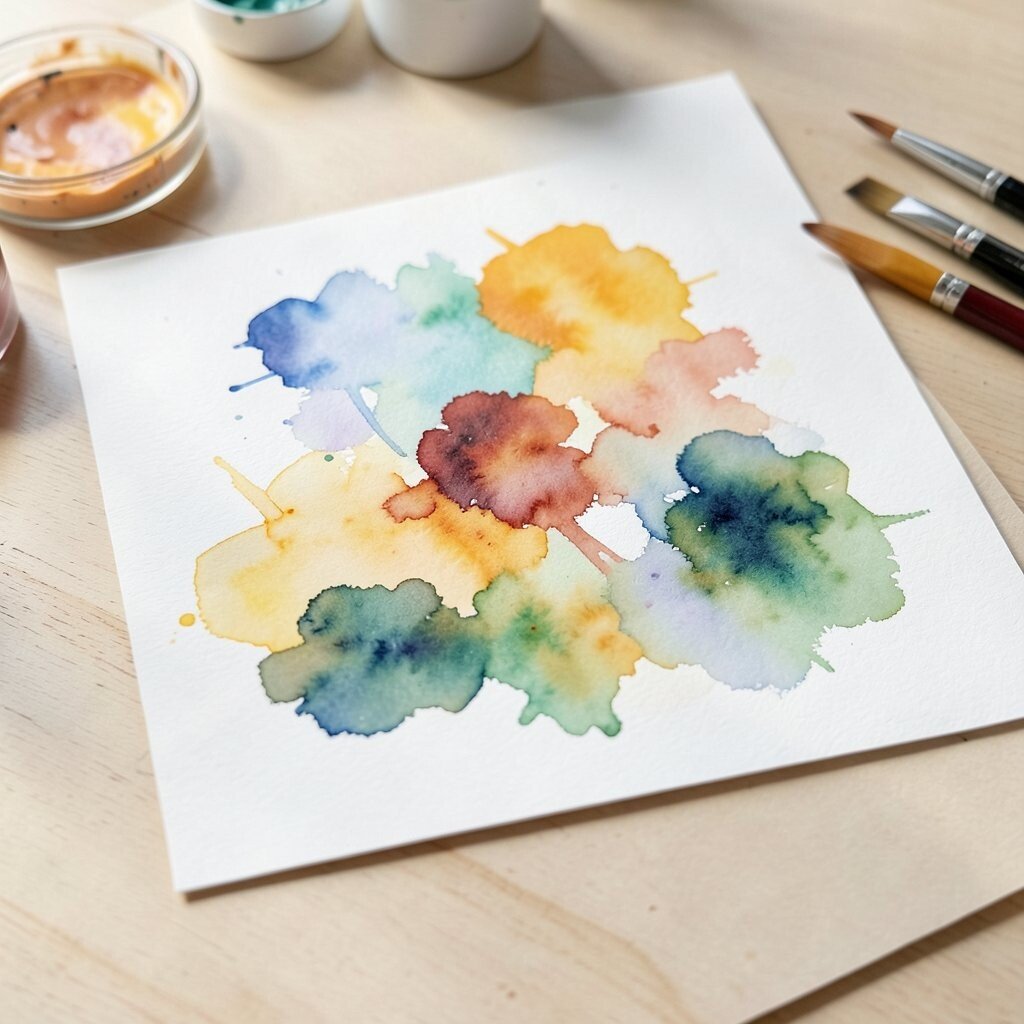
When colors are stirred too much, they can turn dull and flat instead of lively and fresh. A few gentle swirls are often enough to keep the paint bright and full of life.
Try stopping as soon as the shade looks right on your palette. If you keep blending, you may lose the pretty streaks and soft shifts that make watercolor so charming. A little variation can give petals, skies, and backgrounds a natural look that feels handmade in the best way.
Some card makers even save a few uneven spots because they add character. That tiny bit of surprise can make each card feel one of a kind.
12. Using Too Many Embellishments
Top Using Too Many Embellishments Craft Tutorials
- 🍅 Craft / Embellishment limit : r/wownoob from reddit.com.
- 🧑🌾 Embellishment Limit and 2 piece craft set from us.forums.blizzard.com.
- 🗺️ Did I ruin this by using too many embellishments? from facebook.com.
- 🍅 DIY Faux Metal Embellishments for Crafts – Extraordinary! from thegraphicsfairy.com.
- 🧑🌾 How to store handmade embellishments? from facebook.com.
Ribbons, gems, gold splatter, and stickers can be fun, but too many can cover the art. The painted image should still be the main star.
Pick one or two accents that support the design instead of crowding it. A touch of gold leaf can make a floral card feel rich, while a simple twine bow can add a cozy handmade feel. If you are keeping costs low, a small detail can still look fancy without using many supplies.
Minimal accents are also easier to mail and less likely to fall off. That makes the card both pretty and practical.
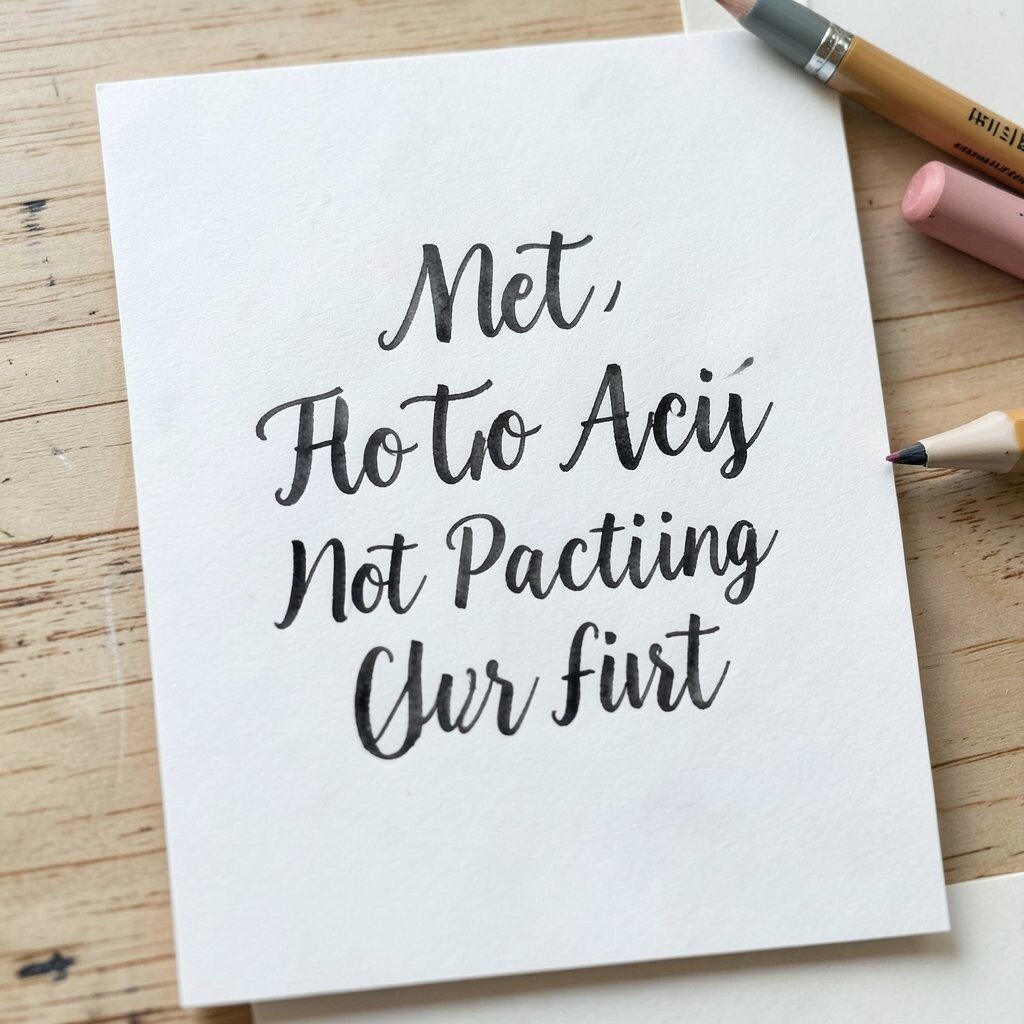
13. Not Practicing Lettering First
Top Not Practicing Lettering First Craft Tutorials
- 🎄 First time trying hand lettering, not too bad from facebook.com.
- 🧑🌾 Hey friend, If you've been practicing hand lettering but … from instagram.com.
- 👓 So you're a total newbie to calligraphy/lettering… from thehappyevercrafter.com.
- 🖼️ How do i start learning hand lettering? from reddit.com.
- 💅 How do you practice hand lettering for beginners? from lemonyfizz.com.
Handwritten words can wobble when you rush them onto the final card. A quick practice sheet helps your message look calmer and more confident.
Try writing the greeting a few times on scrap paper before you place it on the painted piece. You can test different sizes, slants, and placements until it feels right. If you want a more personal touch, use the recipient’s favorite phrase, a short blessing, or a name written in a style that fits their taste.
Brush lettering, block letters, and tiny printed words are all popular in card making. The best choice is the one that matches your art and feels easy enough to repeat.
14. Painting Without Thinking About Layer Order
Top Painting Without Thinking About Layer Order Craft Tutorials
- 🍁 Creating a layered acrylic painting on 11×14 canvas from facebook.com.
- 🍅 The first layer vs. the final layer of my recent oil painting! I … from reddit.com.
- 🍅 Layered Abstract Paintings with Kids – ARTBAR – Art Bar Blog from artbarblog.com.
- 🍁 Layering with Watercolors: Master Each Layer of Your Portrait from skillshare.com.
- 💅 We explore the power of layering in art! Don't randomly add … from facebook.com.
Some parts of a design need to sit behind others, and painting them in the wrong order can cause confusion. Planning the layers helps the card look clear and neat.
Start with light washes and background shapes, then add leaves, petals, and fine details later. This method keeps important parts from getting buried under darker paint. It also helps you build depth, which makes even a small card feel rich and full.
15. Forgetting to Leave Time for Small Fixes
Top Forgetting To Leave Time For Small Fixes Craft Tutorials
- 🎨 7 craft projects completed, 1 more to go from facebook.com.
- 🍅 Simple DIY Fixes That Turned Out Perfect from facebook.com.
- 🎨 Three Easy Fixes for Common Craft Problems from killzoneblog.com.
- 🧑🌾 15 Crafty Links To Kick Your Summer Into High Gear … from aprettyfix.com.
- 🍁 They fixed the repair feature and no one is bugging out? … from reddit.com.
Even a lovely card may need a tiny touch-up, like a softer edge, a darker stem, or a cleaner sentiment. Leaving space in your process for these fixes can make the final piece look much better.
Keep a damp brush, a clean cloth, and a scrap of paper nearby so you can lift, soften, or test as needed. Small repairs are often cheaper than starting over, and they can save a piece you were ready to toss. That little bit of care can make your handmade cards feel more polished and more personal.
Many card makers now keep a simple cleanup kit at their desk. It is a small habit, but it can save time and protect your favorite supplies.
16. Forgetting to Make the Card Your Own
Top Forgetting To Make The Card Your Own Craft Tutorials
- 🍅 Creating cards with old craft kit supplies from facebook.com.
- 🍁 Forget Me Not Crafts – Make it. Make a difference from alzheimers.org.uk.
- 🍅 Seeking a new craft hobby, I've run out of ideas from reddit.com.
- 🎄 Make your own easy Male Birthday Cards and Gift Wallet. from mitosucrafts.com.
Copying trends can be helpful, but a card feels most special when it carries your own style. A tiny signature touch can make your work easy to recognize and more fun to create.
You might use a favorite flower, a repeat color palette, a special quote, or a little painted symbol that means something to you. Personal choices can also help you make cards for friends and family that feel truly made for them. If you want to keep your supply list simple, a personal style can help you use the same tools in fresh ways.
Handmade card trends come and go, but your own taste gives your art staying power. That is what turns a pretty card into a keepsake someone wants to save.