Watercolor cards can look soft, bright, and full of feeling. They can also surprise you with tiny tricks that make every card feel special.
1. Start with a damp-first wash for a dreamy base
Top Start With A Damp-first Wash For A Dreamy Base Craft Tutorials
- 🖼️ Soft watercolor skies begin with one simple skill from instagram.com.
- 🍁 Layering colors with watercolor painting is a technique … from facebook.com.
- 🍅 Be sure to keep watching to see the magic unfold from instagram.com.
- 🖼️ Aristokraft: Affordable Kitchen & Bathroom Cabinets from aristokraft.com.
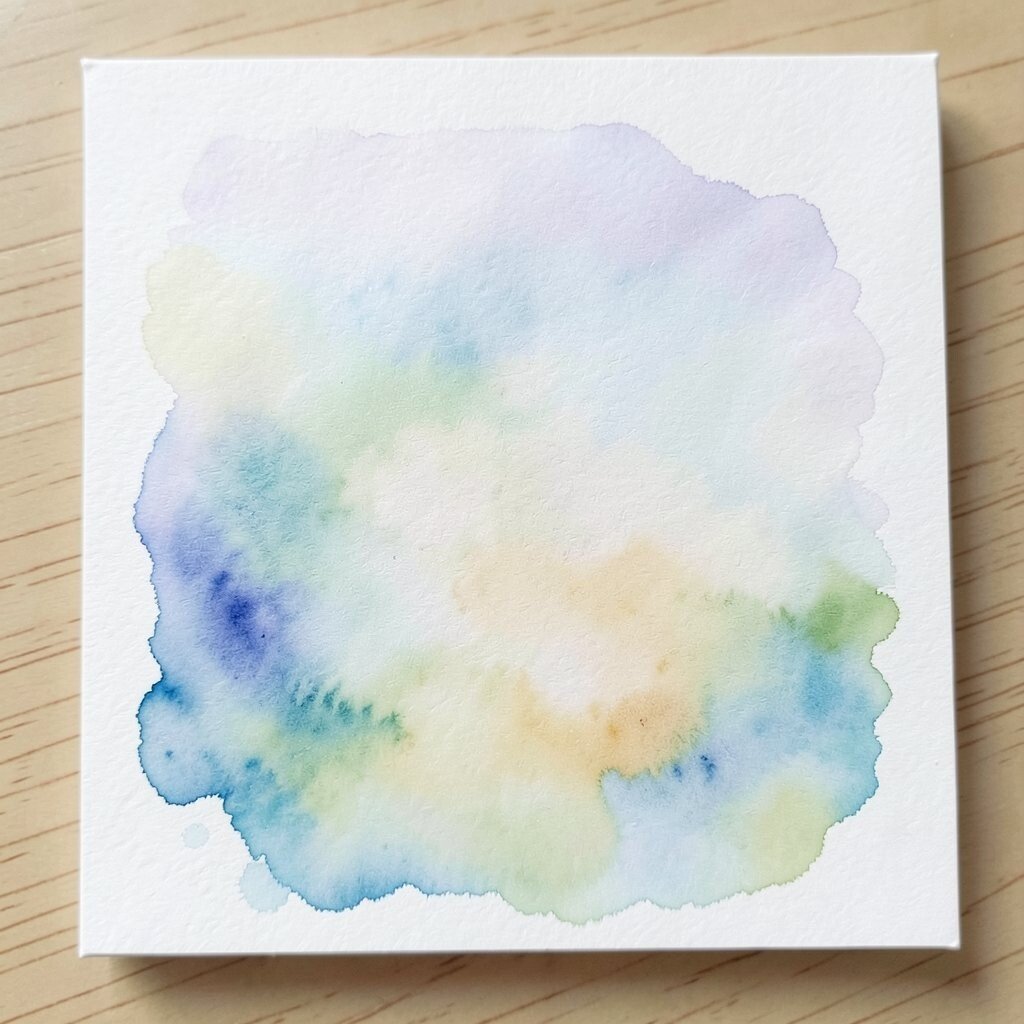
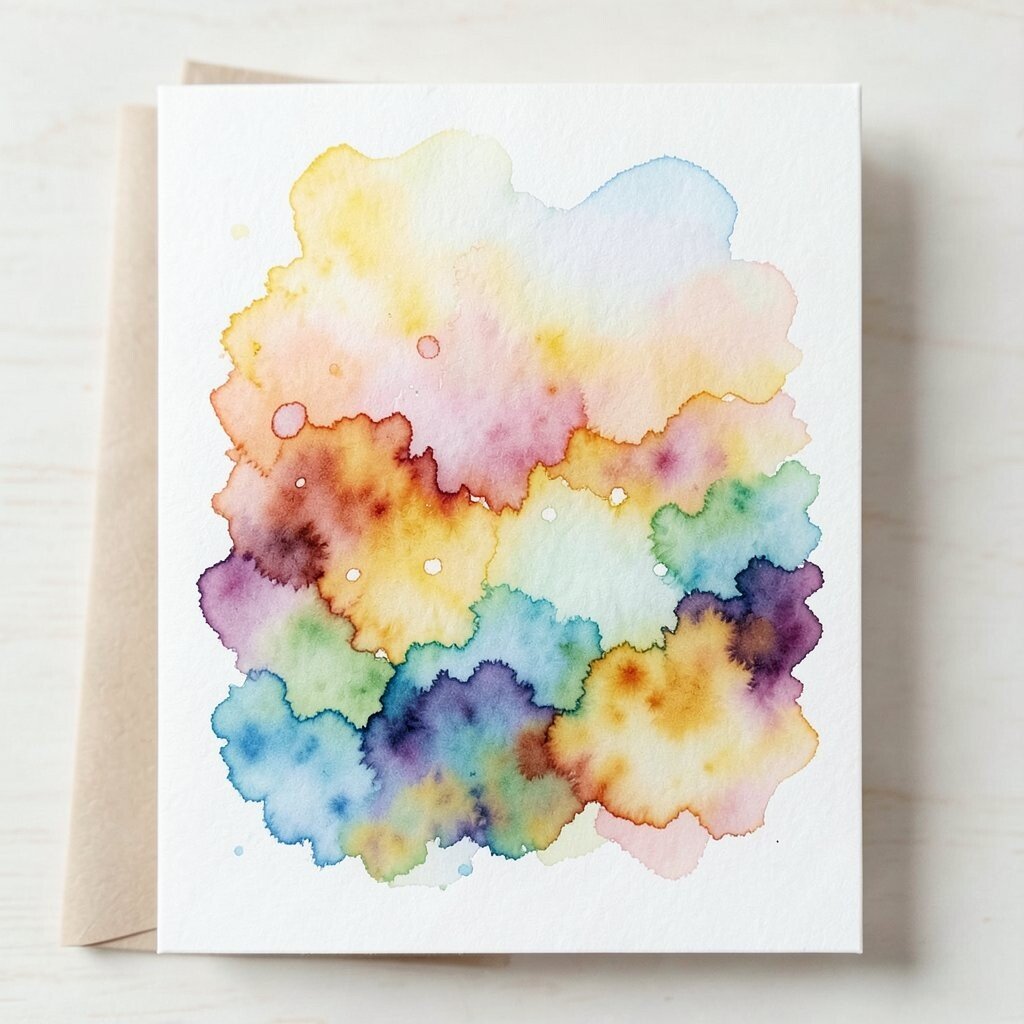
A damp-first wash gives your card a misty glow that feels gentle and calm. The color spreads in soft clouds, which makes the whole piece look peaceful and handmade.
This method is great when you want a quick background with very little effort. It uses less paint than heavy layering, so it can help save money too. Try pale blue, blush pink, or warm gold tones for a look that feels fresh and modern.
2. Use tape to make crisp edges that feel polished
Top Use Tape To Make Crisp Edges That Feel Polished Craft Tutorials
- 🧑🌾 Watercolor Card Making for Beginners with Tips and … from facebook.com.
- 💅 Easy Watercolor Mother's Day Card Tutorial (Step-by-Step) from foxandhazel.com.
- 🖼️ 7 Watercolor Art Ideas and Projects (Beginner-Friendly!) from altenew.com.
- 🎄 Simplifying Watercolor for Beginners (8 Simple Tips) from watercoloraffair.com.
- 🎄 Make gorgeous (cheater) watercolor prints using markers … from itsalwaysautumn.com.
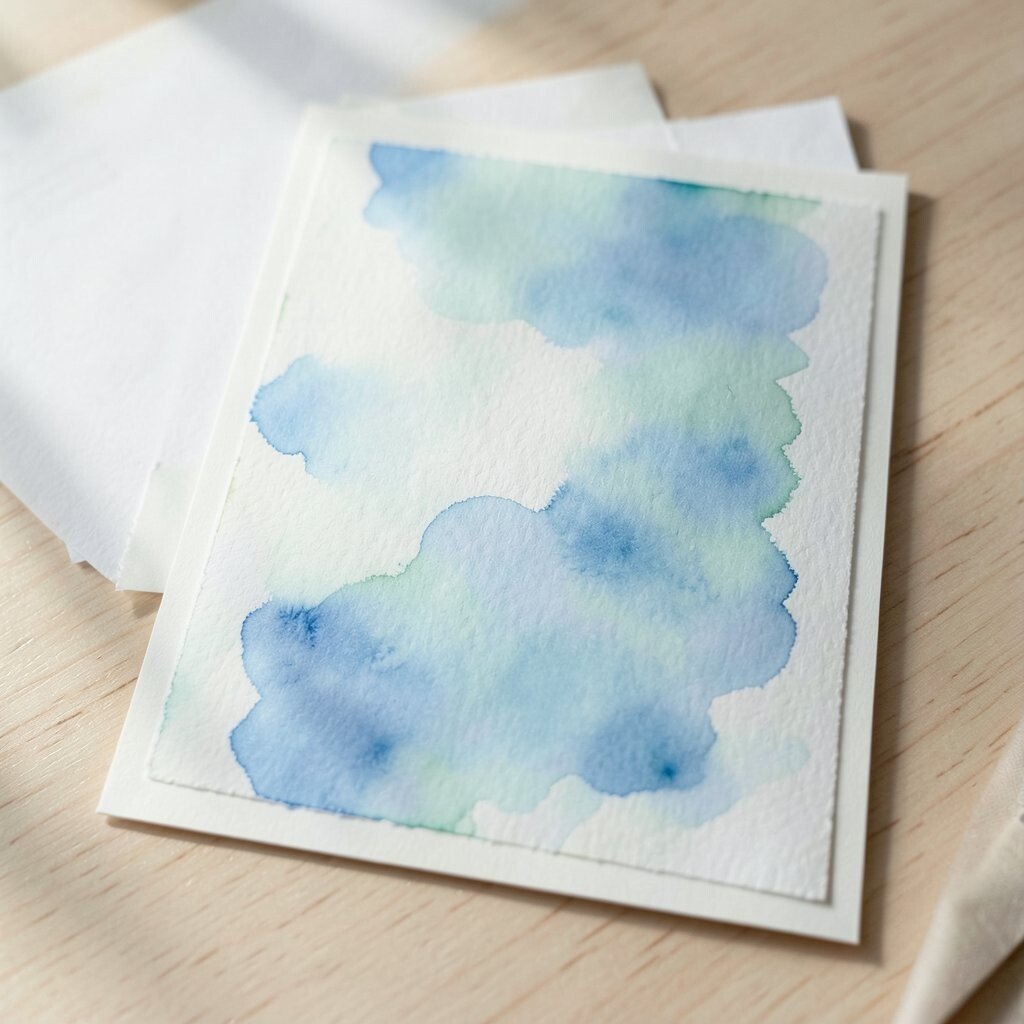
Painter’s tape can turn a simple card into something neat and bold. The clean lines make the colors pop and give your design a tidy frame.
This trick works well for modern cards, holiday cards, and thank-you notes. It also helps keep paint where you want it, which means less waste and fewer mistakes. You can leave wide borders, make stripes, or create sharp blocks of color for a style that feels personal and current.
For a fun twist, try angled tape lines or a small taped window in the center. A little gold ink or a stamped message can sit inside the empty space and feel extra fancy. If you like a simple look, use one color and let the white paper do the rest.
3. Salt can make tiny starry textures
Top Salt Can Make Tiny Starry Textures Craft Tutorials
- 🧑🌾 Creating a sparkly starry night sky effect in art journaling … from facebook.com.
- 🗺️ Salt Painting For Kids: A Fun New Art Project from familyfocusblog.com.
- 🗺️ How to Paint a Watercolor Galaxy – Allison Marie from allisonmariealexander.com.
- 🖼️ The most satisfying colorful DIY you'll see today 🌈 Save to … from facebook.com.
- 👓 Van Gogh's Starry Night… Microwaved – My Crazy Blessed Life! from mycrazyblessedlife.com.
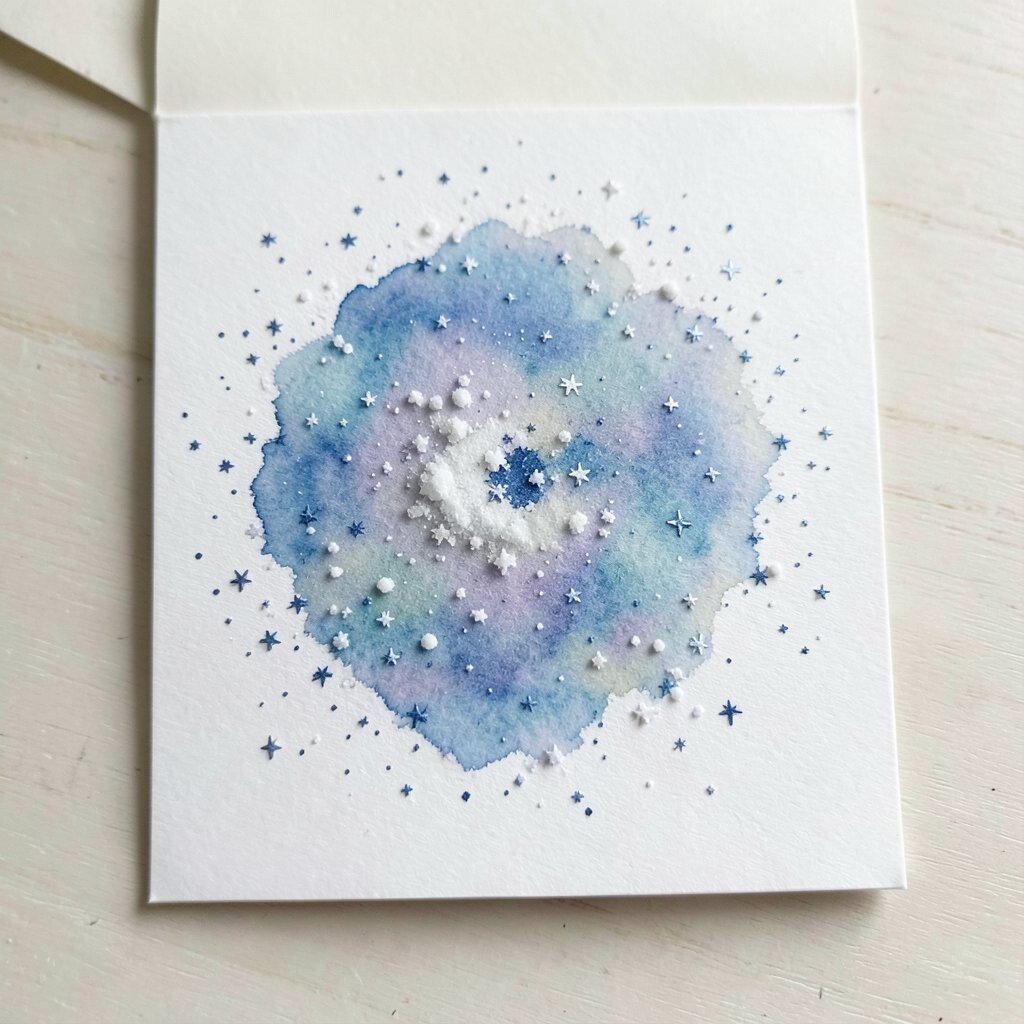
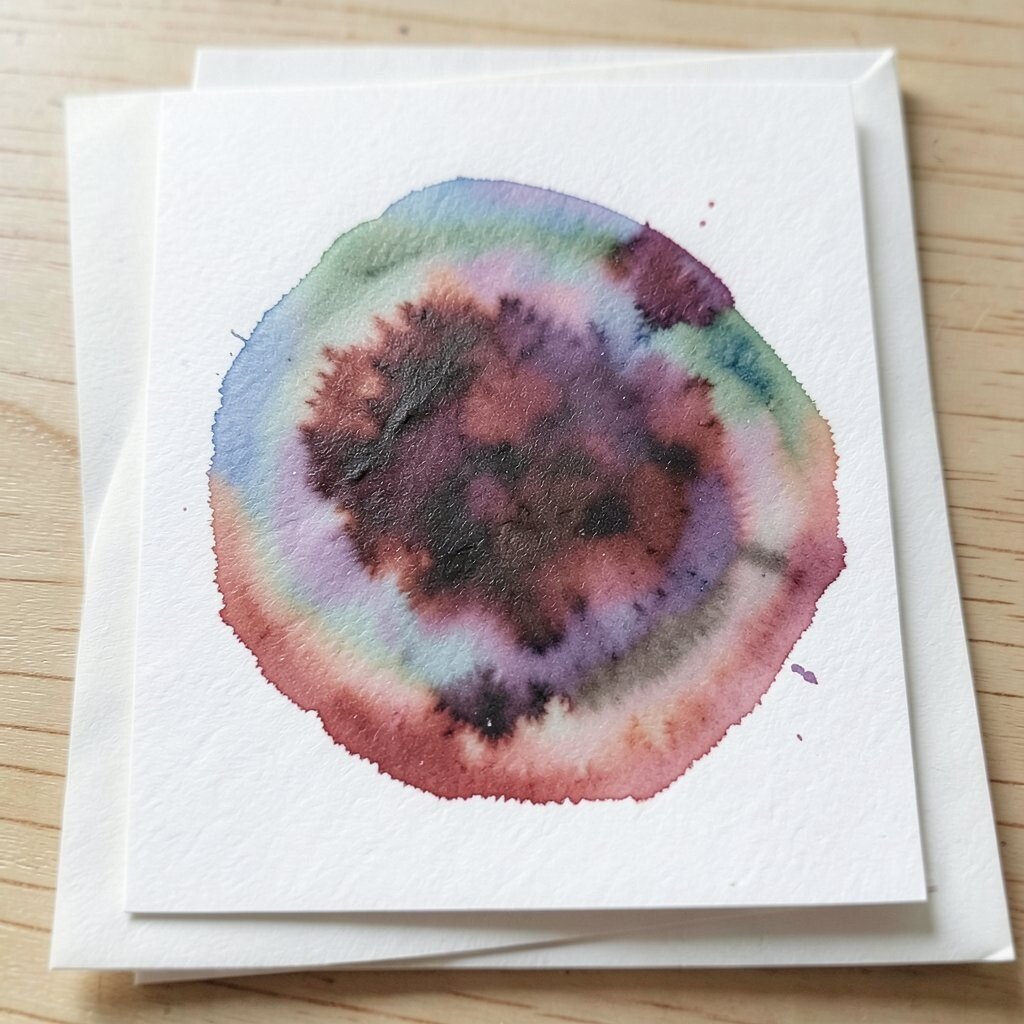
Sprinkling salt on wet watercolor gives you little specks and blooms that look like stars or snow. The effect feels magical because no two spots ever come out the same.
This is a low-cost way to add texture without buying special tools. Fine salt makes smaller dots, while chunky salt creates bigger, rougher marks. It works well for night skies, ocean scenes, and winter cards that need a bit of sparkle.
Wait until the paint is damp, not puddled, before adding the salt. After it dries, brush the grains away gently so the pattern stays clear. A dark background makes the texture stand out even more.
4. Try layered color for depth without heavy work
Top Try Layered Color For Depth Without Heavy Work Craft Tutorials
- 🗺️ What colors add depth to layered crafts? from facebook.com.
- 🗺️ The Art of Layering: Tips and Techniques for Building … from altenew.com.
- 🗺️ Building up colors with thin layers slowly from facebook.com.
- 🍁 How to use layers to add depth and details 🍁 This simple, … from instagram.com.
- 🎄 Designing a Layered Depth Map for Laser Cutting from daniellewethington.com.
Layering light washes gives a card a rich look without making it feel thick or muddy. Each new layer adds more life, like petals building into a flower.
This technique is useful for handmade cards that need a little more wow. It can also help you fix a plain area by adding soft shadows or brighter edges. Use colors that sit well together, like peach and coral or mint and teal.
5. Leave white space on purpose
Top Leave White Space On Purpose Craft Tutorials
- 🖼️ what to do with empty space on a craft project? from facebook.com.
- 🍁 White Space: An Annotation from brevitymag.com.
- 🗺️ Omori White Space + Neighbour's Room in Minecraft from reddit.com.
- 🗺️ 5 Myths About White Space in Design from giantcreates.com.
- 💅 How to Make Classic Coffee Filter Butterflies from onelittleproject.com.
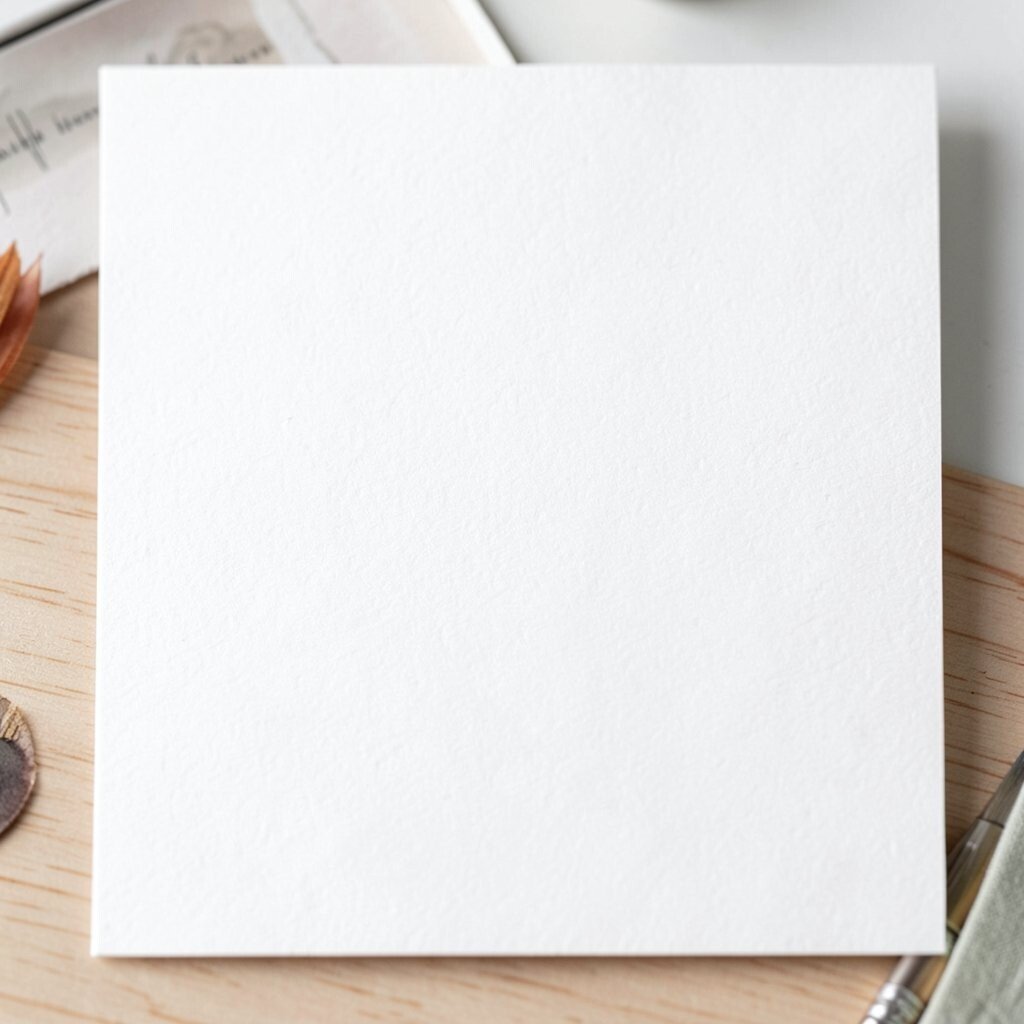
White space can make a card feel airy, bright, and full of style. It gives the eye a place to rest, which makes the painted parts look even stronger.
This is one of the easiest ways to make your work look more finished. It costs nothing and can make simple shapes feel elegant. A single flower, a small bird, or a loose wreath can look beautiful when the paper around it stays open and clean.
If you want a more personal touch, place the message where the blank area naturally leads the eye. You can also sketch a small shape first and paint around it instead of filling every inch. Many current card designs use this calm, open style because it feels fresh and modern.
6. Stamp first, paint after for a mixed-media look
Top Stamp First, Paint After For A Mixed-media Look Craft Tutorials
- 🗺️ Thank you for the demo on mixed media techniques from facebook.com.
- 🎨 Interactive mixed media page It's your choice to open the door…. from pitje4life.wordpress.com.
- 🎨 Mixed Media Card 6 – Bright Papers (and stamps) from christines-crafts.com.
- 💅 Mixed media art techniques – Laly Mille from lalymille.com.
- 🗺️ Creating a Mixed Media Art Journal from mixedmediaart.net.
Stamping before painting can give your card a strong outline and a playful hand-made feel. The ink lines help guide the watercolor and keep the image from getting lost.
This method is handy if you want faster results with a neat finish. It works well for flowers, leaves, animals, and simple holiday icons. You can use black ink for a bold look or brown ink for a softer, warmer feel.
Try filling stamped shapes with loose color and letting a few edges stay imperfect. That mix of order and freedom gives the card charm. It is also a smart way to stretch a small stamp set into many different card styles.
If you enjoy personal touches, add tiny painted details after the wash dries. A dot of gold, a few veins on a leaf, or a soft shadow can make the whole piece feel one of a kind. This trend is popular because it blends clean design with artsy brushwork.
7. Use a toothbrush for tiny paint splatter
Top Use A Toothbrush For Tiny Paint Splatter Craft Tutorials
- 🍅 Galaxy painted pot craft for kids. They'll love this toothbrush … from facebook.com.
- 🍅 Toothbrush Painting from simplefunforkids.com.
- 🍁 Toothbrush Splatter Painting from craftulate.com.
- 🎨 🎨 Splatter Art 💥🌈 A messy, magical painting activity kids … from facebook.com.
- 🎨 7 Acrylic Paint Splatter Techniques from novacolorpaint.com.
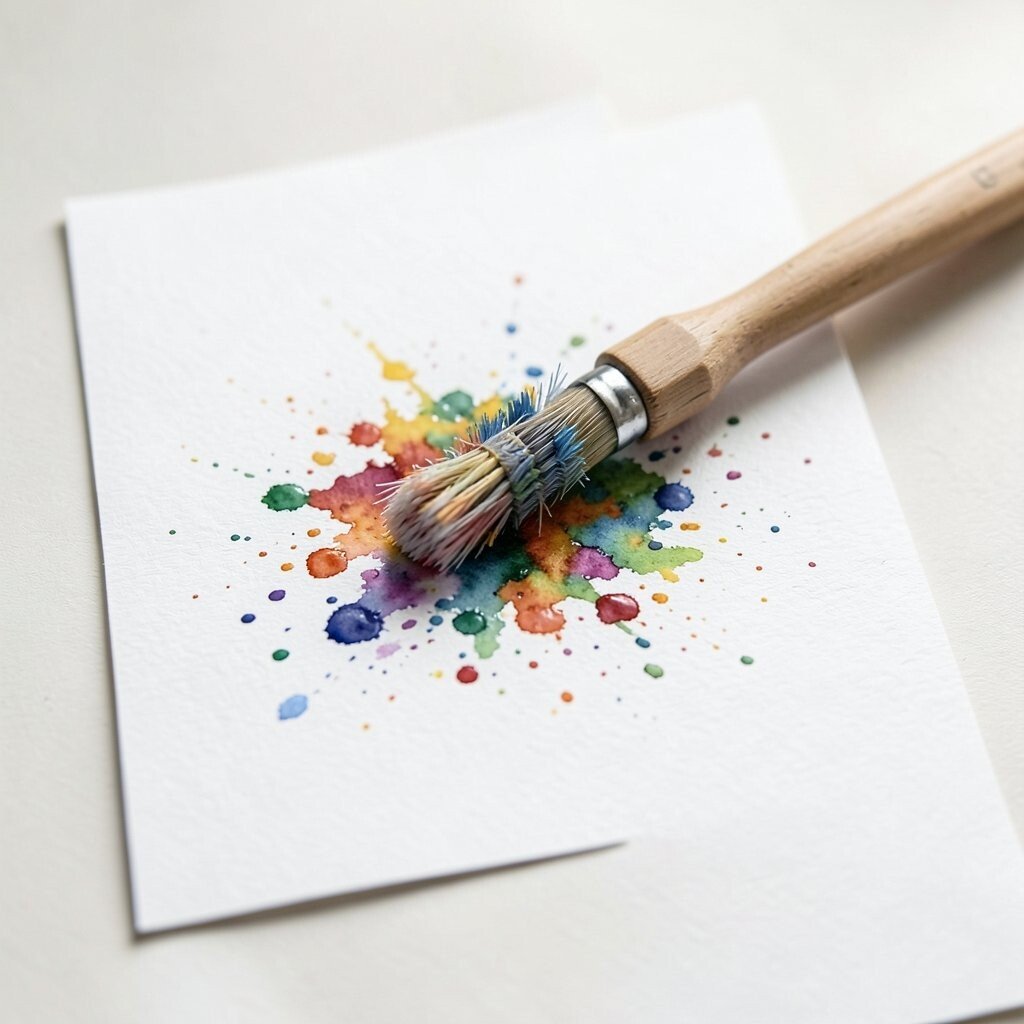
A toothbrush can spray tiny dots across a card and make it feel lively and fun. The splatter can look like confetti, rain, snow, or little bursts of energy.
This trick is cheap and easy, which makes it great for beginners. It also helps fill empty spaces without covering your main image. Use a shield of scrap paper if you want the dots to stay in one area.
Bright splatter around a simple shape can make the whole card feel more playful. It works especially well for birthday cards, art cards, and bold modern styles. You can choose soft pastel dots for a sweet look or dark specks for a dramatic one.
8. Paint with tea or coffee tones for a warm vintage mood
Top Paint With Tea Or Coffee Tones For A Warm Vintage Mood Craft Tutorials
- 🍁 Sudan Painter Uses Tea And Coffee To Make Colours from facebook.com.
- 🎄 Coffee Painting Ideas: Easy Art & How to Create Hues from lemon8-app.com.
- 🎄 How to Tea Stain Watercolor Paper for Beautiful, Vintage- … from lemon8-app.com.
- 🍂 Coffee stained pages & slow thoughts ☕🤎 Letting tea and … from instagram.com.
- 🎨 Indian Potter at Work, 1910 / Watercolor Painting Montage … from facebook.com.
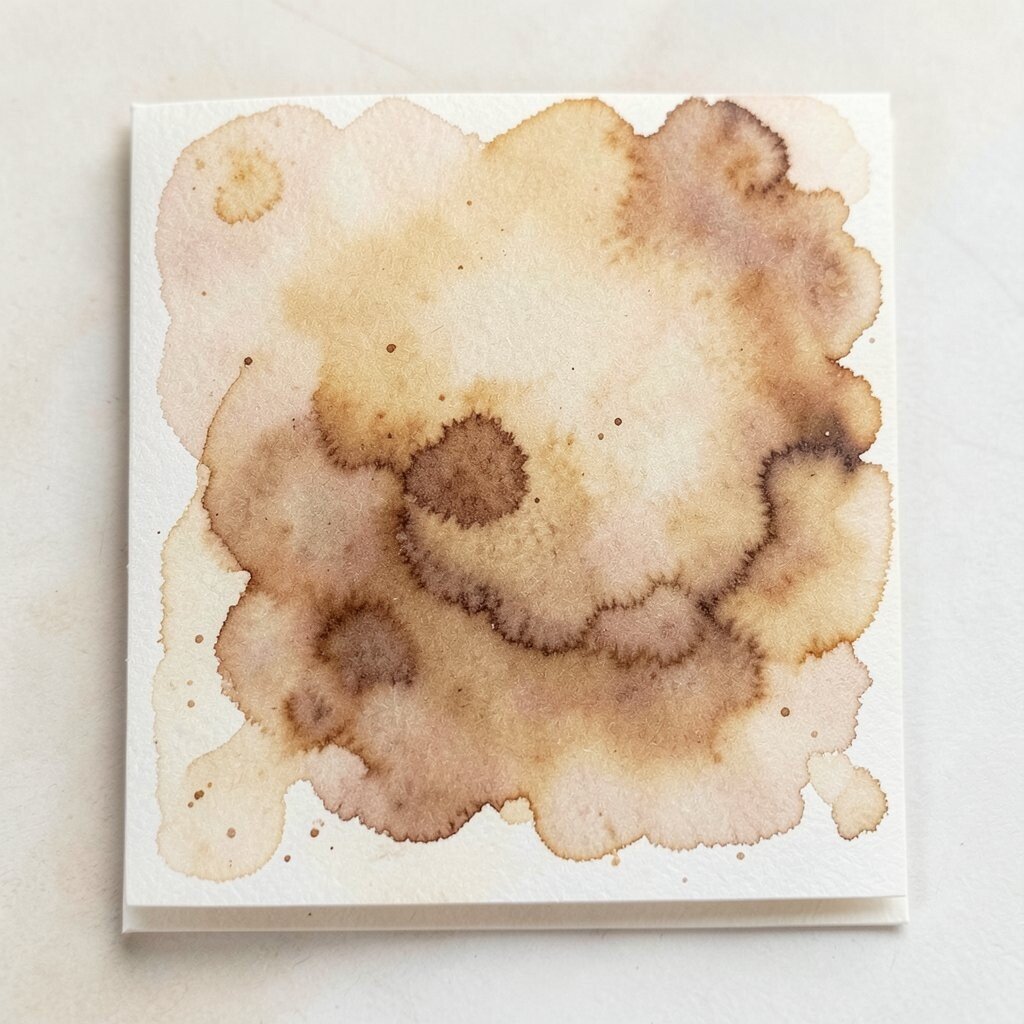
Soft brown washes can make a card feel cozy, old-fashioned, and calm. The color looks like faded paper, dried flowers, and old letters.
This style is nice when you want something less bright and more gentle. It can also be a budget-friendly choice if you already have warm neutral paints. Add cream, tan, or dusty rose for a lovely old-time feel.
Try pairing these tones with handwritten words or simple line drawings. The result can feel like a keepsake instead of a quick card. Many makers like this look right now because it feels handmade, soft, and a little nostalgic.
To keep the card from looking flat, add one darker shade for shadows. A touch of sepia around the edges can make the center glow. This approach is easy to personalize for thank-you notes, birthdays, or even wedding cards.
9. Make your own color palette from a favorite photo
Top Make Your Own Color Palette From A Favorite Photo Craft Tutorials
- 👓 How to create a color palette from facial photos from facebook.com.
- 🍁 Create Your Own Color Palette – Fun at-home activities for … from diy.org.
- 🖼️ Color Palette | Make a Color Palette Online from picmonkey.com.
- 🧑🌾 10 Free color palette generator tools Online from domestika.org.
- 🎨 The Free Trick for How to Turn a Photo into Paint by Numbers from shrimpsaladcircus.com.
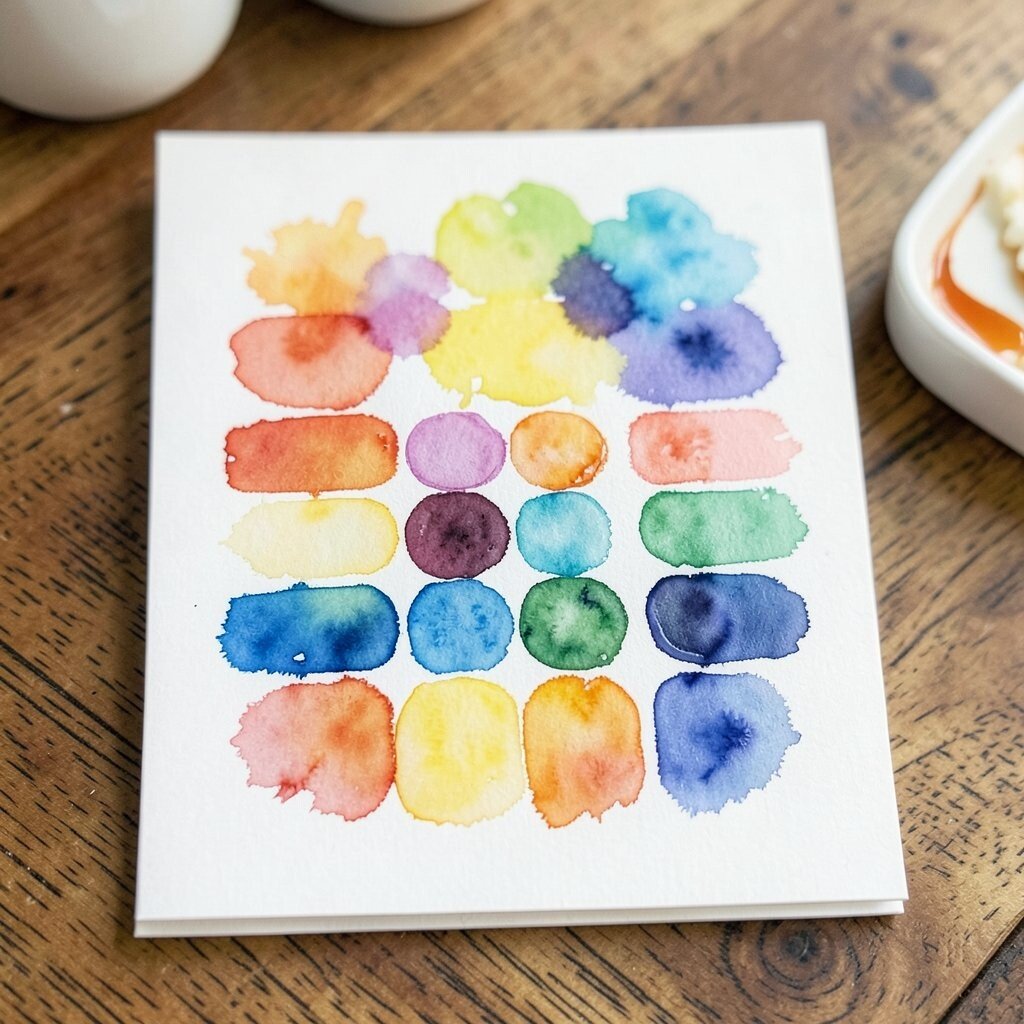
A photo can help you choose colors that already work well together. A sunset, a bouquet, or a favorite scarf can become the guide for a whole card design.
This makes your cards feel personal and thoughtful. It also saves time because you do not have to guess at color matches. Pick three or four main shades and repeat them in the background, image, and lettering.
If you want a softer card, use muted tones from the photo instead of the brightest ones. For a bolder look, choose the strongest color and repeat it in small spots. This kind of color matching feels very current because people love art that reflects real life.
10. Try a resist effect with wax or crayon
Top Try A Resist Effect With Wax Or Crayon Craft Tutorials
- 🍁 Playing around with wax crayon resist, and wet on wet. from facebook.com.
- 👓 Wax Resist from scienceworld.ca.
- 🖼️ 10 crayon techniques to try from montmarte.com.
- 🍅 🎨 Crayon Resist Art Draw a picture with wax … from facebook.com.
- 👓 r/ArtEd – Help with resist technique from reddit.com.
Wax or crayon can block paint in fun little shapes. When the watercolor slides over the top, the hidden marks appear like secret lines.
This is a playful choice for kids’ cards or for anyone who likes surprise textures. It costs very little and uses tools many people already have at home. Draw stars, hearts, swirls, or tiny words before brushing on color.
The resist marks can stay soft and subtle or stand out in a bold way, depending on how much paint you use. That makes the effect easy to personalize for any mood. It is also a clever way to add pattern without needing stamps or stencils.
11. Build a floral border with loose brush shapes
Top Build A Floral Border With Loose Brush Shapes Craft Tutorials
- 🎄 🎨🌿 Nature Paintbrushes How to: 1️⃣ Tie grass, flowers, or … from facebook.com.
- 💅 Painting yellow flowers today with my new brush. This is … from facebook.com.
- 🍅 I've been loving painting with my new Flower Power … from instagram.com.
- 🧑🌾 Creating beautiful border and frame designs in fineliner pen. from skillshare.com.
- 🍅 Creating a simple, floral border… 💜🌸🍃✨ from facebook.com.
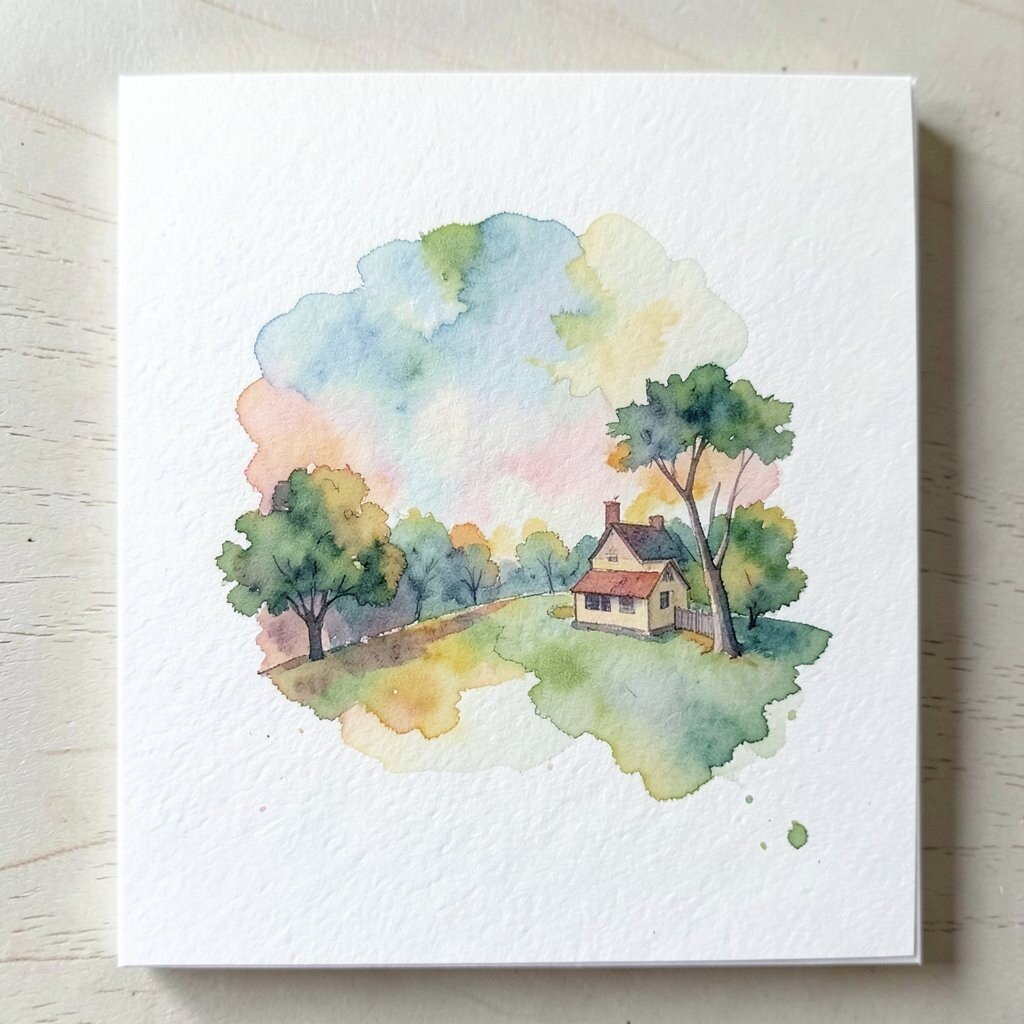
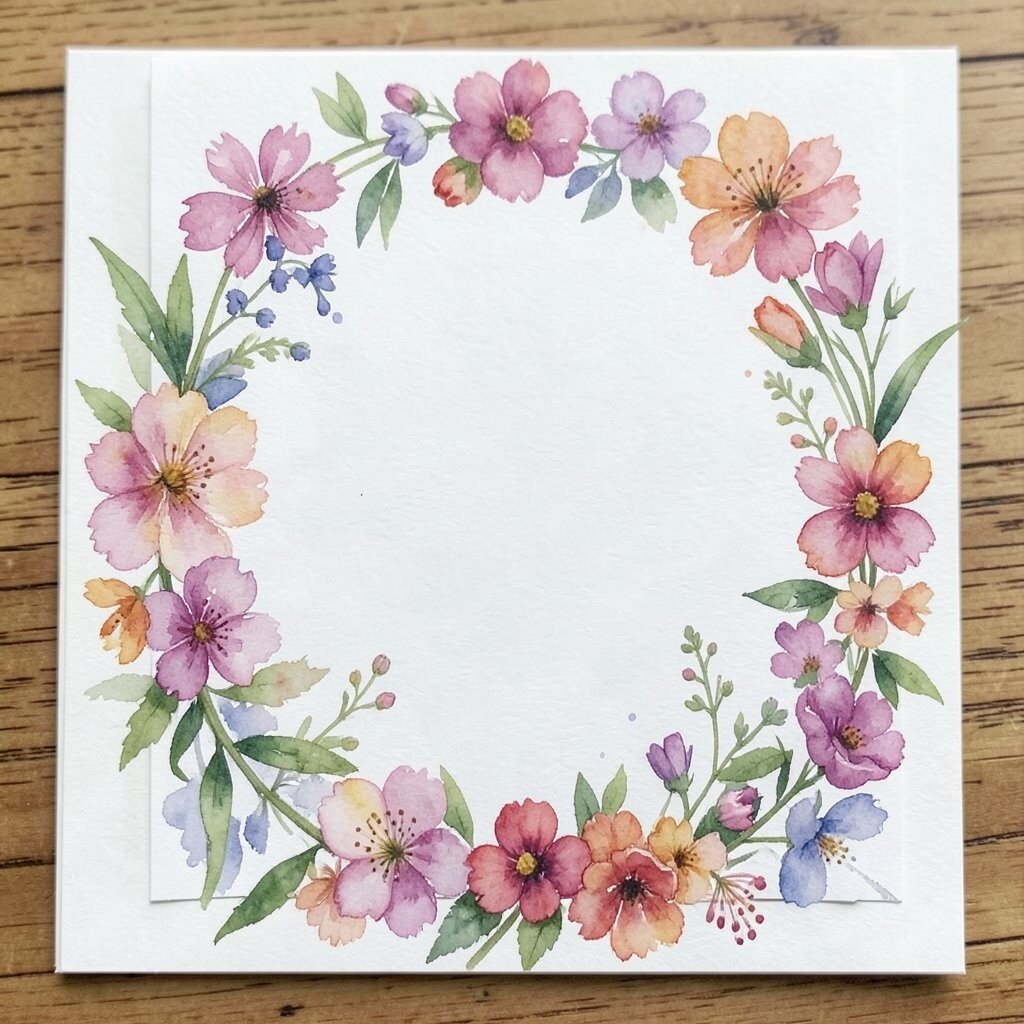
Loose flowers around the edge of a card can make it feel like a little garden. The shapes do not need to be perfect, and that is part of the charm.
This style gives you room to keep the center open for a message. It is also a nice way to use leftover paint from another project. Try soft pink petals, green leaves, and tiny yellow dots for a cheerful look.
For a more unique card, mix big blooms with tiny buds and long stems. That mix adds movement and keeps the design from feeling stiff. Floral borders are still a favorite because they feel warm, pretty, and easy to make your own.
12. Use masking fluid for sharp little details
Top Use Masking Fluid For Sharp Little Details Craft Tutorials
- 🍅 Using masking fluid to achieve a darker background and … from facebook.com.
- 🖼️ All about masking fluid for watercolour from penstore.com.
- 🍁 Blick Art Materials from facebook.com.
- 🎄 Using Masking Fluid on a Watercolor Landscape from kimeverhardart.com.
- 🗺️ QoR Masking Fluid is a fun, easy-to-use product that … from instagram.com.
Masking fluid helps save tiny white areas while you paint around them. It can create bright highlights, fine lines, and small shapes that look crisp and clean.
This tool is useful when you want a card to feel detailed without spending forever on it. It works well for raindrops, stars, flower centers, or little sparkles. The cost is a bit higher than tape or salt, but the effect can be worth it for special cards.
Apply it with care and let it dry fully before painting over it. When you peel it away, the white paper underneath gives your art a fresh pop. That sharp contrast can make even a simple design feel polished and special.
13. Add hand lettering after the paint dries

Top Add Hand Lettering After The Paint Dries Craft Tutorials
- 💅 Adding detail to lettering like in your video today from facebook.com.
- 🍅 White lettering used to take me SO many coats until … from instagram.com.
- 🗺️ Basic Hand Lettering: Shadows and Highlights from amylattacreations.com.
- 🍅 Hand lettering 101 from edding.com.
- 🖼️ Finger painting lettering!☝️How do you like the effect? … from facebook.com.
Hand lettering can turn a pretty wash into a card with a clear voice. The words sit on the page like part of the art, not just something added at the end.
This is a great way to make each card feel personal and thoughtful. You can write names, short notes, or a single word that fits the mood. Use a brush pen, marker, or even a fine pencil line for a softer look.
Try placing the words in an open area so they can breathe. Dark lettering against a pale wash often looks clean and modern. If you want a handmade feel, let the letters wobble a little instead of making them too perfect.
This trend stays popular because it blends art and message in one piece. It also helps you use one card style in many ways, from birthdays to thank-you notes. A small phrase can make the whole card feel warm and memorable.
14. Make the envelope part of the design
Top Make The Envelope Part Of The Design Craft Tutorials
- 🗺️ 💌 Learn how to make an envelope for any occasion with … from facebook.com.
- 🍅 Learn how to make an envelope for any occasion with my … from facebook.com.
- 🗺️ Transform Letters with Stunning DIY Envelope Ideas from craftwarehouse.com.
- 🧑🌾 How to Make an Envelope With Paper: 5 Easy Steps from uniquelycreative.com.au.
- 🧑🌾 DIY Paper Envelope [Easy!] from kendrajohn.com.
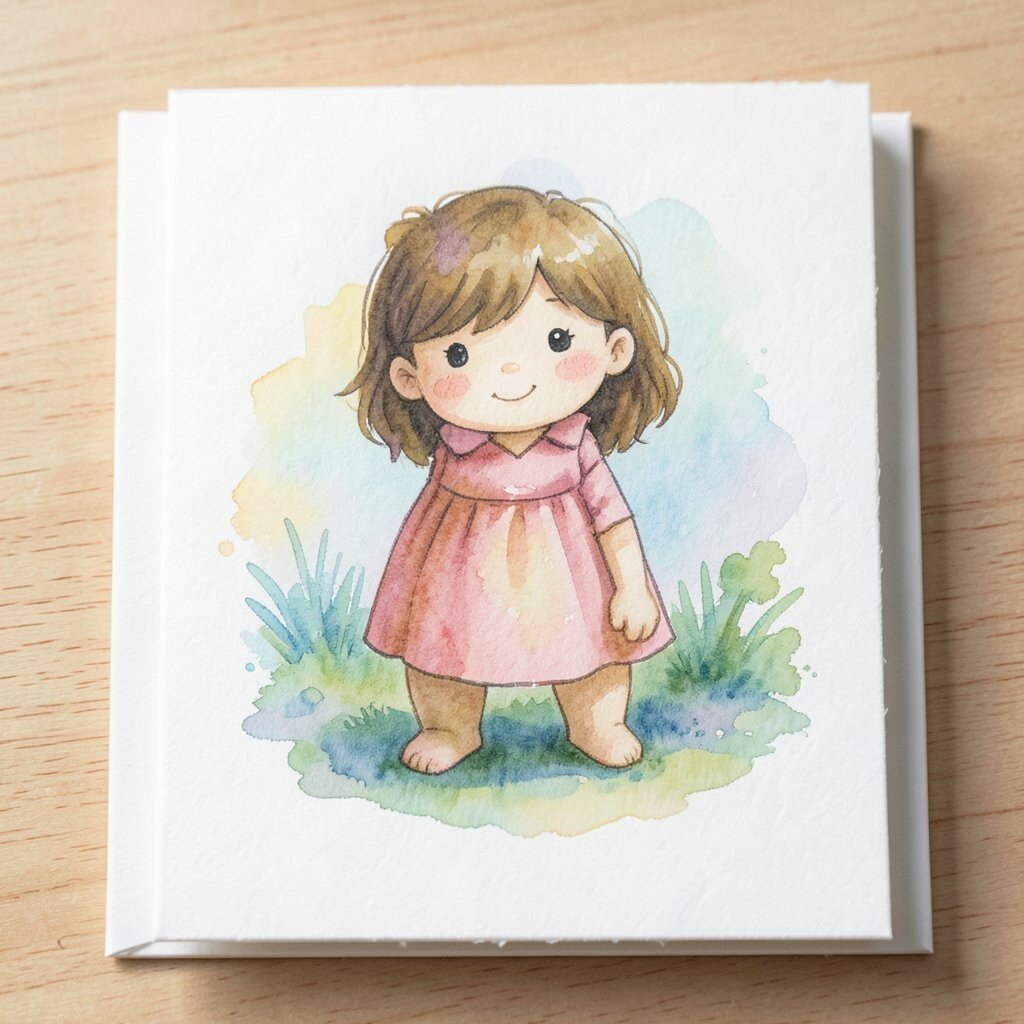
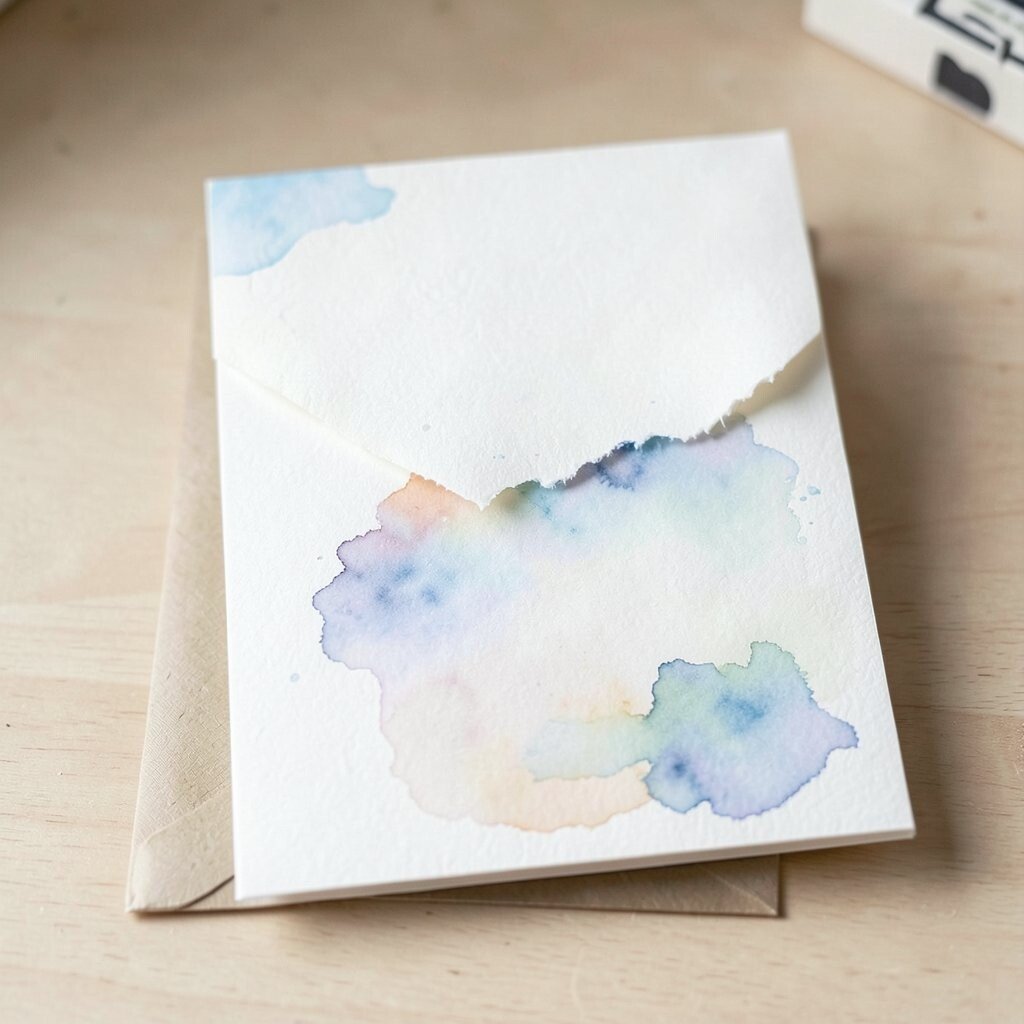
An envelope painted to match the card can make the whole gift feel special. The first thing a person sees becomes part of the surprise.
This idea gives you more room to play with color without needing a huge card front. It can also be a smart way to use leftover paint from the main piece. A wash of color, a tiny leaf, or a few splashes can make the envelope look coordinated and thoughtful.
Personal touches like a painted corner or a tiny name tag can make the mail feel handmade from start to finish. It is a simple way to make a low-cost card feel fancy. Many makers like this look now because it feels complete and carefully planned.
15. Keep a small practice pad beside your card stack
Top Keep A Small Practice Pad Beside Your Card Stack Craft Tutorials
- 🍅 Marketing | – Matt Dudley from mattdudleydrumming.com.
- 💅 Cheap craft store paper pad performance review from facebook.com.
- 🖼️ How can I cheaply & easily bind a stack of paper that's … from reddit.com.
- 🎄 Make These Ridiculously Easy And Cute Note Pads from southhousedesigns.com.
- 🎨 "When I was 15 years old, I built my first drum kit out … from facebook.com.
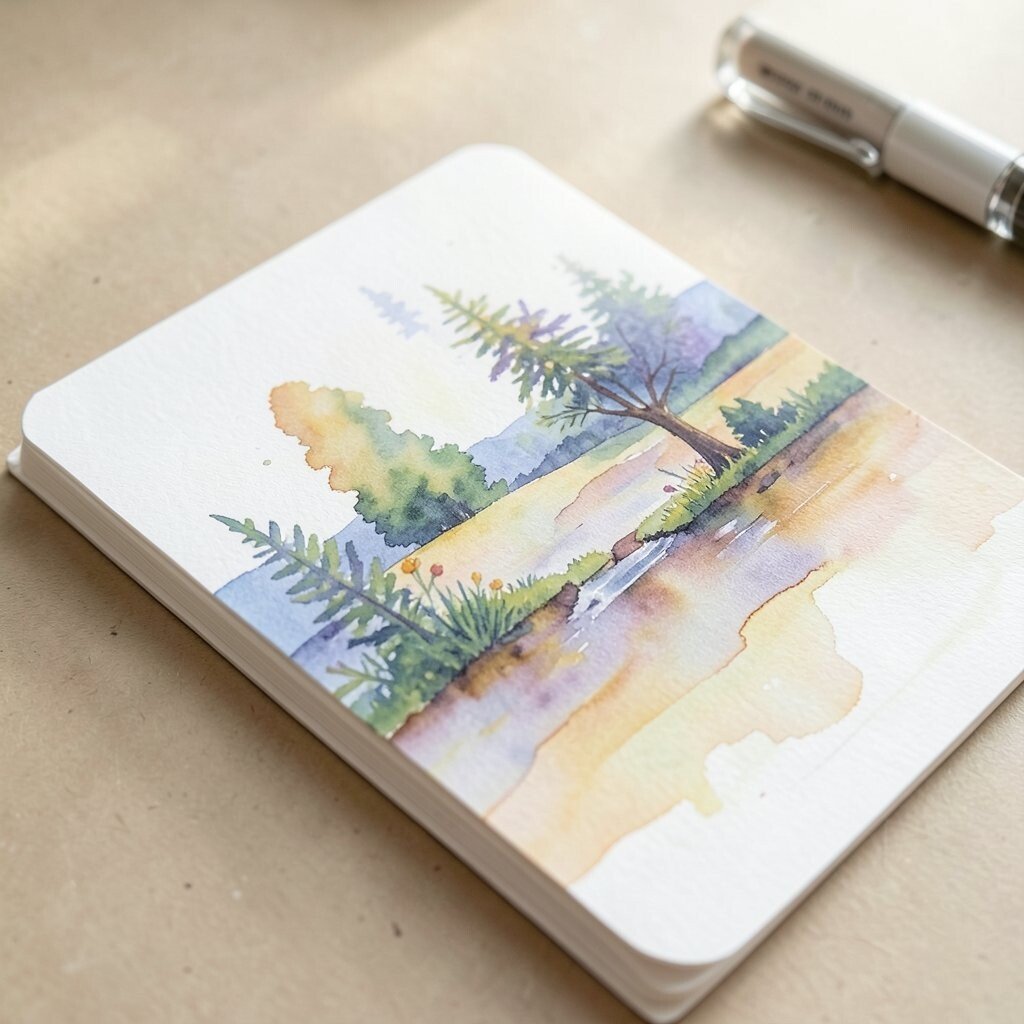
A practice pad helps you test colors, brush marks, and water levels before you paint the real card. That little habit can save paper, time, and stress.
It also helps you build a style that feels like your own. Try quick swatches, tiny flowers, or sample lettering until you find a look you love. Using scrap paper is a budget-friendly habit that can make your finished cards stronger.
You can keep notes beside your samples about which colors blended well or which brush gave the best line. Over time, that pad becomes a personal guide filled with useful ideas. It is a simple tool, but it can make your watercolor cards feel more confident, fresh, and ready for any occasion.