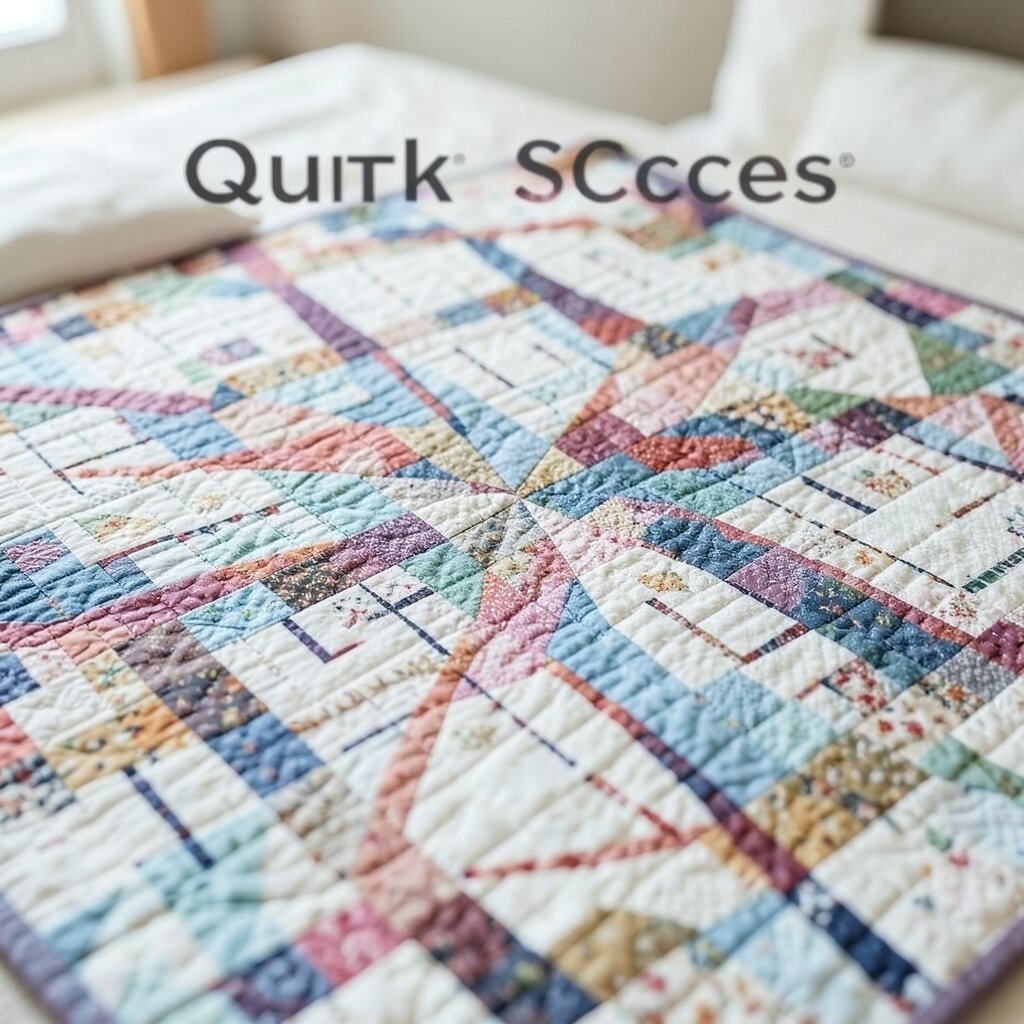
Quilting stitches can look simple until the thread starts acting up. A few small changes can make every seam look calmer and cleaner.
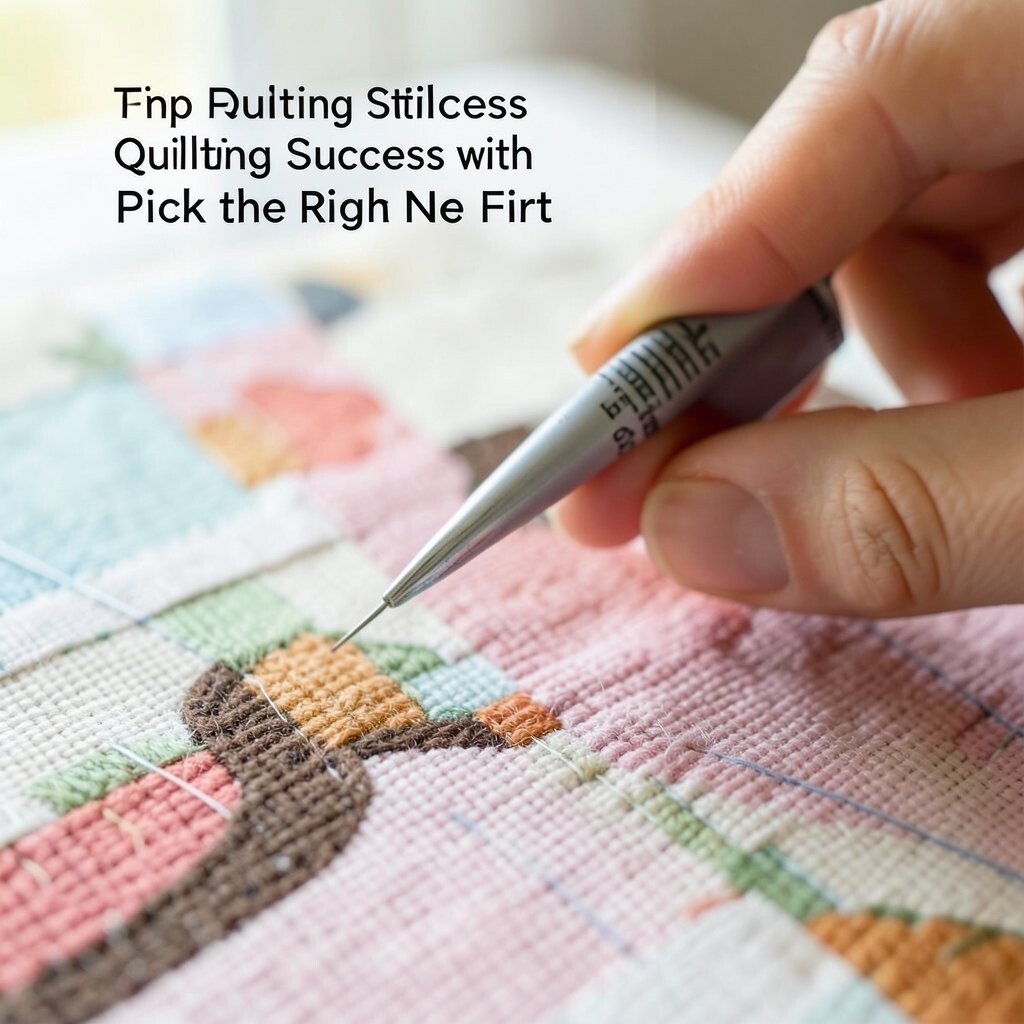
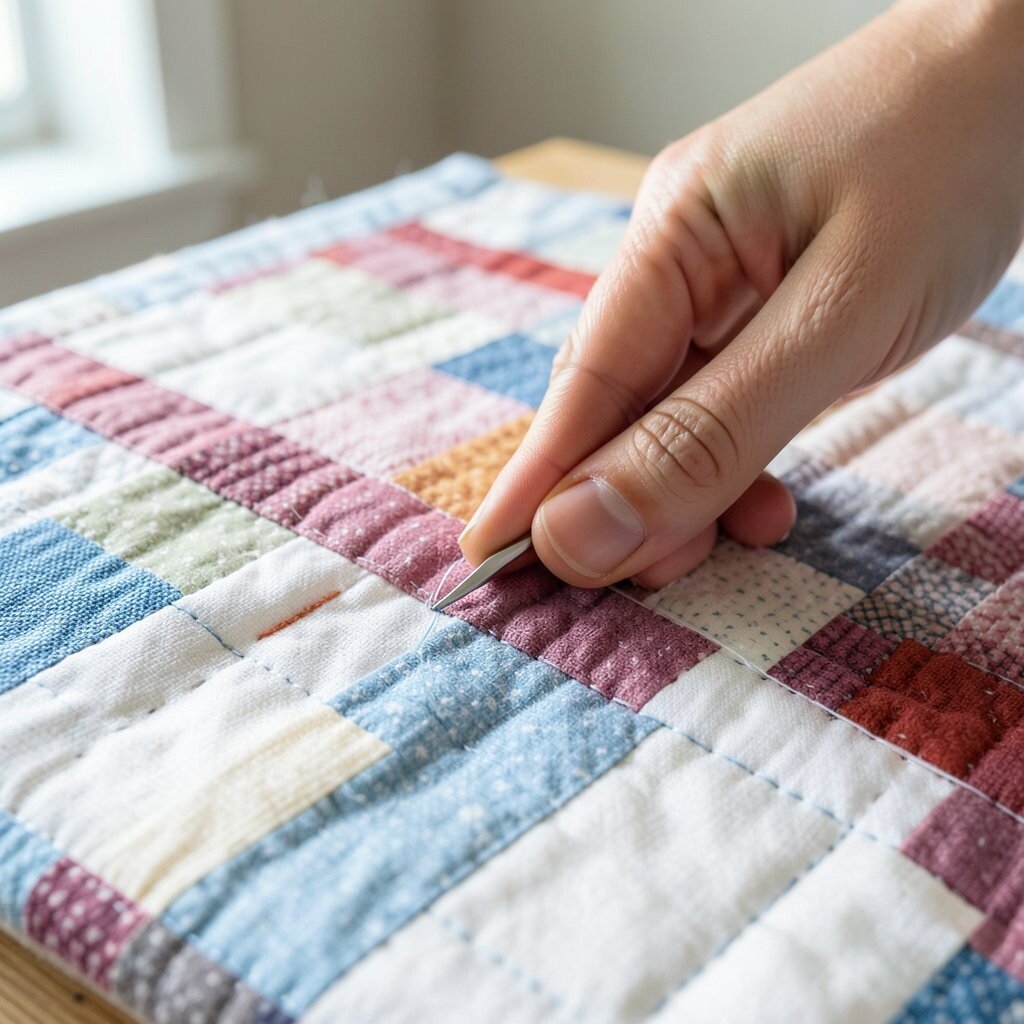
1. Pick the Right Needle First
Top Pick The Right Needle First Craft Tutorials
- 🎄 Hand Embroidery Needles: How to Choose Them & Use … from needlenthread.com.
- 🍂 Needle Guide – Sewing Stitch Guide from anniesattic.com.
- 🎄 What type of sewing needles are best for general craft … from facebook.com.
- 🍁 What to look for in a punch needle kit (a beginner's buying … from builtbykids.com.
- 👓 Choosing the Right Needles for Your Machine Embroidery … from hatchembroidery.com.
A fresh needle can make your stitches look smoother right away. A dull one can leave tiny skips and rough spots that show up on the quilt top.
Try matching the needle size to your fabric and thread for a neater finish. This small choice costs very little, yet it can save time, thread, and frustration. Many quilters keep a few needle types close by so they can switch fast when the fabric feels different.
2. Match Thread to the Job
Top Match Thread To The Job Craft Tutorials
- 🧑🌾 What do you do if you can't find an EXACT matching thread? from reddit.com.
- 💅 Color Matching Different Types of Embroidery Thread from needlenthread.com.
- 🍁 What do the numbers mean for matching thread color in … from facebook.com.
- 🖼️ Sewing Tips & Tricks: Matching Thread Colors to Fabrics from mysewingmall.blogspot.com.
- 👓 Match thread to fabric value, not colour If you can't find an … from facebook.com.
Thread choice changes the whole look of your quilting line. A shiny thread gives a bold, modern feel, while a matte thread can make the stitches blend in softly.
Think about the effect you want before you start sewing. Cotton thread often feels classic and warm, and polyester can be strong and budget-friendly. If you like trendy quilt looks, try a thread color that pops against the fabric for a bright, hand-finished style.
It helps to test a few thread colors on scraps before quilting the real piece. That little test can show you how the thread shines under light and how it sits on the cloth. You can also pick thread colors that match a room theme, a gift theme, or your own favorite palette.
3. Keep Tension Calm and Even
Top Keep Tension Calm And Even Craft Tutorials
- 🧑🌾 Top Ten Crafts to Relieve Stress from albiongould.com.
- 🍅 7 fun DIY projects guaranteed to relieve stress from medium.com.
- 🎄 55 Creative Adult Craft Ideas That Are Bound to Reduce … from facebook.com.
- 👓 Applying the 5-4-3-2-1 Anxiety Technique to Hand Crafting from createmefree.substack.com.
- 🗺️ The Best Stress-Relief Crafts for Busy People (That … from thismonthscraft.com.
Uneven tension can make a quilt look messy even when the stitches are straight. Smooth tension helps the top and back lay flat and neat.
Check both the top thread and bobbin thread before you quilt a big area. If the stitches look too tight, try a small adjustment and sew a test line first. It is smart to use scrap fabric for this step because it costs nothing extra and can save a full project.
Many modern quilters like soft, balanced stitches that do not pull the fabric too hard. You can make the look more personal by choosing a slightly tighter or looser feel based on the quilt style. A baby quilt, a wall hanging, and a bed quilt may all need a different touch.
4. Press Fabric Before You Sew
Top Press Fabric Before You Sew Craft Tutorials
- 🗺️ Should I iron precut fabric pieces with Best Press before … from facebook.com.
- 🎨 Must I press pre-washed cotton flannel before cutting if … from reddit.com.
- 🍅 How to wash Fabric Before Sewing: A Beginners Guide from sewhungryhippie.com.
- 🍅 Fabric Preparation Before Sewing: A Step-by-Step Guide from winslets.com.
- 💅 Pressing Basics for Quilters from madamsew.com.
Wrinkled fabric can twist your stitch line and make seams harder to follow. Pressed fabric gives you a flatter surface and a cleaner path for the needle.
Use a warm iron and a gentle hand so the cloth stays smooth without stretching. This step is low cost and very helpful, especially when you are using cotton scraps or thrifted fabric. A crisp quilt top often looks more polished and more professional right away.
5. Choose a Stitch Length That Fits the Quilt

Top Choose A Stitch Length That Fits The Quilt Craft Tutorials
- 👓 What Stitch Length Should I Use? from iseestarsquilting.com.
- 🎨 What is the preferred stitch length for quilting? from facebook.com.
- 💅 Stitch Length for Quilting: The Ultimate Guide from quiltingwemple.com.
- 👓 How to Sew a Quilt! (quilting 101) : 33 Steps (with Pictures) from instructables.com.
- 👓 Stitching down the binding: thread color, stitches and … from quiltsocial.com.
Stitch length can change the mood of the whole quilt. Short stitches look tidy and detailed, while longer stitches can feel relaxed and modern.
Try a few lengths on a sample piece before you commit. The best choice depends on the fabric weight, the thread, and the style you want. Some makers like a tiny, classic look, while others prefer a bold line that feels fresh and current.
You can also adjust stitch length to fit the purpose of the quilt. A show quilt may need a more careful line, and a cozy everyday quilt may be fine with a simpler setting. That small choice gives you room to make the quilt feel like your own.
6. Use a Walking Foot for Smooth Layers
Top Use A Walking Foot For Smooth Layers Craft Tutorials
- 💅 7 Powerful Walking Foot Attachment for Quilting Thick Layers Tips from sewing.com.
- 💅 Thimbles Guide to the Walking Foot from thimblesquilts.com.
- 🧑🌾 Should I use a walking foot and what seam allowance for … from facebook.com.
- 🖼️ When to Use a Walking Foot Attachment from sewcanshe.com.
- 🖼️ Learn to Sew: How to use a walking foot from cucicucicoo.com.
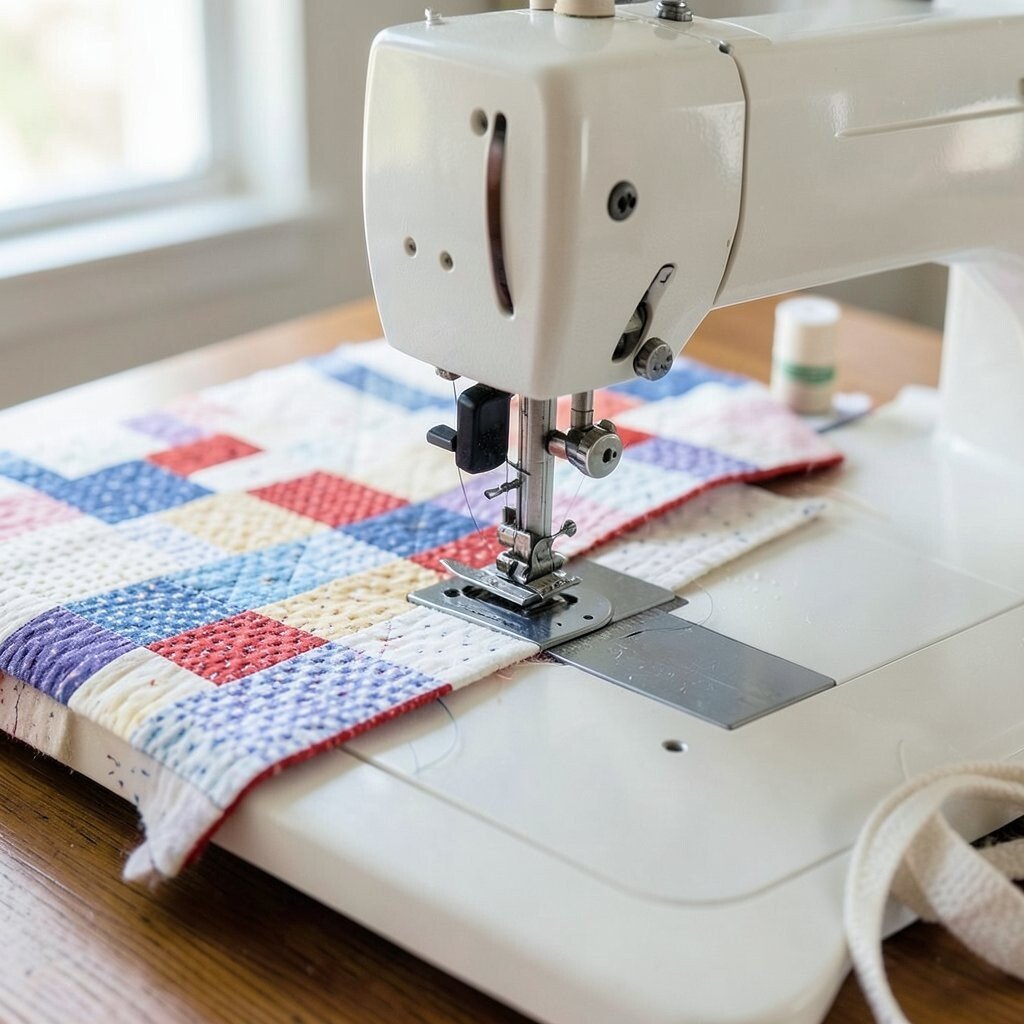
A walking foot helps the top layer and bottom layer move together. That means fewer puckers, fewer shifts, and a neater stitch path.
This tool is a smart buy if you make quilts often. It can cost more than a basic foot, but many quilters feel it pays for itself in cleaner results and less rework. The foot also helps when you are quilting thick batting or slippery fabric.
If you want a more personal style, try it on straight-line quilting or simple grid patterns. Those clean lines are very popular right now and can give a quilt a crisp, fresh look. The result can feel both modern and handmade at the same time.
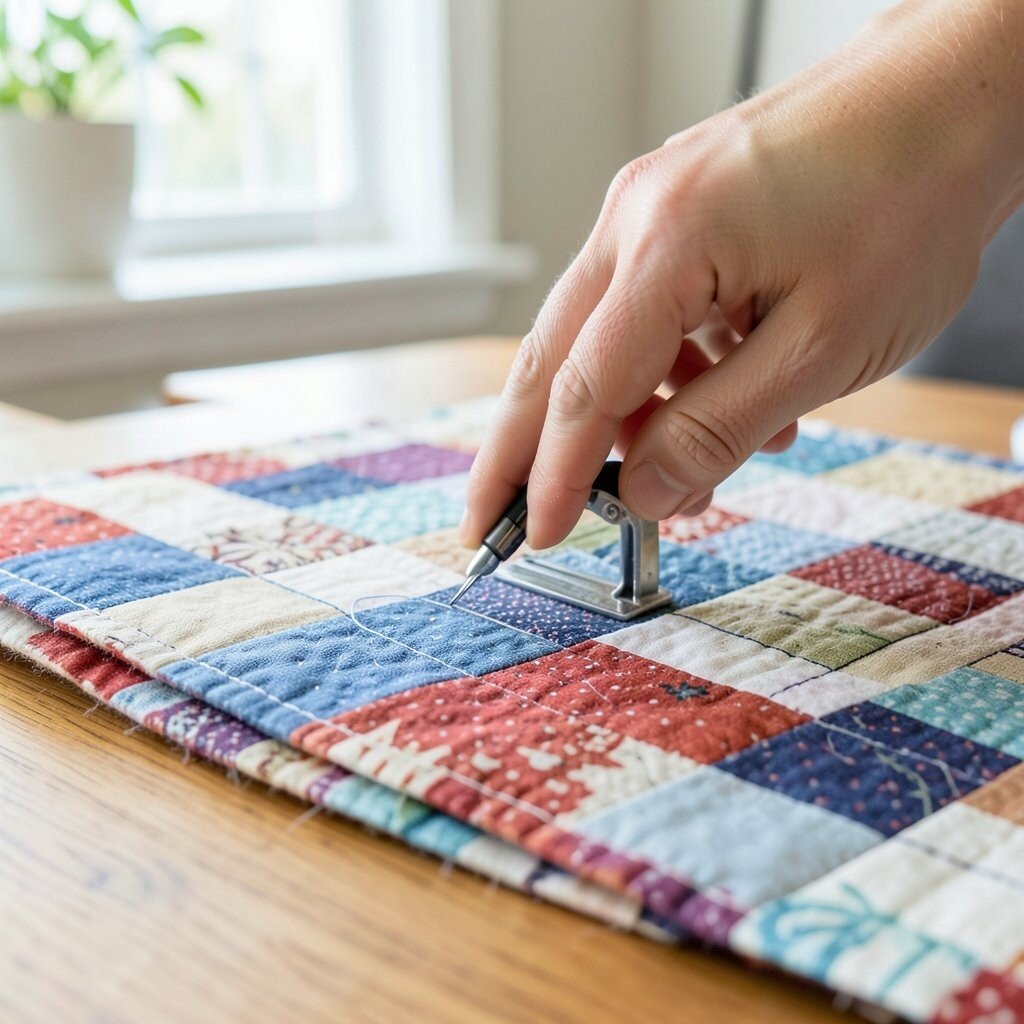
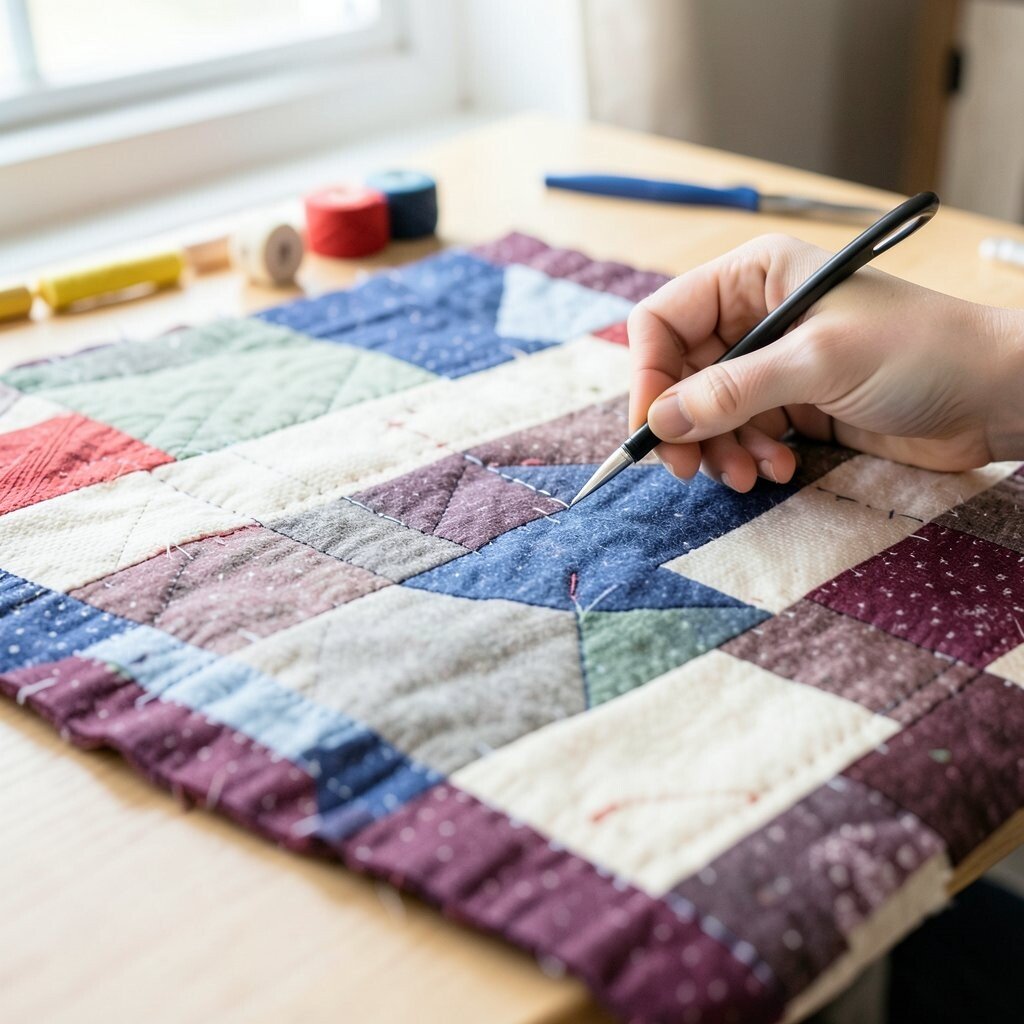
7. Mark Your Lines Before Quilting
Top Mark Your Lines Before Quilting Craft Tutorials
- 🎄 Quilting Basics 4: How to Mark Your Quilt Three Ways from freemotionproject.com.
- 🖼️ Safe ways to mark quilts from reddit.com.
- 🍁 Here are four easy ways to mark straight quilting lines for … from facebook.com.
- 🧑🌾 Quilting 101, Lesson 7b- Quilting (the sewing machine … from jozmakesquilts.com.
- 🎨 Quilt Marking Tools: Different Ways to Draw Guidelines from suzyquilts.com.
Marked guide lines can make quilting feel much less scary. They give your eyes a clear road to follow, which helps the stitches stay even.
Use chalk, a washable pen, or a fine marker made for fabric. Each tool has its own cost and feel, so pick one that fits your budget and your comfort level. A soft line on pale fabric can be almost invisible in the final quilt, which makes the design look neat and thoughtful.
You can make the marks as simple or fancy as you like. Straight lines are quick and clean, while curves and loops add a more playful touch. Many quilters enjoy mixing both styles to give the quilt a richer look.
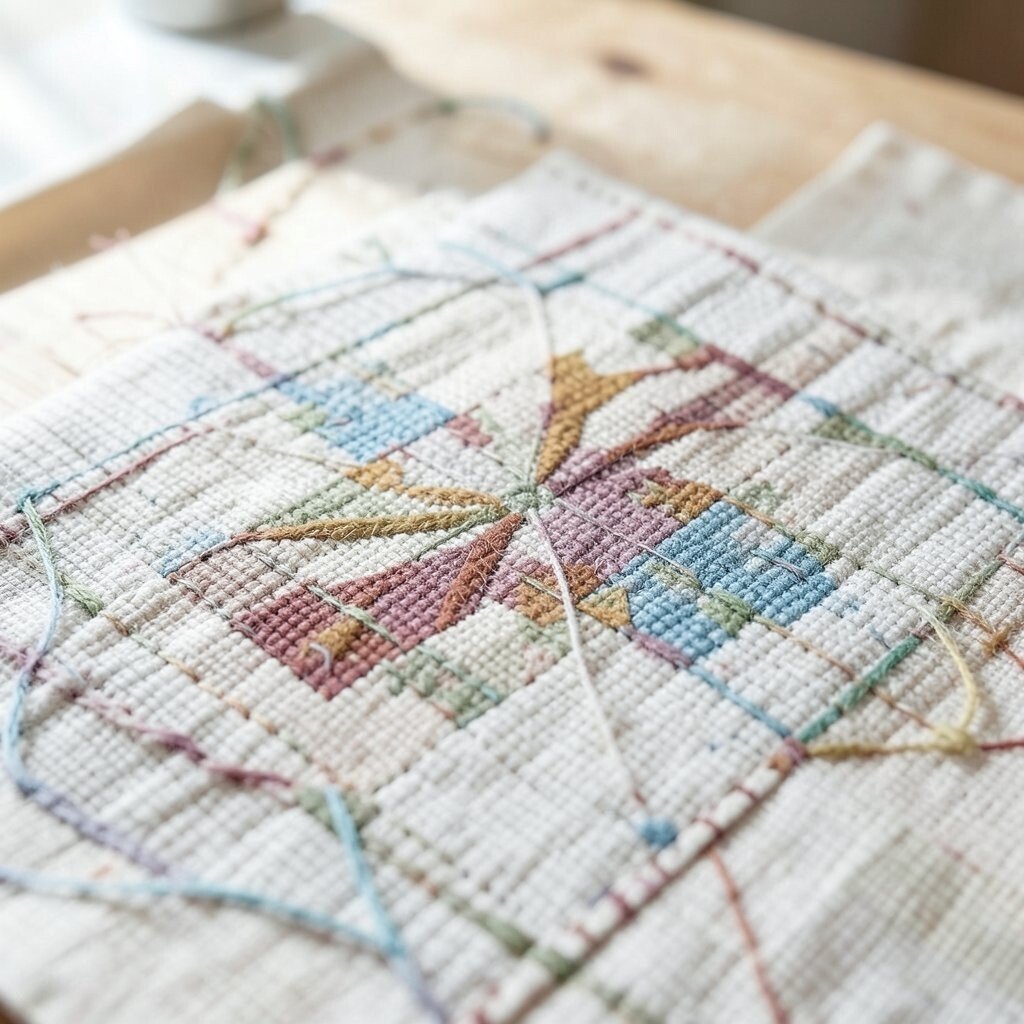
8. Practice on Scraps Before the Real Quilt

Top Practice On Scraps Before The Real Quilt Craft Tutorials
- 🍅 Practicing quilting with scrap quilts and a dream big panel from facebook.com.
- 🎨 Scraps – Great ways to play with your scraps from youtube.com.
- 🍁 Progress on My Scrap Quilt: Eco-Friendly Crafting from lemon8-app.com.
- 🎄 Piecing Batting Scraps for Quilting from jacquelynnesteves.com.
- 🎨 Sustainable Quilting 101: Scraps & Batting from suzyquilts.com.
Scrap practice can save a lot of trouble later. It lets you test thread, needle, tension, and stitch length without risking the main project.
Keep a small stack of leftover fabric near your machine for this purpose. That habit costs almost nothing and can help you spot problems early. It also gives you a chance to see how your stitches look in natural light, which can be very helpful.
Practice pieces can become a personal stitch notebook over time. You can label them with thread names, needle sizes, and settings you liked best. This makes it easier to repeat a favorite look on your next quilt.
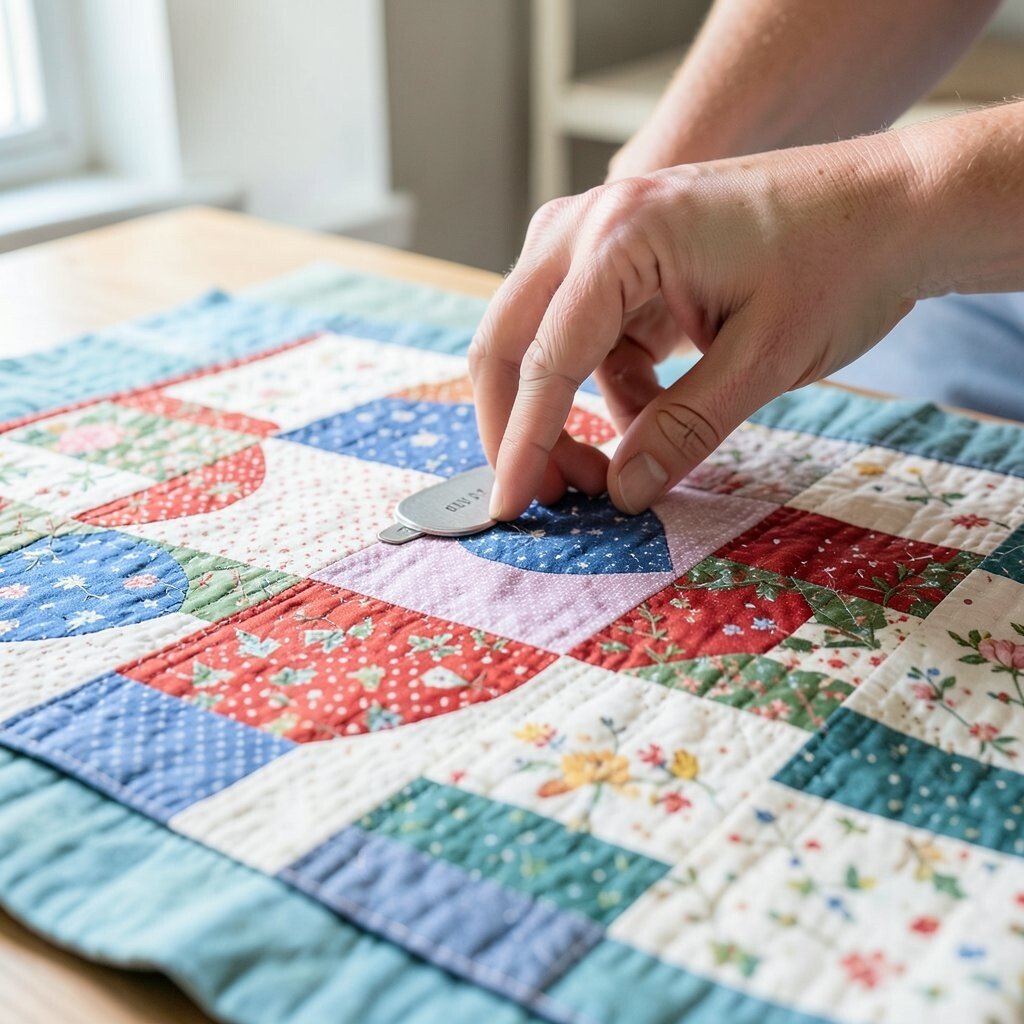
9. Hold the Quilt Layers Flat
Top Hold The Quilt Layers Flat Craft Tutorials
- 💅 Four Ways to Baste a Quilt, Pros and Cons – Lori Kennedy Quilts from lorikennedyquilts.com.
- 🧑🌾 Finishing Your Quilt from dsquilts.com.
- 👓 Basting Quilt Layers: The Unsung Hero of Every Quilt from morrisworks.co.uk.
- 🧑🌾 Quilt Along Series: Sewing the Quilt Together from makeandtakes.com.
- 👓 {Quilting 101} Quilt Sandwich? – The Three Layers of a Quilt from threadbarecreations.blogspot.com.
Flat layers help the stitches stay even from edge to edge. If the fabric bunches up, the needle may drag and make strange little ripples.
Use pins, clips, or basting stitches to keep the layers in place. Pins are usually the cheapest choice, while clips can feel easier on thick quilts. A well-held quilt often looks smoother and more finished, especially on larger pieces.
Many quilters now like a clean, low-clutter sewing space with just the tools they need. That simple setup can help you focus on the stitch line and keep your hands relaxed. A calm sewing area can make the whole job feel more enjoyable.
10. Keep Your Hands Gentle

Top Keep Your Hands Gentle Craft Tutorials
- 🗺️ 10 Gentle Craft Ideas to Start the New Year Slowly from craftykitcompany.co.uk.
- 🍁 20 Creative Hobbies to Keep Your Hands Busy & Calm … from muminthemadhouse.com.
- 🎄 Hobby ideas for my husband, who needs something to do … from reddit.com.
- 👓 Resources for sharing and gentle hands activities? from facebook.com.
- 🎨 Crafty Hobbies for 2025: Purposeful, Affordable, and Fulfilling from thecraftyangels.com.
Heavy hand pressure can pull fabric out of shape. Light hands let the quilt glide and help the stitches stay more even.
Guide the quilt instead of forcing it through the machine. This can reduce sore hands and make long sewing sessions easier to handle. It also helps the quilt keep its soft drape, which many people want in a finished piece.
You can make the process feel more personal by finding the hand position that suits you best. Some quilters rest their wrists lightly, while others prefer to support the quilt from below. Small comfort changes can make a big difference in stitch success.
11. Clean and Oil the Machine Often
Top Clean And Oil The Machine Often Craft Tutorials
- 🖼️ How to Clean and Oil Your Sewing Machine – Threads from threadsmagazine.com.
- 🖼️ Sewing Machine Cleaning and Oiling from weallsew.com.
- 🎨 Cleaning and oiling sewing machines from facebook.com.
- 👓 What areas to clean and oil a Janome sewing machine … from facebook.com.
- 🖼️ How to Oil a Sewing Machine: 9 Steps (with Pictures) from wikihow.com.
Lint can build up fast and change how the machine sews. A clean machine usually gives smoother stitches and fewer surprises.
Check the manual for the right cleaning and oiling steps. This care is usually cheap and can help your machine last longer, which is a big win for any budget. A well-kept machine also sounds quieter, which makes sewing feel calmer.
Some quilters make machine care part of their weekly routine. That habit fits well with today’s love of simple, well-used tools that do their job well. A clean machine can support both classic quilts and bold modern designs with equal ease.
12. Use Better Lighting
Top Use Better Lighting Craft Tutorials
- 👓 Anyone have a good 12v craft light/task light? : r/VanLife from reddit.com.
- 🎄 12 scale Christmas emporium lighting ideas from facebook.com.
- 🎨 9 Bright Ideas for Light Crafts this Holiday Season from kiwico.com.
- 🎄 Creative Lighting Solutions for Your Art and Crafts Booth from handmade-business.com.
- 🍅 Dollar Tree canvas print lighting project ideas from facebook.com.
Good light makes it easier to see stitch lines, thread color, and fabric texture. Poor light can hide small mistakes until they become bigger problems.
Try a bright lamp near your sewing space or use daylight when you can. A lamp does cost money, but a good one can protect your eyes and improve your work for years. Clear light also makes shiny thread and detailed quilting patterns look more beautiful as you sew.
You can choose a light that fits your style, from a simple desk lamp to a sleek modern sewing light. Some makers like warm light for a cozy feel, while others prefer cool light for sharp detail. The best choice is the one that helps you see your stitches clearly and comfortably.
13. Start with Simple Stitch Paths
Top Start With Simple Stitch Paths Craft Tutorials
- 🍂 Embroidery for Beginners: Your Ultimate Guide to Basic … from lemon8-app.com.
- 🧑🌾 Basic Embroidery Stitches: Line Stitches from needlenthread.com.
- 💅 A simple path for your next project 🧶 Start where you are. … from instagram.com.
- 🗺️ On Needle 'n Thread, you'll find a whole lot of stitch … from facebook.com.
- 👓 8 Embroidery Sampler Patterns from thesprucecrafts.com.
Simple stitch paths are easier to control and often look very strong on a quilt. Straight lines, gentle curves, and basic grids can make a big visual impact without much stress.
These designs are great for beginners and still loved by skilled quilters. They use less marking time and usually waste less thread, which helps keep costs down. A simple path can also let your fabric print or color shine more clearly.
If you want to make the quilt more personal, add one small twist to a basic path. You might change direction at the border or echo a shape from the quilt fabric. That little change can give the whole piece a unique voice.
14. Try Decorative Stitch Details
Top Try Decorative Stitch Details Craft Tutorials
- 🍂 15 Stitches Every Embroiderer Should Know from thesprucecrafts.com.
- 🍁 Best decorative stitches for beginners? from facebook.com.
- 🎄 Best Needlepoint Stitches for Background Areas from unwind.studio.
- 🗺️ Next-Level Crochet Stitches You'll Love from craftsy.com.
- 🍅 You have just created a beautiful Decorative Stitch and … from facebook.com.
Decorative stitches can turn a plain quilt into something special. Tiny waves, loops, or fan shapes can add charm and movement to the fabric.
Use these details in small areas first so the design does not feel too busy. Some decorative thread choices can cost more, so it helps to use them where they will stand out the most. A little sparkle or contrast can make the quilt feel fresh and current without needing a full redesign.
This is a great place to show your own style. You can echo flower shapes, stars, hearts, or even simple lines from a favorite room. The quilt becomes more than a cover; it becomes a piece that feels like you.
15. Check Stitch Quality as You Go
Top Check Stitch Quality As You Go Craft Tutorials
- 🎨 Simple Sewing Secrets You'll Actually Use from facebook.com.
- 🎨 How to improve the quality of a digitized embroidery design? from facebook.com.
- 🎄 Stitch perfect! Time-saving sewing tips and tricks! from facebook.com.
- 👓 Trying 3 levels of sewing #craft #diy #sewingproject … from instagram.com.
It is smart to pause and look at your stitches often. Small checks can catch loose threads, skipped stitches, or puckers before they spread.
Flip the quilt over now and then to see the back side too. A neat back can be just as satisfying as a neat front, and it often shows how well the machine is working. This habit costs nothing and can save a lot of fixing later.
Some quilters keep a small checklist beside the machine for tension, thread, and stitch length. That simple tool can make the process feel more organized and less rushed. It also helps you build a repeatable method that works for different quilts.
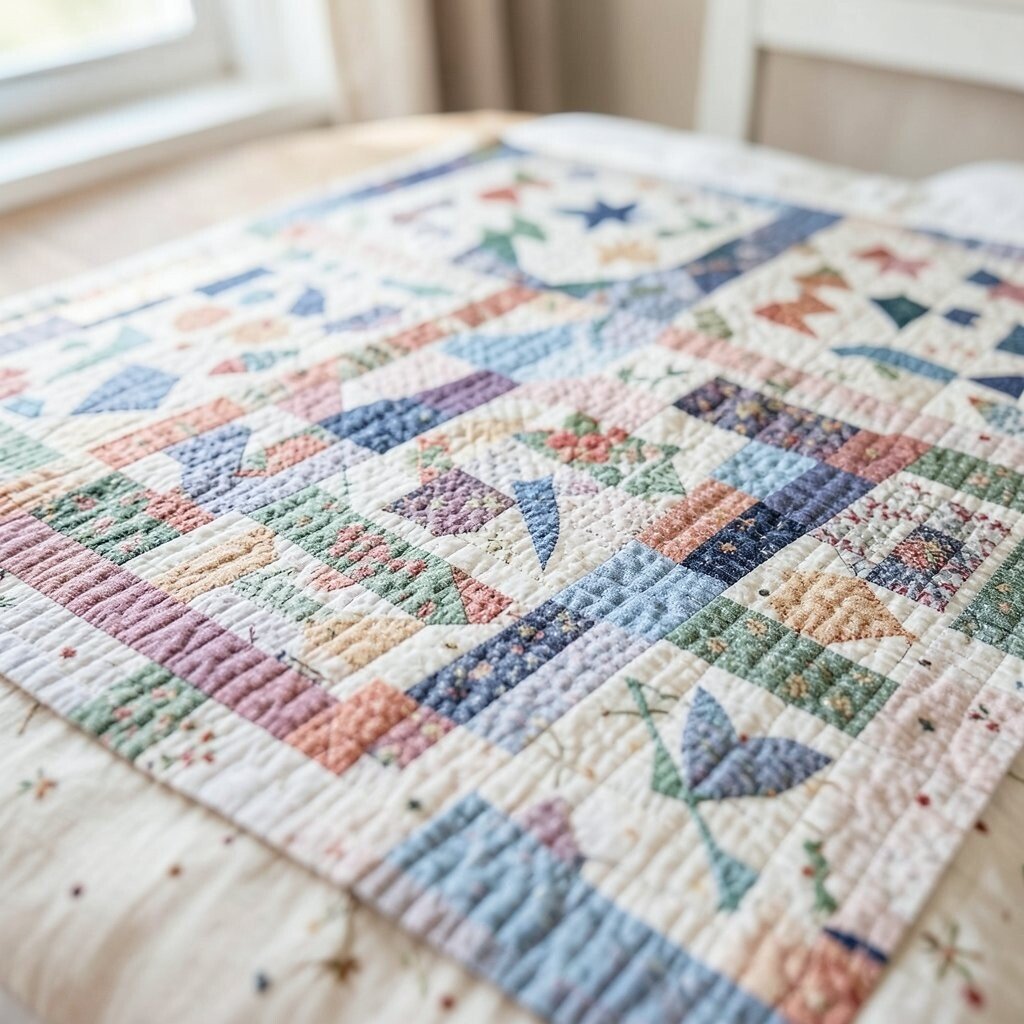
16. Make Each Quilt Fit Your Own Style

Top Make Each Quilt Fit Your Own Style Craft Tutorials
- 🗺️ Quilting for Beginners: How to Sew a 16-Patch Quilt Block from weallsew.com.
- 🍁 16 Patch Quilt from Scraps in 4 Easy Steps from facebook.com.
- 🍂 Block 16 of the Americana Flower Farm Quilt Along is here, … from facebook.com.
- 🖼️ Use printable templates to create cool patchwork art … from facebook.com.
Quilting stitch success is not only about rules. It is also about making choices that fit your hands, your taste, and your project.
One quilt may call for neat and tiny stitches, while another may look best with bold, relaxed lines. Personal touches can come from thread color, stitch shape, or even the way you finish the edges. The best part is that many of these choices can be made with low-cost tools and a little practice.
Current quilting trends often mix clean machine lines with handmade charm, so there is plenty of room to play. You can keep things classic or add a modern edge with bright thread or simple geometric shapes. When the quilt feels like your own, the stitches often look better too.