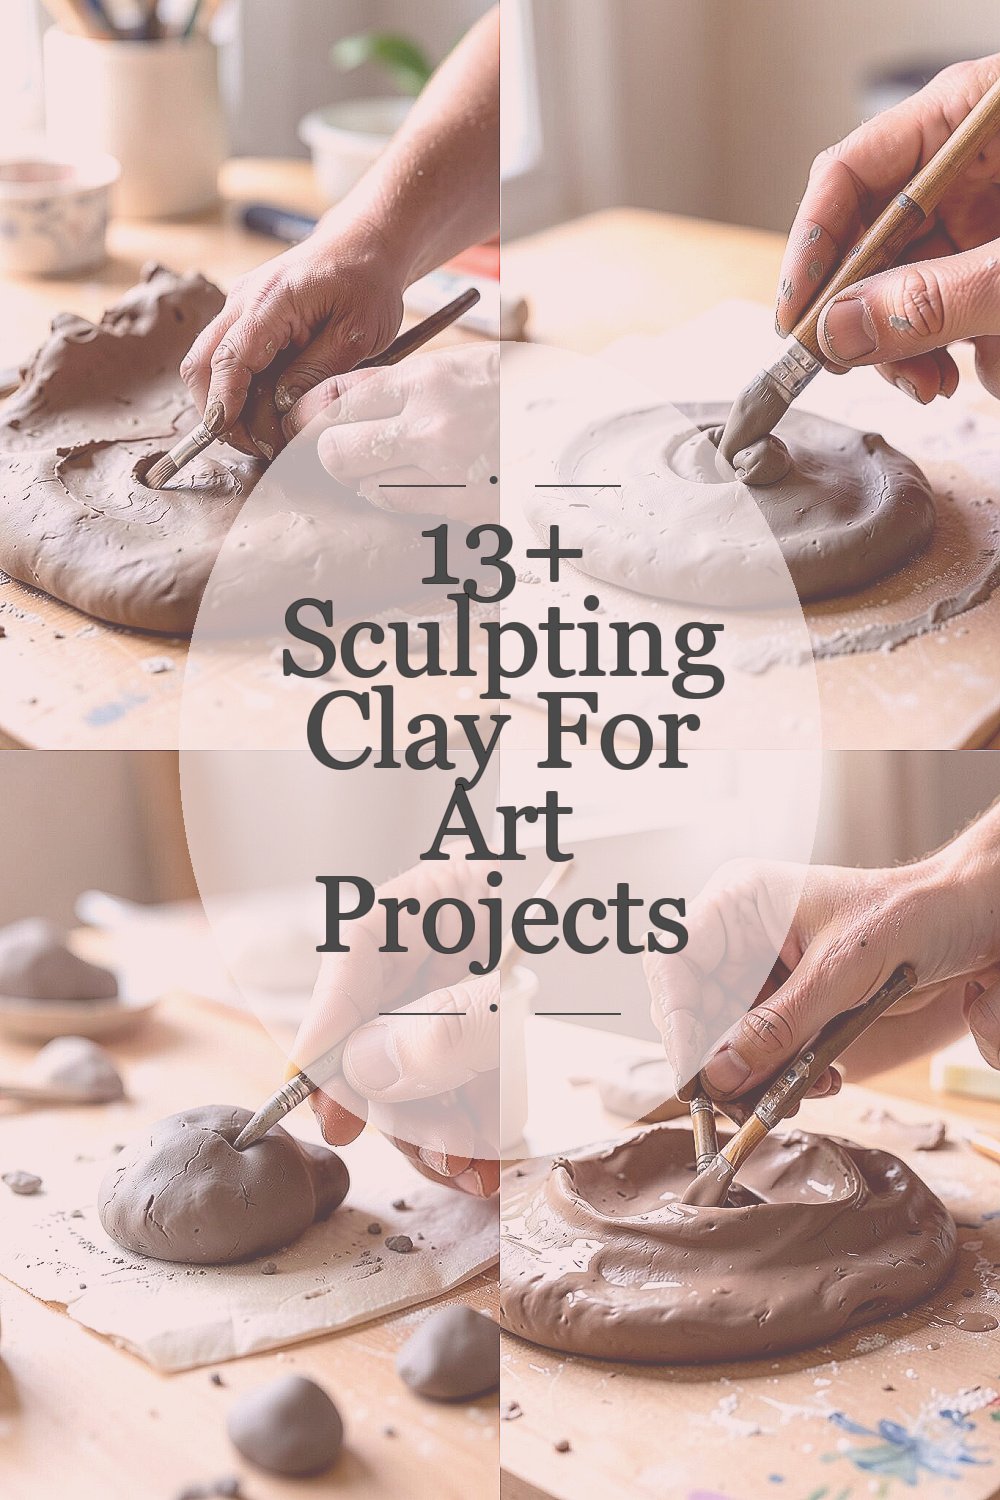
Clay can feel soft and full of promise. A simple lump can become something beautiful in your hands.
1. Pick the Right Clay for Your First Project

Top Pick The Right Clay For Your First Project Craft Tutorials
- 🍅 The Best Clay for Beginners: How to Pick the Right Type of … from claymoo.com.
- 🍂 Which clay should I choose as a beginner? from blahmage.com.
- 💅 Choosing the Right Clay for Your Pottery Project from atelierforma.ca.
- 👓 Best clay for beginner hand building from facebook.com.
- 🖼️ [Help] What kind of clay for a novice getting started? from reddit.com.
Start with a clay that feels easy to shape and does not fight back. Air-dry clay is a favorite for beginners because it is simple, neat, and easy on the budget.
It often dries without a kiln, which saves money and time. The smooth, pale look also makes it easy to paint later, so your finished piece can match your style.
2. Keep Your Tools Simple and Handy

Top Keep Your Tools Simple And Handy Craft Tutorials
- 🖼️ Handy Craft Tool Organiser pattern by taffylass knits from ravelry.com.
- 🧑🌾 The Best Handcrafts for Children (+ Tips to Teach Them) from treehouseschoolhouse.com.
- 👓 Sil store handy crafty tool organizer design from facebook.com.
- 🍅 Handy Craft Cup from sherwin-williams.com.
- 👓 16 Must-Have Craft Tools from scrapbook.com.
You do not need a big studio to make great clay art. A few basic tools like a plastic knife, toothpick, rolling pin, and water cup can do a lot.
Simple tools help you stay focused on shaping instead of searching for supplies. They also keep costs low, which is great when you are just starting out.
Many beginners like using everyday items from the kitchen or craft drawer. This makes the hobby feel friendly and creative, and it gives your work a homemade charm that feels special.
3. Practice Soft Shapes Before Making Details
Top Practice Soft Shapes Before Making Details Craft Tutorials
- 🎨 3 – creating shapes & 3D – Fibres of Being – WordPress.com from fibresofbeing.wordpress.com.
- 👓 Crafts for Kids: Fun Ideas for Little Learners from speechblubs.com.
- 🗺️ Drawing Simple Shapes from lundgrenart.weebly.com.
- 🎄 Simple 3d shapes making fun ideas With clay and toothpicks from facebook.com.
- 🍂 Draw Anything By Simplifying Pictures into Shapes from harshpreetkaur.com.
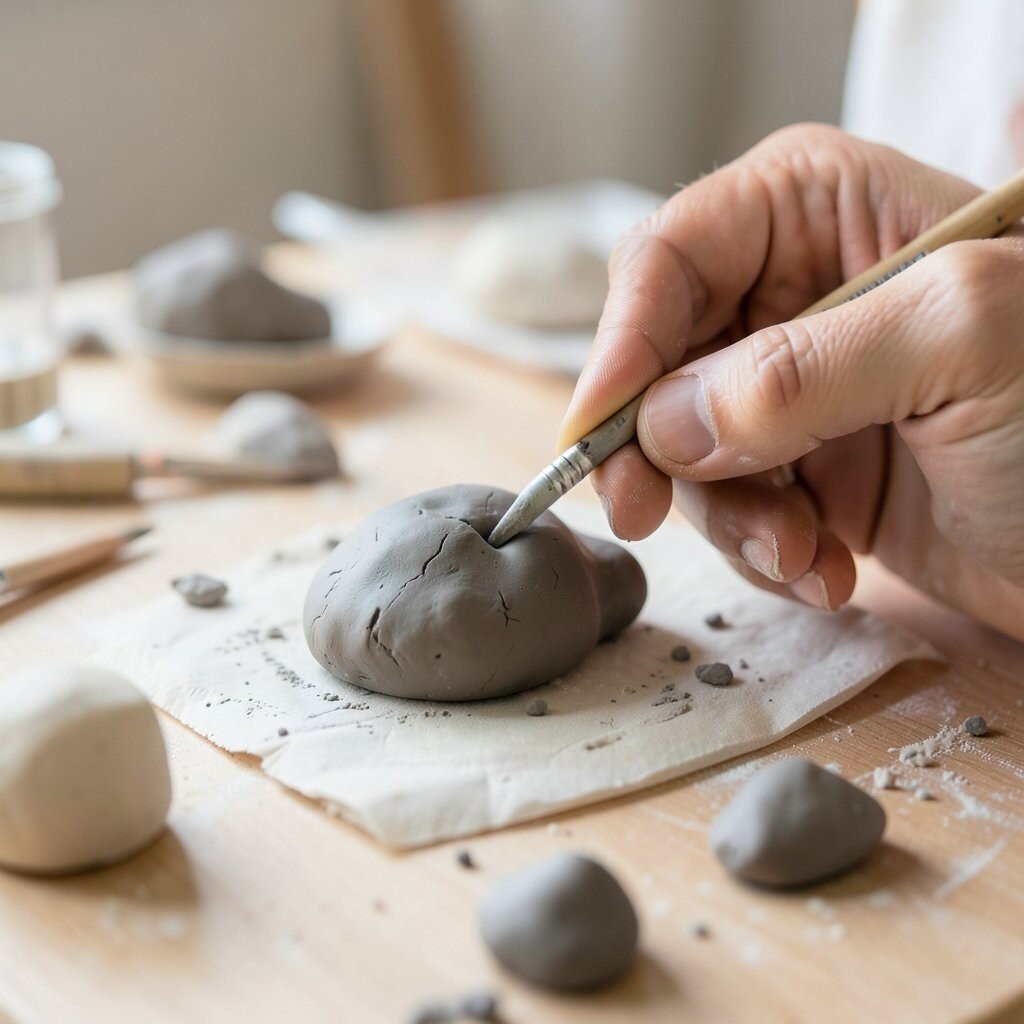
Round balls, coils, and flat slabs are a smart place to begin. These easy forms help your hands learn how clay moves and bends.
Once you feel steady, you can add tiny marks, eyes, leaves, or texture. That mix of plain shapes and small details gives your art a handmade look that feels fresh and personal.
Try making a little animal, a bowl, or a charm before moving to larger pieces. Small projects use less clay, cost less, and help you build skill without stress.
Modern clay art often mixes simple shapes with bold colors and cute themes. That trend works well for beginners because it keeps the project fun and easy to finish.
4. Use Water with Care

Top Use Water With Care Craft Tutorials
- 🍁 Watering can craft activity for kids from facebook.com.
- 🎄 Recycled Bottle Craft: Watering Can from inspiredbyfamilymag.com.
- 💅 Water Cycle Craft from teacherspayteachers.com.
Water can make clay smoother, but too much can turn it mushy. A tiny bit on your fingers or tool is often enough.
Think of water as a helper, not a bath. Careful use keeps edges neat and helps pieces stick together without cracking.
5. Make Surface Texture Part of the Design

Top Make Surface Texture Part Of The Design Craft Tutorials
- 🍂 Elements of Design: FORM, TEXTURE & PATTERN from eileegeorge.com.
- 🎨 A Beginner's Guide to Surface and Pattern Design from skillshare.com.
- 👓 How to Make DIY Texture Paste! from thegraphicsfairy.com.
- 🎄 Elements of Design: Texture from kidcourses.com.
- 🎨 Defining Texture In Interior Design And Their Impact from imidesignstudio.com.
Texture can turn plain clay into something eye-catching. You can press in lace, leaves, forks, stamps, or even the end of a pencil.
This adds depth and makes each piece unique. It also hides small marks that beginners sometimes worry about, so the final art still looks polished.
Textured clay is popular in home decor, jewelry, and tiny art trays. That makes it a smart choice if you want your project to feel current and stylish.
6. Plan Your Project Before You Start Shaping

Top Plan Your Project Before You Start Shaping Craft Tutorials
- 🖼️ Shape Art Lesson Ideas from artwithtrista.com.
- 🍂 Crafty Hobbies for 2025: Purposeful, Affordable, and Fulfilling from thecraftyangels.com.
- 🎄 6 Things You Will Learn in Your First 6 Hooks & Needles Boxes from hooksneedles.com.
- 💅 Construction Paper Crafts for Kids to Make from howweelearn.com.
- 💅 31 Arts and Crafts for Kids to Make at Home – Highlights Parents from parents.highlights.com.
A quick sketch can save time and clay. It gives you a simple guide for size, shape, and special details.
Planning also helps you avoid waste, which is good for your wallet. If you know what you want to make, you can buy only the clay and colors you need.
Many beginners like to pin a photo or draw a rough idea on paper first. That small step makes the process feel calm and clear, and it helps your finished piece look more like your vision.
Personal touches matter too, so think about names, favorite colors, or tiny symbols. A clay piece becomes more meaningful when it tells a little story about you.
7. Keep Your Hands and Workspace Clean

Top Keep Your Hands And Workspace Clean Craft Tutorials
- 🧑🌾 Creating a clean workspace for crafting from facebook.com.
- 🍂 ✨3 ways to keep your workspace organized✨ 1. Clear out … from instagram.com.
- 🎄 Clear your Workspace – Craft Room Challenge 2018 from craftifymylove.com.
- 🗺️ Effective Craft Room Organization Ideas to Declutter and … from lemon8-app.com.
- 🍁 25 Low-Effort Ways To Keep Your Workspace Clean from buzzfeed.com.
Clay picks up dust, lint, and crumbs very fast. A clean table and clean hands help your project look smooth and neat.
It also makes shaping easier because the clay glides better. Clean work habits can save time later, since you will not need to fix tiny specks and smudges.
8. Build in Layers for Better Control

Top Build In Layers For Better Control Craft Tutorials
- 👓 What is the correct order for 1 to 8 layers in Cricut design? from facebook.com.
- 🎨 Laser cut layered wood art I finished this year. Im always … from reddit.com.
- 👓 8-Layer PCB Art: Designing Functional and Beautiful … from allpcb.com.
- 🎨 The Ultimate Guide to 8-Layer PCB Stackup Design from aivon.com.
- 🍅 Crash Course in Control Layers – Insulation from finehomebuilding.com.
Adding clay in small parts gives you more control than trying to make everything at once. This is helpful for faces, petals, handles, and other shaped details.
Layering also makes repairs easier if one part does not look right. You can adjust one section without starting over, which keeps the process fun instead of frustrating.
Some artists use layers to make depth, like raised flowers or stacked shapes. This style looks rich and handmade, and it works well for wall art, pins, and decorative figures.
9. Watch the Drying Time

Top Watch The Drying Time Craft Tutorials
- 🎄 50 Easy Crafts for Kids to Spark Their Imagination from modpodgerocksblog.com.
- 🍂 Valentine's mixed media craft project with air dry clay roses from facebook.com.
- 👓 Bucket of Craft Supplies from staples.com.
Drying too fast can cause cracks, and that can be upsetting after all your work. Keeping the piece covered loosely with plastic can help slow things down.
Let each part dry at a steady pace before adding more weight or paint. This simple habit improves strength and helps your art last longer.
10. Paint with Bright or Soft Colors

Top Paint With Bright Or Soft Colors Craft Tutorials
- 🗺️ 50+ Painting Ideas for Kids (Fun & Easy Art Projects) from modpodgerocksblog.com.
- 🍂 Tulip Soft Fabric Paint from walmart.com.
- 🗺️ 30 FUN & EASY Painting Ideas (2026) from abcdeelearning.com.
- 👓 Fabric Paint from tulipcolor.com.
- 👓 Best acrylic paint for solid, shaded colors from facebook.com.
Paint gives clay art a new mood. Bright colors feel playful, while soft colors can look calm and sweet.
This is a great way to make your work match a room, a gift theme, or your own favorite style. Paint is also cost-friendly, since a small set can cover many projects.
Current trends often use pastel shades, earthy tones, and bold color blocks. You can follow those looks or make your own mix for something more personal and one of a kind.
Try adding dots, stripes, or tiny flowers for extra charm. These little touches make beginner pieces feel polished and full of life.
11. Mix Old Ideas with New Trends

Top Mix Old Ideas With New Trends Craft Tutorials
- 🗺️ The Top Crafting Ideas For 2026 You'll Want to Try This Year from my100yearoldhome.com.
- 🍅 Arts and Crafts for Adults | Best in 2026 from classpop.com.
- 🎄 The Craft Trends Everyone's Trying in 2026 (And Why You … from classbento.com.au.
- 🎨 34 Crafts That Make Money in 2026 (w/ Real-Life Examples) from makerflo.com.
- 🎨 Craft trends in 2026 blend nostalgia, sustainability and … from msn.com.
Clay art has room for both classic and modern styles. You can make old-fashioned pots, cute characters, abstract shapes, or tiny home decor pieces.
That freedom is one reason people love working with clay. It gives you space to copy a style you admire or build something that feels totally your own.
Right now, tiny sculptures, handmade ornaments, and simple decorative trays are very popular. These projects are fun for beginners because they use small amounts of clay and can be finished in a short time.
If you want a more personal look, add a name, date, favorite animal, or special pattern. Those details make your art feel meaningful and help it stand apart from store-bought items.
12. Use Cheap Practice Clay Before Fancy Clay

Top Use Cheap Practice Clay Before Fancy Clay Craft Tutorials
- 👓 Affordable clay for beginners? from facebook.com.
- 👓 Where to buy the best air dry clay from gathered.how.
- 🍁 Simple Things to Make With Clay from facebook.com.
- 💅 First-Time Clay Art Fun! Easy & Cute Projects for Beginners from lemon8-app.com.
- 💅 12 of the best polymer clay kits from gathered.how.
Practice clay is a smart choice when you are still learning. It lets you test shapes and tools without worrying about wasting expensive material.
This can lower the cost of mistakes and give you more confidence. Once you feel ready, you can move to a nicer clay for your final piece.
13. Store Clay the Right Way

Top Store Clay The Right Way Craft Tutorials
- 💅 Best way to store clay and spackle creations from facebook.com.
- 🎨 Is it possible to make air dry clay food safe? : r/crafts from reddit.com.
- 🧑🌾 Fun and Easy Kids Air Dry Clay Projects to Spark Creativity from imthecheftoo.com.
Clay dries out fast when left in open air. Wrapping it tightly in plastic or keeping it in a sealed bag helps it stay soft.
Good storage saves money because you will use less clay waste. It also means your supplies are ready when inspiration hits, which makes creating much easier.
Many beginners keep small labeled containers for different colors or types of clay. That simple habit keeps things tidy and makes your workspace feel more inviting.
If you like to make art often, set up a small storage spot near your table. Easy access encourages more practice and helps clay art become part of your routine.
14. Add Your Own Style to Every Piece

Top Add Your Own Style To Every Piece Craft Tutorials
- 🎨 Fashion Crafts: 50 Easy and Stylish Ideas! from modpodgerocksblog.com.
- 🖼️ We've all built some ridiculously big craft. Whats the … from reddit.com.
- 👓 Fashion Crafts: 40+ Unique DIY Projects To Try! from diycandy.com.
- 🍁 37 crafts for teens that they'll actually love from gathered.how.
- 🍁 JenniferMaker.com from facebook.com.
Your clay art does not need to look perfect to be lovely. A little wobble or a small fingerprint can give it character and make it feel handmade.
Choose shapes, colors, and textures that match your taste. That personal touch is what turns a simple project into something memorable and special.
Some people love cute faces, while others enjoy calm, natural shapes or bold modern lines. There is no single right way to make clay art, and that freedom is part of the fun.
When you add your own ideas, each piece becomes unique and hard to copy. That is the best part of working with sculpting clay: it lets your imagination show up in a real, touchable form.