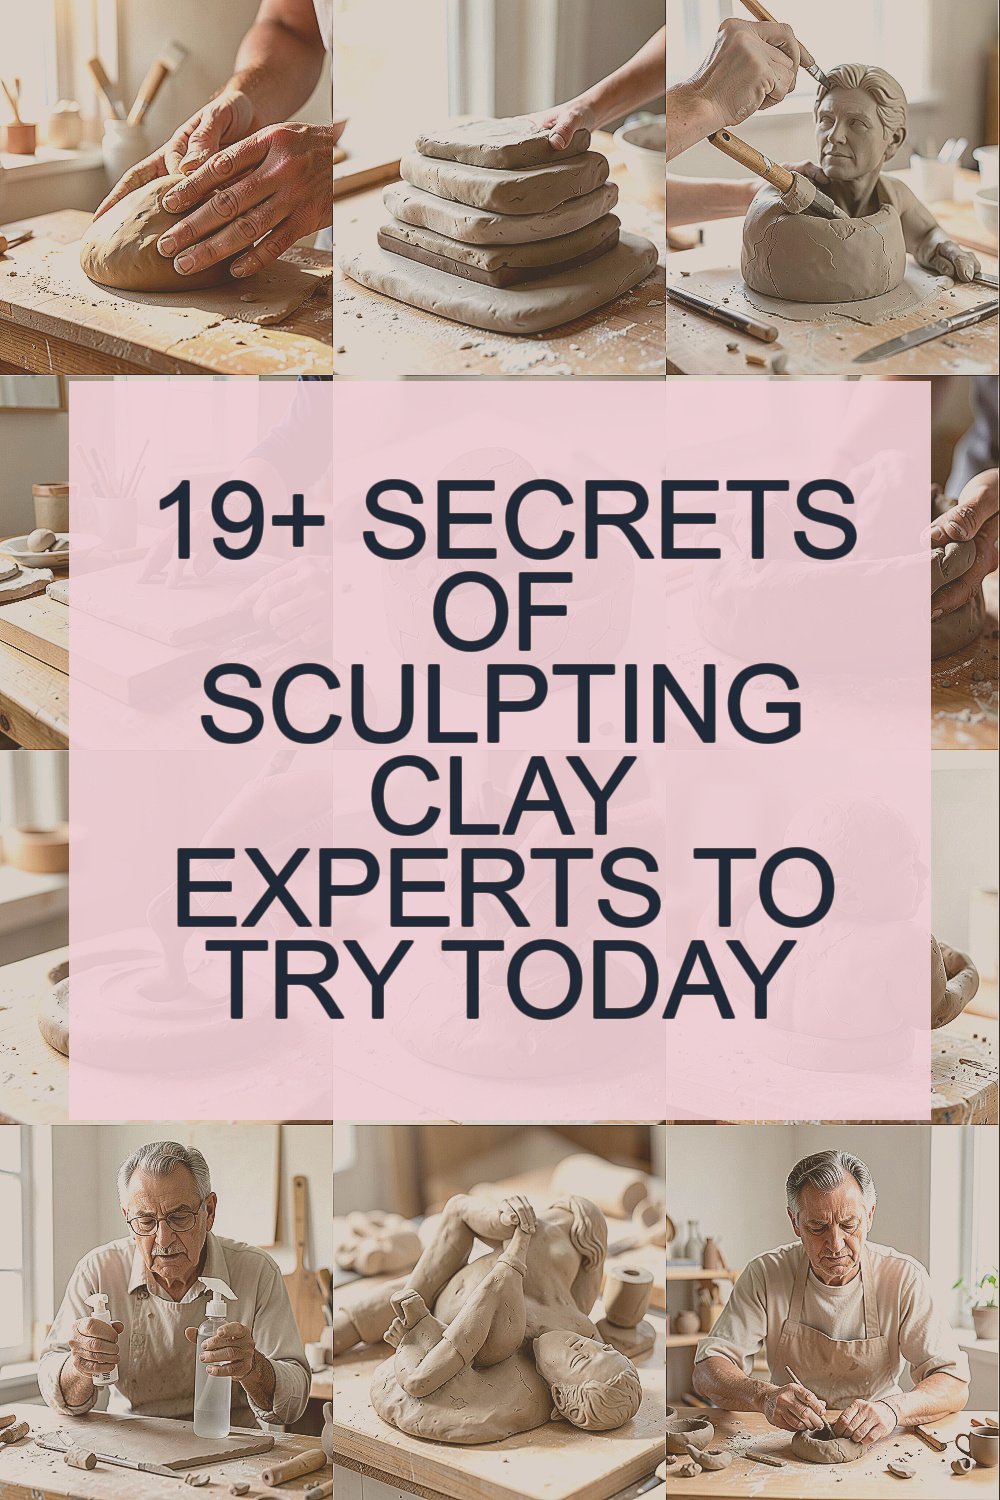
Clay can feel calm in your hands and wild on the table. The best artists know how to guide both moods.
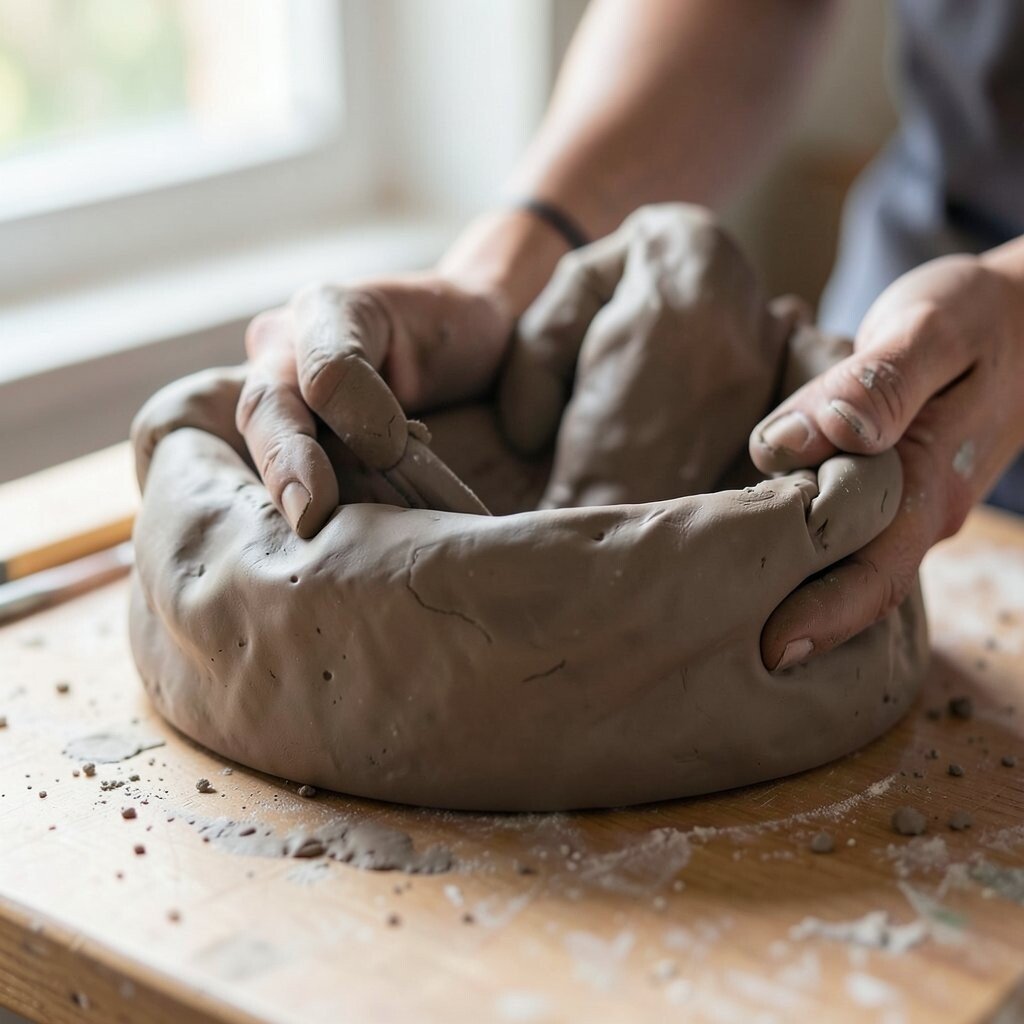
1. Warm the Clay Before You Shape It

Top Warm The Clay Before You Shape It Craft Tutorials
- 🎄 How to Make Clay | The BEST Air Dry Clay Recipe from onelittleproject.com.
- 🍅 Air Dry Clay: 10 Great Tips to Know Before You Start a … from marialouisedesign.com.
- 🍂 14 air dry clay techniques from montmarte.com.
- 🗺️ Make your own clay creations with three ingredients … from mintmuseum.org.
- 🎄 How to Make Clay at Home: 5 Easy DIY Homemade … from claymoo.com.
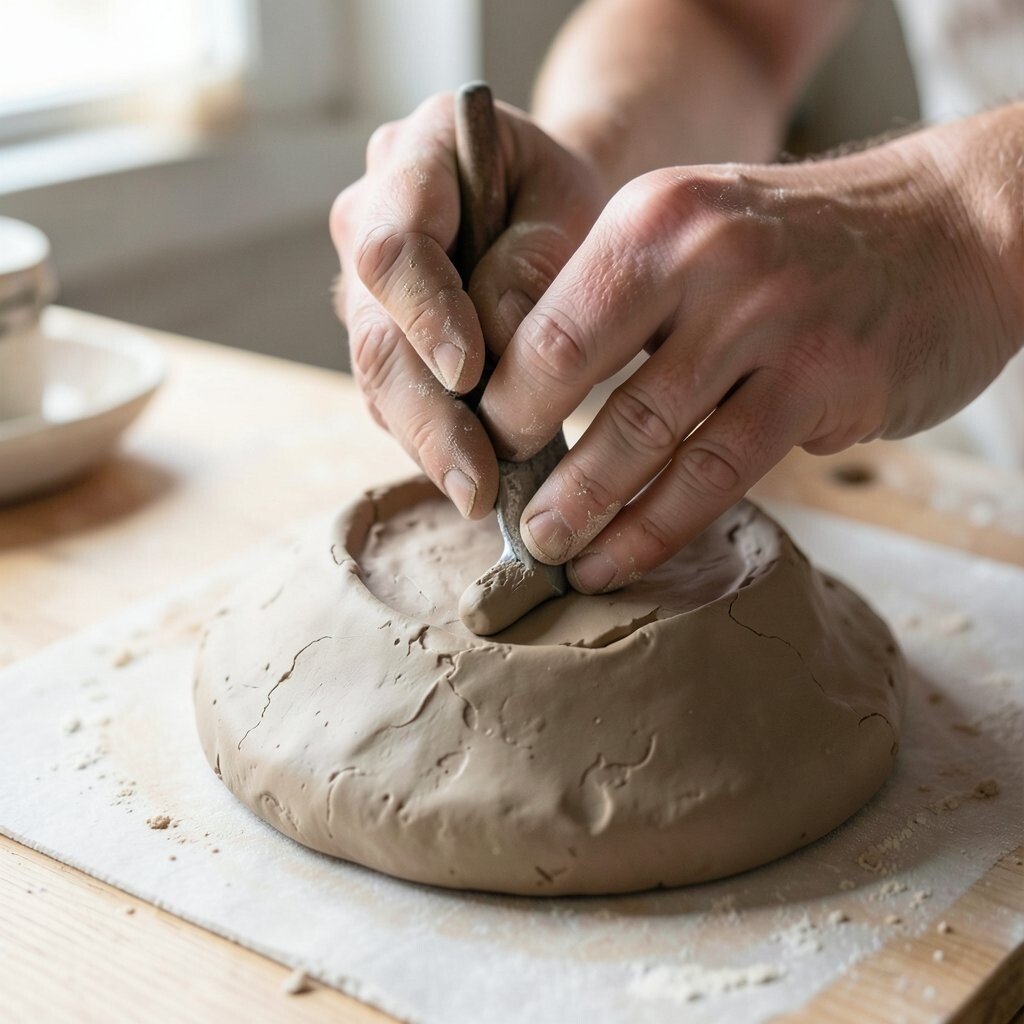
Cold clay often feels stiff, lumpy, and hard to move. A little warmth from your hands can make it smooth and soft fast.
Roll it, press it, and knead it in short bursts until it feels even. This helps you save time, cut down on cracks, and make cleaner shapes. If your hands tire easily, use a small clay roller or a simple bag to keep the clay from drying too fast.
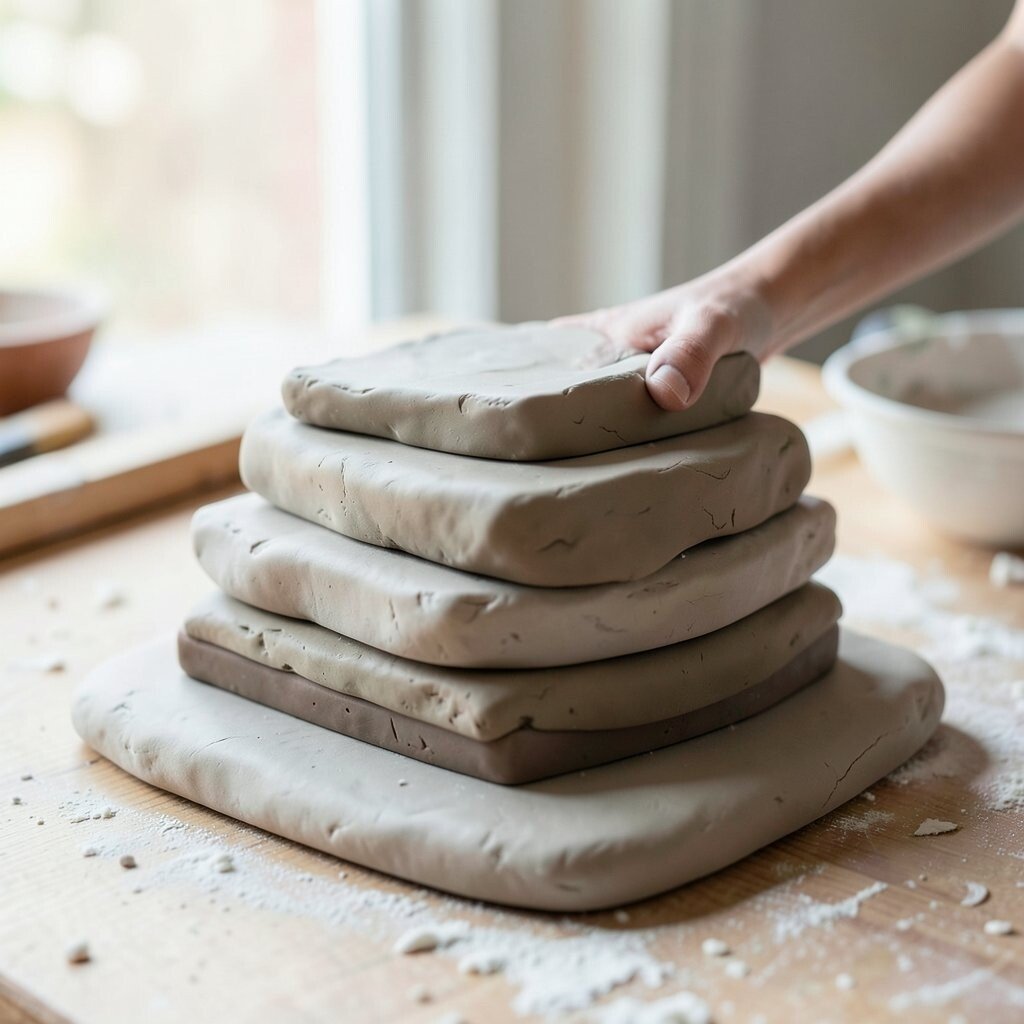
2. Build Forms in Simple Layers
Top Build Forms In Simple Layers Craft Tutorials
- 🗺️ What are some fun and easy layered projects to make? from facebook.com.
- 🖼️ Layered paper designs are one of my favorite papercraft … from facebook.com.
- 🍁 How to Paper Mache: The ultimate 7-step guide from vaessen-creative.com.
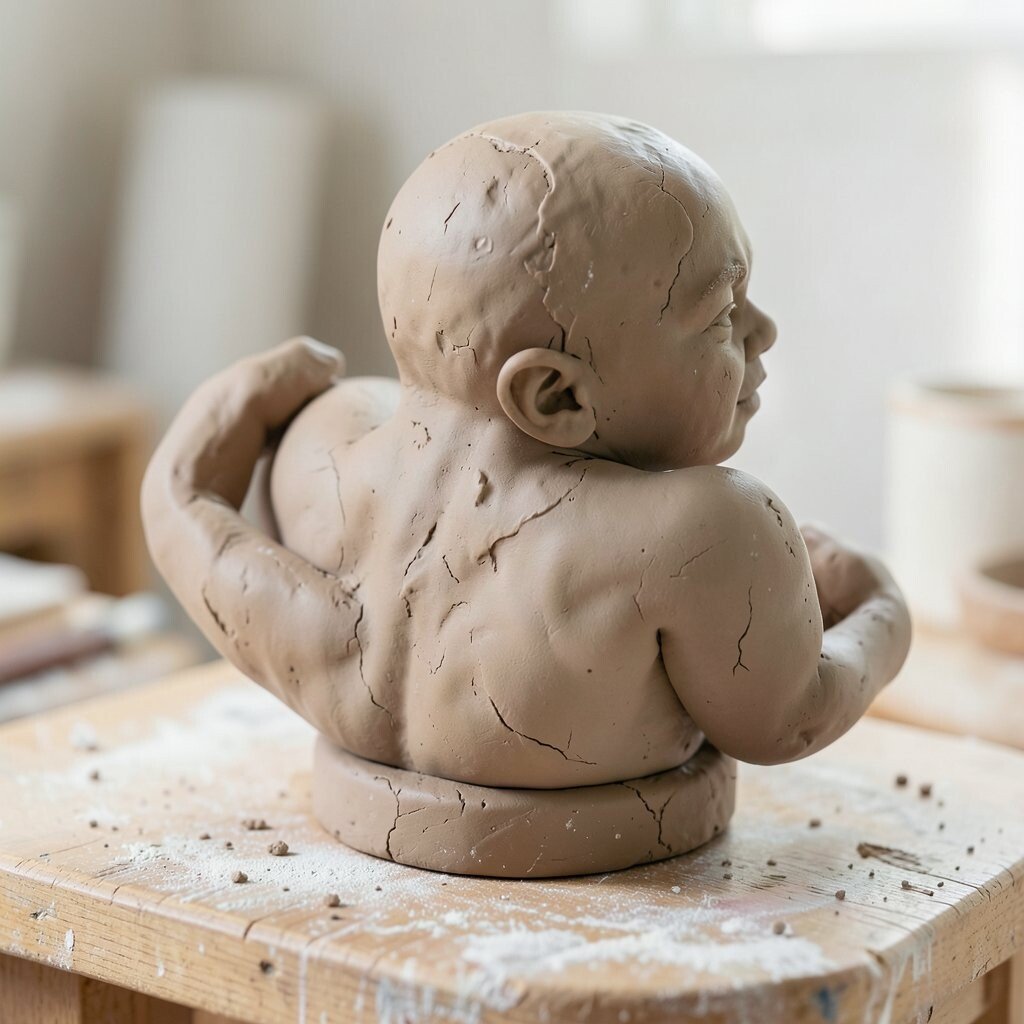
Big clay pieces are easier when you think in layers. Start with a base, then add one part at a time so the shape stays steady.
This method gives you better control and a neater finish. It also makes your work feel more unique because you can change each layer as you go.
Some artists like to mark each layer with a tiny line or texture so they can see where one part ends and the next begins. That small trick can make a plain form look more handmade and special. It is also a smart way to avoid waste, since you can fix small parts without starting over.
3. Keep Your Tools Simple and Sharp
Top Keep Your Tools Simple And Sharp Craft Tutorials
- 🖼️ How do you keep your cutting tools sharp? from facebook.com.
- 🍂 Gotta keep the tools sharp from instagram.com.
- 🍅 Stay Sharp: Fun and Creative Tools to Keep Your Art Room … from theartofeducation.edu.
- 👓 Sharp tools, steady hands, and a deep respect for the craft. from reddit.com.
- 👓 13 Easy Wood Carving Ideas Perfect for Beginners from schaaftools.com.
Many experts use only a few tools, and they use them well. A clean loop tool, a needle tool, and a soft brush can do a lot.
Sharp tools help you cut clean edges and make details that stand out. They also save money because you do not need a huge set to get nice results.
Try labeling your tools or keeping them in a small cup near your table. That makes your setup feel tidy and helps you work faster when inspiration hits. If you like current studio trends, look for bamboo handles or recycled tools that feel light and eco-friendly.
4. Watch the Light on Your Table

Top Watch The Light On Your Table Craft Tutorials
- 💅 a delicate little lantern that looks like it came straight out of … from facebook.com.
- 🎨 A day to slow down, create with your hands, and watch light turn … from instagram.com.
- 🗺️ "Light as a feather, stiff as a board" : r/Paranormal from reddit.com.
- 🎄 Fun Easy Bible Crafts for Kids and the Whole Family from daniellesplace.com.
Good light can change the way clay looks right away. Shadows show bumps, curves, and tiny flaws that your eyes might miss in dim light.
Place your work near a window or use a bright lamp with a soft white bulb. This helps you shape faces, bowls, and edges with more care.
Many sculptors angle a lamp from the side so the form looks more alive. That side light also makes texture pop, which is great for earthy, modern pieces. If you want a low-cost upgrade, a clip-on lamp can make a big difference without much spending.
5. Make Texture Samples Before the Main Piece

Top Make Texture Samples Before The Main Piece Craft Tutorials
- 🍂 What are some techniques for creating texture on set pieces? from facebook.com.
- 🎨 How to Make DIY Texture Paste! from thegraphicsfairy.com.
- 🎄 How to make Modern Geometric Textured Art from madebybarb.com.
- 🎨 DIY Texture Art Ideas: Create Stunning Visual & Tactile … from lemon8-app.com.
- 🎄 What are your favorite unexpected tools for creating texture? from facebook.com.
Texture can turn plain clay into something full of life. A small test tile lets you try patterns before you press them onto your final work.
You can use lace, leaves, stamps, sticks, or even kitchen tools. This keeps your main piece from getting ruined and gives you more freedom to play.
Experts often keep a box of sample tiles on the shelf for future ideas. That box becomes a personal style guide over time, which is helpful when you want your work to feel more like you. If you are watching costs, testing on scraps is a smart way to avoid buying fancy molds too soon.
6. Let Water Help, but Not Too Much
Top Let Water Help, But Not Too Much Craft Tutorials
- 🖼️ Splash into Learning: Fun Water Crafts for Kids from imthecheftoo.com.
- 🖼️ Creative water-themed crafts to share? from facebook.com.
- 🍁 Float DIY Water Bottle Boats from pbs.org.
- 👓 Water Bottle Fish Craft from meaningfulmama.com.
- 🍅 50 Easy Crafts for Kids to Spark Their Imagination from modpodgerocksblog.com.
Water can smooth seams and soften rough spots. Too much water can make clay weak, sticky, and harder to control.
Use a damp sponge, a wet finger, or a small brush for tiny fixes. This gives you a clean surface without turning the clay soggy.
Many makers keep a tiny cup of water beside the table and use it like a secret helper. That habit works well for joining parts, blending edges, and making the final piece look polished. If you like a softer, handmade trend, leave a few gentle tool marks instead of smoothing everything flat.
7. Score and Slip Like You Mean It

Top Score And Slip Like You Mean It Craft Tutorials
- 🧑🌾 Video for understanding porcelain slip scoring techniques from facebook.com.
- 🍁 How to Make the Perfect Clay Slip for All Your Clay Projects from teachkidsart.net.
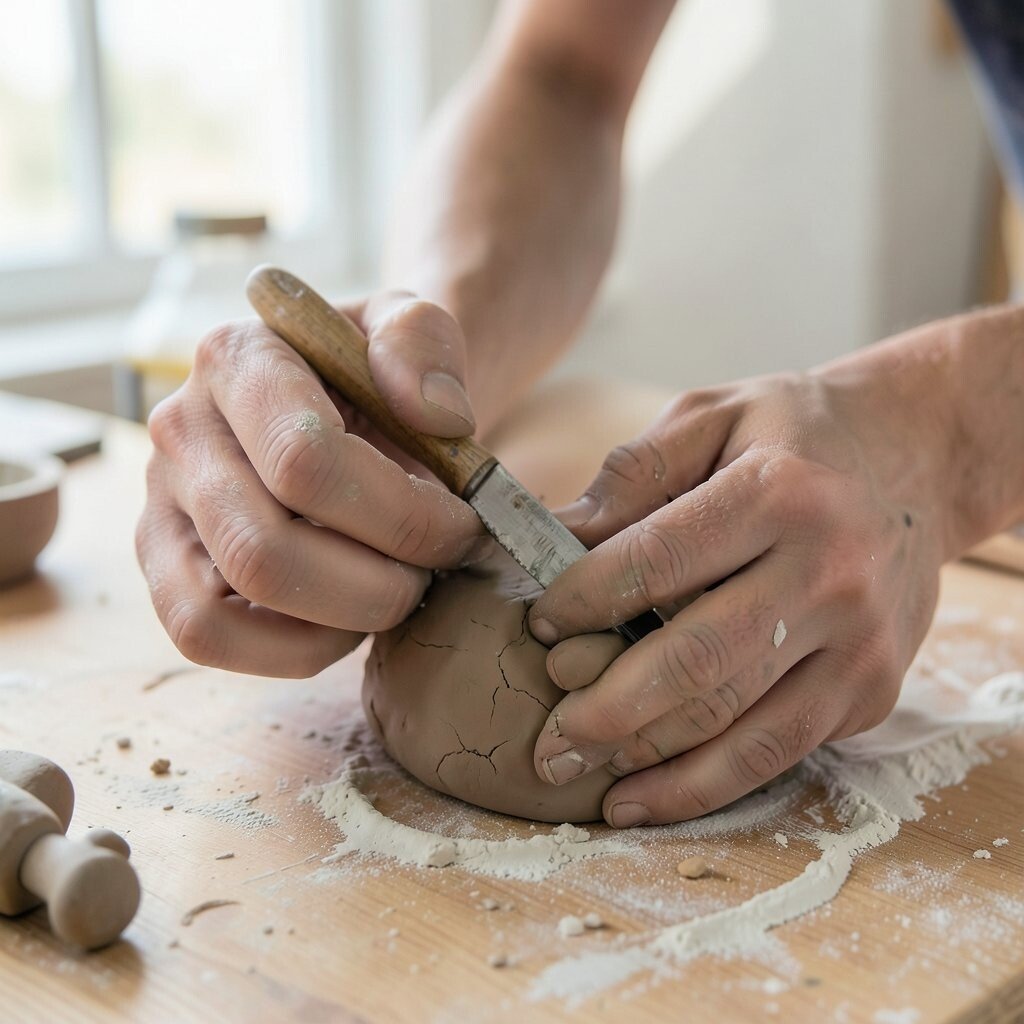
Strong joins are the heart of good clay work. Scoring makes tiny scratches, and slip acts like glue for clay parts.
When both steps are done well, your piece stays together better as it dries. That means fewer breaks, less stress, and less wasted material.
Try pressing the joined parts together for a few seconds so they bond well. Then smooth the seam with a soft tool or a damp brush. Personal touches, like carving a hidden mark near the join, can make the piece feel more yours.
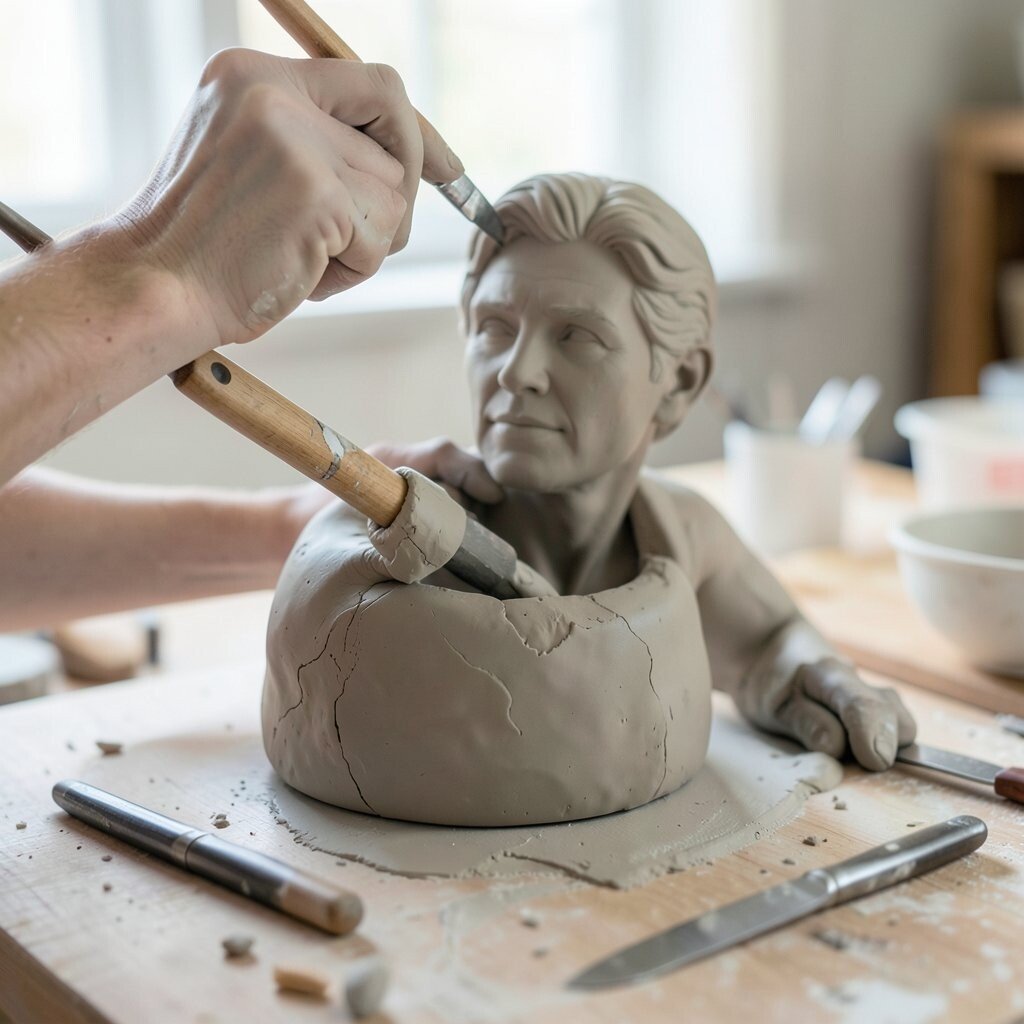
8. Use Your Fingers as the First Tool
Top Use Your Fingers As The First Tool Craft Tutorials
- 🎨 How many fingers are enough for human level tool use? from reddit.com.
- 👓 Vintage Emir 8 Drawer Engineers Tool Craft Cabinet Chest #26069 from ebay.com.
- 🧑🌾 How fun! This is such a cute craft that works on so many … from facebook.com.
- 💅 Finger Weaving from undercoverclassroom.com.
- 💅 ✨Ever tried making felt ribbons with just your fingers? 🫶 It's … from instagram.com.
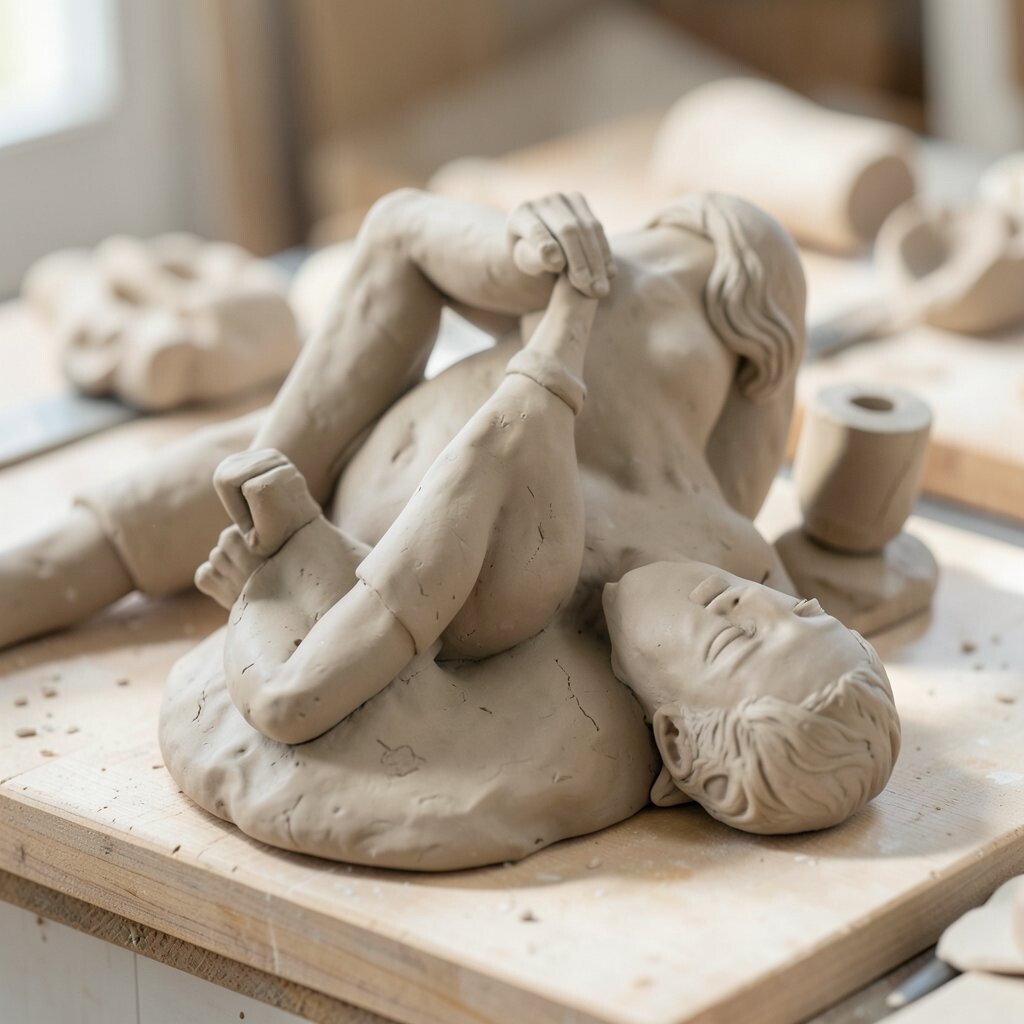
Your fingers can feel shape in a way tools cannot. They notice soft curves, thin walls, and uneven spots right away.
Experts often start with their hands before reaching for any tool. This keeps the piece natural and helps the sculptor stay close to the material.
Fingertip pressure can make a face look gentle or a bowl feel balanced. It also costs nothing, which is great for beginners or anyone on a tight budget. If you want a trend that feels fresh, mix hand-smoothed areas with a few bold carved lines.
9. Dry Slowly for Better Results
Top Dry Slowly For Better Results Craft Tutorials
- 💅 Tips for slow and even pottery drying from facebook.com.
- 🎨 23 Air Dry Clay Tips and Tricks for Beginners from colorfulcraftcorner.com.
- 💅 Air Dry Clay Tips And Tricks from gatheringbeauty.com.
- 🎄 Is there a way to make the clay dry faster? from reddit.com.
- 💅 Beginner's Guide to Successfully Drying Clay from ceramic.school.
Fast drying can lead to cracks, warping, and weak spots. Slow drying gives the clay time to settle into its final shape.
Cover your piece loosely with plastic or a cloth so the air moves gently. This simple step can protect thin parts, sharp corners, and detailed work.
Some artists turn the piece a little each day so it dries evenly all around. That habit helps avoid flat spots and makes the final surface look more balanced. It is also a low-cost habit, since you only need a cover and a bit of patience.
10. Keep a Small Water Spray Bottle Nearby

Top Keep A Small Water Spray Bottle Nearby Craft Tutorials
- 🍁 10 activities involving spray bottles – Extra activities from educatall.com.
- 🗺️ Mini spray bottle ideas for crafts or gifts from facebook.com.
- 💅 Small Spray Bottles from walmart.com.
- 👓 Easy Plastic Bottle Crafts for Kids and Adults! from diycandy.com.
- 🖼️ Mini Mist Spray Bottles | Hobby Lobby | 1900760 from hobbylobby.com.
A light mist can revive clay that starts to feel dry. It also helps you blend parts without making the whole piece wet.
Use just a little spray, then wait a moment before shaping again. This keeps the surface smooth and gives you more control over the final look.
Many studio artists like spray bottles because they are cheap and easy to carry. They are handy for travel kits, shared work tables, and quick touch-ups between steps. If you enjoy a neat, modern setup, choose a clear bottle so you can see how much water is left.
11. Study Real Objects Before You Sculpt
Top Study Real Objects Before You Sculpt Craft Tutorials
- 🍁 Hands-on Sculpture Projects for Kids: Art and STEM from imthecheftoo.com.
- 💅 Seven Sculpture Lessons That are Not Clay from thatartteacher.com.
- 👓 Purchase Guide: Sculpting from texasart.com.
- 🖼️ Non-Clay Sculpture Lessons: 10 Sculpture Ideas Without … from artwithtrista.com.
- 🗺️ Sculpture students made clay slabs and practiced creating … from facebook.com.
Nature and everyday items give you strong ideas for clay forms. A shell, an apple, a shoe, or a leaf can teach you a lot about shape.
Looking closely helps you make work that feels alive instead of flat. It also gives your pieces a special look because real objects have small details no machine can copy.
Try sketching the object first or turning it in your hands before you start. That helps you notice curves, dents, and thick parts that matter in clay. If you want your work to feel current, mix real-world study with bold, simple shapes.
12. Work in a Clean, Quiet Space

Top Work In A Clean, Quiet Space Craft Tutorials
- 🖼️ Blast Off! Fun Space Craft Ideas for Kids from imthecheftoo.com.
- 🗺️ Quiet Time – For all ages! from butfirstwecraft.com.
- 🎄 In need of a hobby that is cheap, quiet, and doesn't require … from reddit.com.
- 🍅 Simple Low Prep Quiet Time Activities from kidskubby.com.
- 🍂 How to Have a Quiet Line Ideas and Activities from missgiraffesclass.blogspot.com.
A tidy table can make clay time feel calmer. It also helps you see mistakes faster and keep your tools within reach.
Experts often clear away extra clutter before they begin. That small habit saves time and lets the clay stay the main focus.
Use a tray, mat, or board so cleanup stays easy. This makes the whole process smoother and can lower the cost of wasted supplies. A peaceful workspace also helps your own style show up more clearly, since you are not fighting the mess.
13. Mix Smooth Areas with Rough Ones

Top Mix Smooth Areas With Rough Ones Craft Tutorials
- 🍂 Turn rough rocks into tangible objects with a bit of … from facebook.com.
- 🍂 Tips and Tricks for Concrete Crafting from madebybarb.com.
- 🧑🌾 Making Cement And Concrete Crafts | Mixes & Sealers from artsyprettyplants.com.
- 🍁 1 cup of joint compound (also known as sheetrock … from facebook.com.
- 🖼️ Paper Mache Beginner's Guide (Easy!) from thegraphicsfairy.com.
Texture contrast gives clay pieces more personality. A shiny smooth patch next to a rough carved patch can feel bold and rich.
This trick makes the eye move across the whole form. It also helps your work stand out in a room full of plain surfaces.
Try leaving one side polished and the other side more raw. That balance can feel modern, artistic, and full of charm. If you want to keep costs low, use found tools like combs, bottle caps, or sticks to make the rough parts.
14. Make Small Tests for Color and Finish

Top Make Small Tests For Color And Finish Craft Tutorials
- 👓 Testing from facebook.com.
- 🍁 Testing out craft kits from craftychica.com.
- 🍂 Top Coats and Sealers for Crafts – A Comprehensive Guide! from thegraphicsfairy.com.
Glazes, stains, and finishes can change clay in big ways. A tiny test piece shows you the result before you commit to the full work.
This saves money and cuts down on bad surprises. It also helps you create a look that matches your taste instead of guessing.
Many makers keep test tiles next to their shelves to compare colors over time. That habit is useful for tracking trends too, since popular finishes change from soft matte to glossy and back again. If you like personal style, label each test with notes about clay type, firing, and finish.
15. Shape with the Final Use in Mind

Top Shape With The Final Use In Mind Craft Tutorials
- 🍅 Shapes – Minecraft Wiki – Fandom from minecraft.fandom.com.
- 🗺️ Shapes from minecraft.wiki.
- 🎨 Minecraft: Pi Edition Complete Render Shape List from mcpirevival.miraheze.org.
- 🎨 So this is what the end dimension looks like, And theres … from reddit.com.
- 🎨 The 15th Anniversary cape from minecraft.net.
Good sculptors think about how the piece will live beyond the table. A cup, vase, mask, or figure needs a shape that fits its job.
This makes the work both pretty and useful. It also helps you avoid awkward forms that look nice but do not work well in real life.
Ask yourself how the piece will be held, moved, or displayed. That question can guide the size, thickness, and balance of the whole form. If you want a fresh trend, try mixing useful shapes with playful details like tiny handles or carved symbols.
16. Save Leftover Clay for Tiny Art

Top Save Leftover Clay For Tiny Art Craft Tutorials
- 🎨 Suggestions for storing mixed clay scraps? from facebook.com.
- 🧑🌾 📽️ Clay reclaim: how I recycle my leftovers – step by … from instagram.com.
- 🍅 20 Clay Crafts For Creative Play from kiwico.com.
Scraps are not trash in a smart studio. They can become beads, charms, test heads, small bowls, or detail parts.
Using leftovers saves money and cuts waste. It also lets you practice new ideas without fear of ruining a full project.
Keep scraps in a sealed bag so they stay soft and ready. Some artists make a whole style out of tiny pieces, which can feel cute, modern, and very personal. If you like collecting, create a scrap jar and watch it fill with future ideas.
17. Learn the Feel of the Clay Body

Top The Feel Of The Clay Body Craft Tutorials
- 🍁 Building skill through intentional pottery practice from facebook.com.
Different clays behave in different ways. Some feel silky, while others feel gritty, dense, or soft like butter.
Once you know how your clay moves, you can shape it with more confidence. That knowledge helps you choose the right clay for the right project.
Try making a few sample forms with the same clay before starting a big piece. You will learn how much water it likes, how fast it dries, and how cleanly it cuts. Cost matters here too, since the best clay for your project may not be the most expensive one.
18. Use Reference Photos, but Add Your Own Twist

Top Use Reference Photos, But Add Your Own Twist Craft Tutorials
- 👓 What are some unique ways to recreate a project with your … from facebook.com.
- 🍂 Where are people getting the idea that they shouldn't use … from reddit.com.
- 💅 7 Quick Tips for Making Your Own Wire Art from acraftymix.com.
- 👓 Day 16: Self-Portrait Craft for Kids | Summer Creative … from thecreationstation.co.uk.
- 🖼️ How to create original art from inspirations? from facebook.com.
Reference photos can guide your proportions and details. They are useful, but your clay should still feel like your own work.
Change the pose, the surface, or the mood so the piece carries your voice. This gives your art a fresh look instead of a copied one.
Many experts keep a folder of images for faces, animals, plants, and objects. That makes it easy to pull ideas when you need them. If you want to follow current trends, look at clean shapes, soft lines, and handmade details that feel warm and human.
19. Keep Your Hands and Tools Dust-Free
Top Keep Your Hands And Tools Dust-Free Craft Tutorials
- 🎨 Another FREE craft tip for you all to enjoy! ✂️✨ This one's … from instagram.com.
- 🍁 how do you keep dust from getting on your creations? from reddit.com.
- 👓 keep your arts n crafts accessible! ✨ don't let them collect … from instagram.com.
- 💅 How do you keep your equipment dust-free, all tips and … from facebook.com.
- 🎨 DIY dust-free drilling gadget from facebook.com.
Dust can make clay rough and weak in spots. A clean hand and a clean tool help the surface stay smooth and strong.
Wipe tools often and brush away loose bits before they get pressed into the clay. This simple habit makes the final piece look more polished.
Experts often keep a small towel or brush close by for quick cleanup. That saves time and helps protect the work from tiny flaws. It also keeps costs down because you are less likely to ruin a piece late in the process.
20. Give Your Work a Signature Detail

Top Give Your Work A Signature Detail Craft Tutorials
- 🍁 7 Ways to find your signature style as a working creative from craftychica.com.
- 💅 Finding your unique design signature style from facebook.com.
- 🎨 Signature Styles: 20 Stitchers Craft… book by Jenny Doh from thriftbooks.com.
- 🍁 Signature Styles: 20 Stitchers Craft Their Look from barnesandnoble.com.
A signature detail makes your clay art easy to remember. It might be a special edge, a tiny face, a carved line, or a favorite texture.
This kind of mark gives your pieces a strong identity. It also helps your work feel more personal and more fun to make.
Try repeating one small idea across many projects so people start to know your style. That could be a curved lip, a dotted border, or a hidden symbol on the back. If you like the current handmade trend, keep the detail simple and honest so the clay itself still shines.