Clay can feel magical in your hands. It can also turn stubborn fast.
1. Using the Wrong Clay for the Project
Top Using The Wrong Clay For The Project Craft Tutorials
- 🍅 So i accidentally bought modeling clay instead of air dry … from facebook.com.
- 🧑🌾 DIY Air Dry Modeling Material: CAC Tried Recipes with … from clayartcenter.org.
- 🎄 DIY Air Dry Clay Recipe, With Gram Measurements … from ultimatepapermache.com.
- 💅 Is the clay on the left suitable for pottery? from facebook.com.
- 🎨 Homemade Cold Porcelain Clay | Puffy Little Things from puffylittlethings.blogspot.com.
Some clay feels smooth and soft, while other clay is gritty, firm, or stretchy in a very different way. Picking the wrong kind can make your sculpture crack, slump, or refuse to hold small details.
That is why the clay choice should match the art idea, the size of the piece, and the finish you want. Air-dry clay can be a smart low-cost pick for practice, while polymer clay works well for tiny, colorful pieces, and wet clay suits wheel work or larger hand-built forms. If you want a unique look, try mixing materials in safe ways or choose a clay with specks, fibers, or a stone-like feel for extra character.
2. Skipping Proper Clay Preparation

Top Skipping Proper Clay Preparation Craft Tutorials
- 🎨 How to Process Clay – 4 Steps to Turning Dirt Into Usable … from ancientpottery.how.
- 🖼️ Essential Clay Preparation Techniques for Pottery Makers from tiktok.com.
- 🗺️ How to Make Clay | The BEST Air Dry Clay Recipe from onelittleproject.com.
- 🎨 14 air dry clay techniques from montmarte.com.
- 👓 Slab pottery ideas for beginners – 25 easy clay projects from frombritainwithlove.com.
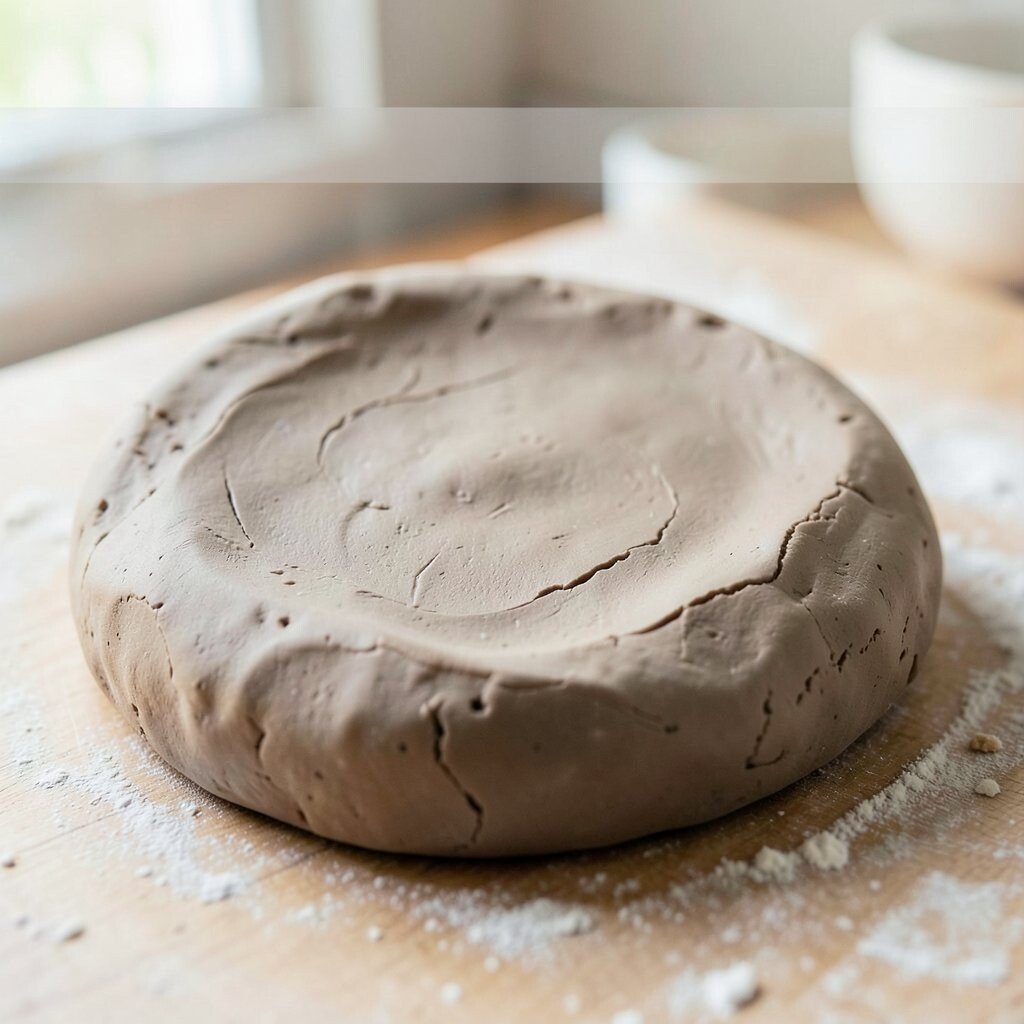
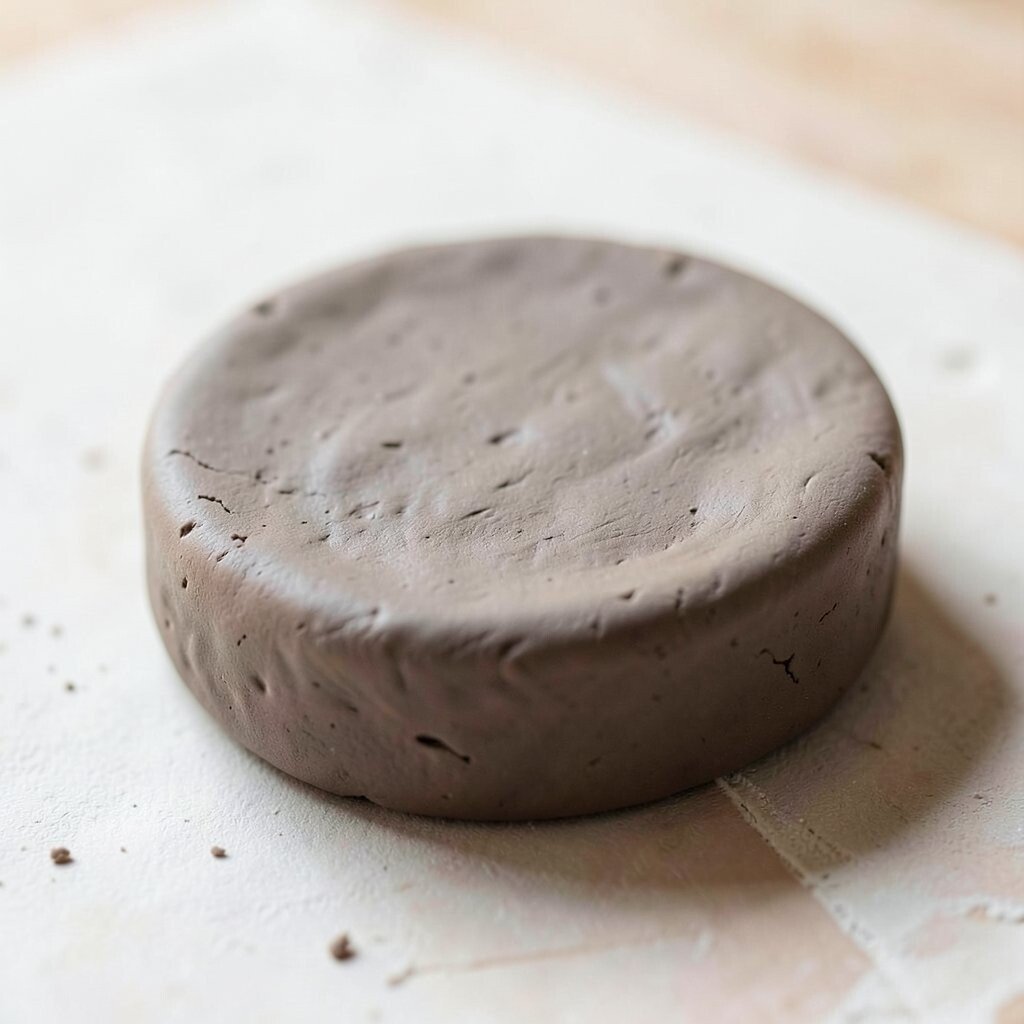
Fresh clay may look ready, but hidden air pockets and uneven moisture can cause big problems later. A sculpture with unprepared clay often shows cracks, weak spots, or rough patches that ruin the smooth look.
Wedge or knead the clay until it feels even from end to end. This simple step helps the clay work better, saves time during shaping, and lowers the chance of wasted material, which is great for your budget.
For a personal touch, test the clay in your hands before starting a full piece and notice how it bends and stretches. Many artists also keep a small sample ball nearby to check texture, which is useful when trends favor very clean surfaces and crisp edges.
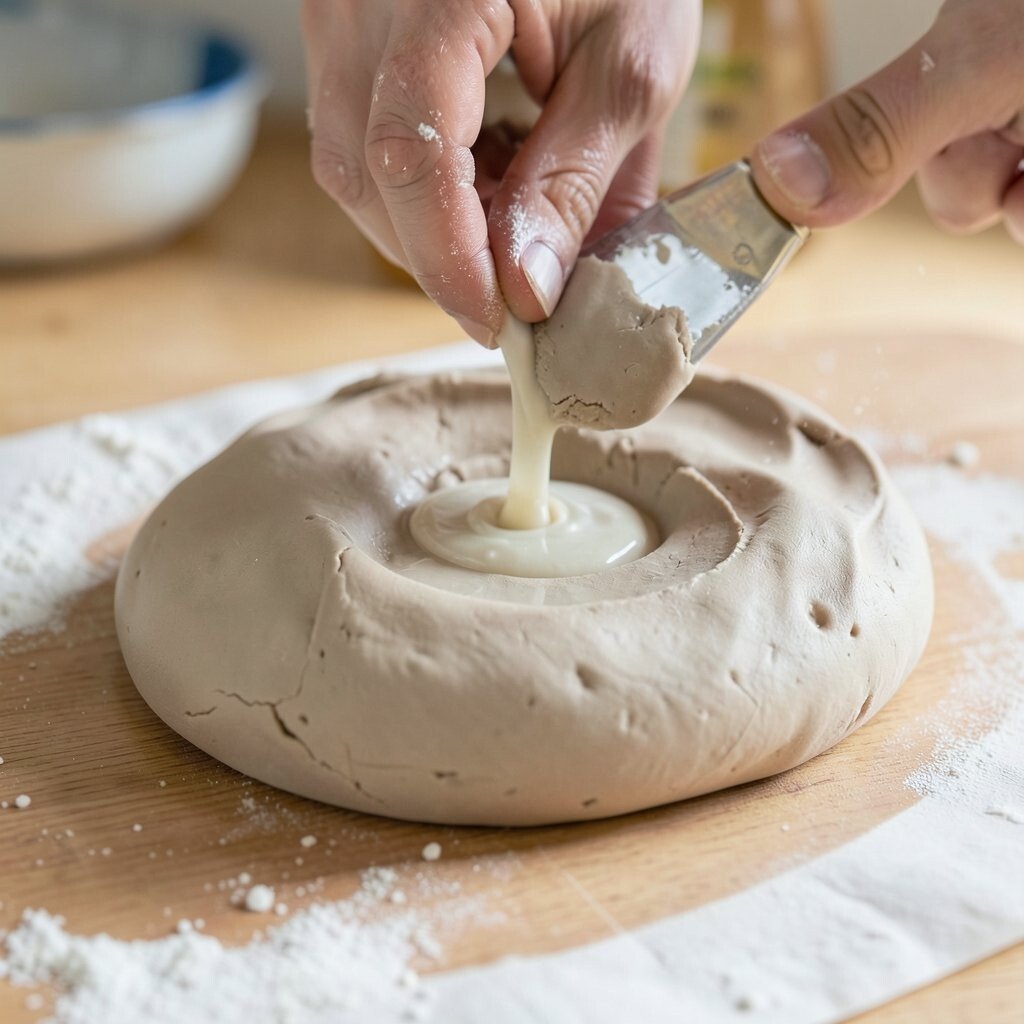
3. Adding Too Much Water
Top Adding Too Much Water Craft Tutorials
- 🖼️ Boat gaining too much water? : r/boating from reddit.com.
- 👓 Watercraft licenses – registration procedures & fees from dnr.state.mn.us.
- 🧑🌾 What is too much water between the hulls of a Sun Dolphin … from facebook.com.
- 💅 How much water in the hull is "normal"? – GreenHulk.net from greenhulk.net.
- 🍅 Boat Capacity, Rules & Weight Calculation from boaterexam.com.
Wet hands can make clay feel friendly at first, but extra water can quickly turn it mushy. The shape may sag, fine lines may melt away, and the sculpture can lose its sharp, lively look.
Use only the moisture needed for joining or smoothing. A damp sponge, a soft brush, or a tiny spray of water often works better than pouring water on the clay.
If you like a softer style, keep the surface moist in small spots instead of soaking the whole piece. This helps you keep control, keeps cleanup simple, and avoids spending more money on clay that gets ruined before firing or drying.
4. Ignoring the Armature on Bigger Pieces
Top Ignoring The Armature On Bigger Pieces Craft Tutorials
- 🍁 Tips and tricks for making a steel armature from facebook.com.
- 🎨 I think this side is nearly done. from instagram.com.
- 💅 May 2021 – Felting and Fiber Studio from feltingandfiberstudio.com.
- 🗺️ FANTASY CREATURES IN CLAY TECHNIQUES FOR … from ftp.pacaero.com.
- 🍅 "How to Make a Good Day": Scott and Ene Constable on … from craftsmanship.substack.com.
Large sculptures often need support, just like a tall plant needs a stake. Without an armature, heavy clay can slump, bend, or even collapse while you work.
Wire, foil, wood, or other safe supports can hold the form while you build around them. This saves clay, saves time, and gives your sculpture a stronger shape from the start.
Try making the armature fit your own style, since some artists want a tight, realistic body shape while others prefer a wild, twisted pose. A smart support system also helps you plan for current trends in dramatic poses and bold silhouettes without paying for extra clay you do not need.
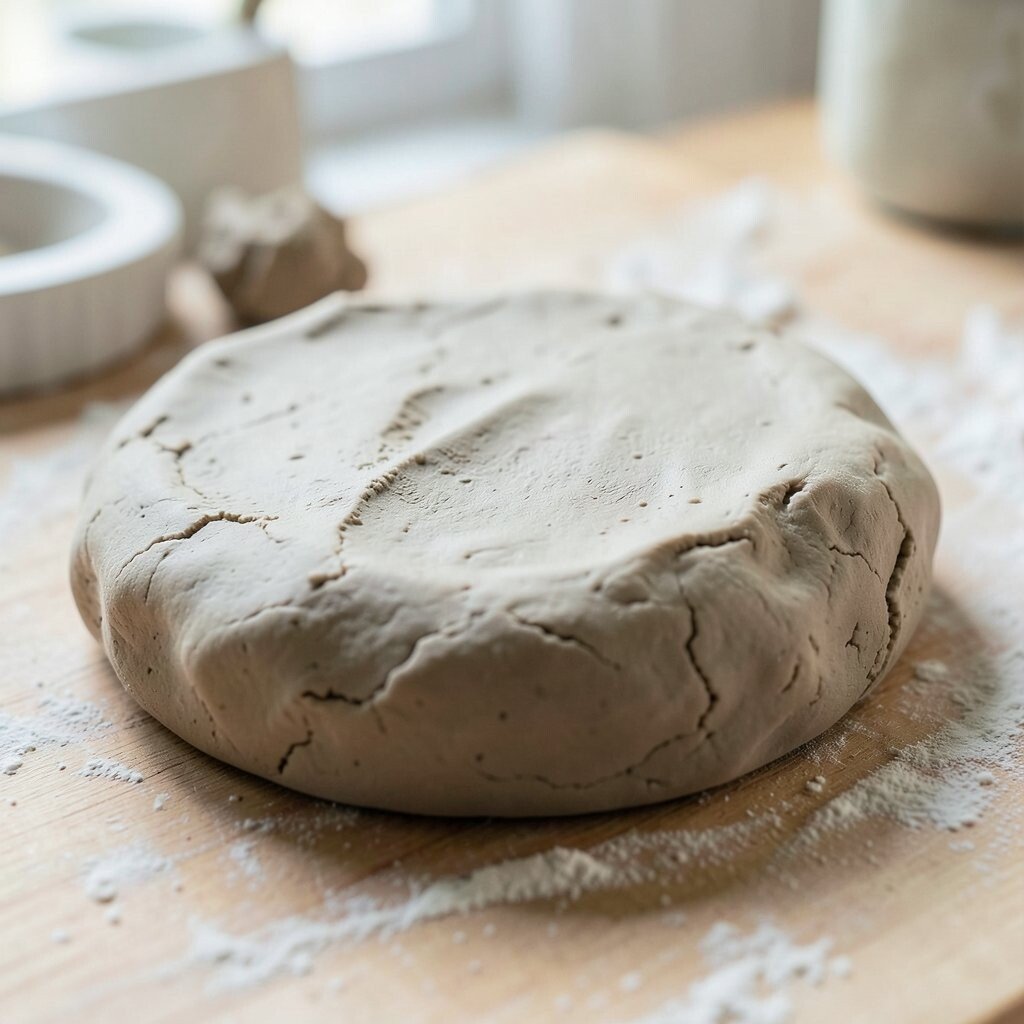
5. Forgetting to Keep Wall Thickness Even

Top Forgetting To Keep Wall Thickness Even Craft Tutorials
- 🧑🌾 New(ish) to pottery- centering/pulling help please from reddit.com.
- 🍂 The Potters Shed • Pottery Classes ADL – Instagram from instagram.com.
- 🎨 Wall thickness for bowls: size and material considerations? from facebook.com.
- 🧑🌾 Creating a lid using this technique is just one way to do it from instagram.com.
- 🎨 Bowl wall thickness – Turning – Woodworking – WoodCentral from woodcentral.com.
A sculpture can look fine on the outside and still hide trouble inside. If one part is much thicker than another, the clay dries at different speeds and may crack or split.
Even thickness helps the whole piece dry or fire more safely. It also makes the sculpture lighter, easier to move, and less costly if you are using expensive clay.
Use your fingers, a small tool, or a simple pin to check the depth as you build. Many artists personalize their work by making some areas thicker for strength and others thinner for delicate shapes, but the changes should still stay balanced.
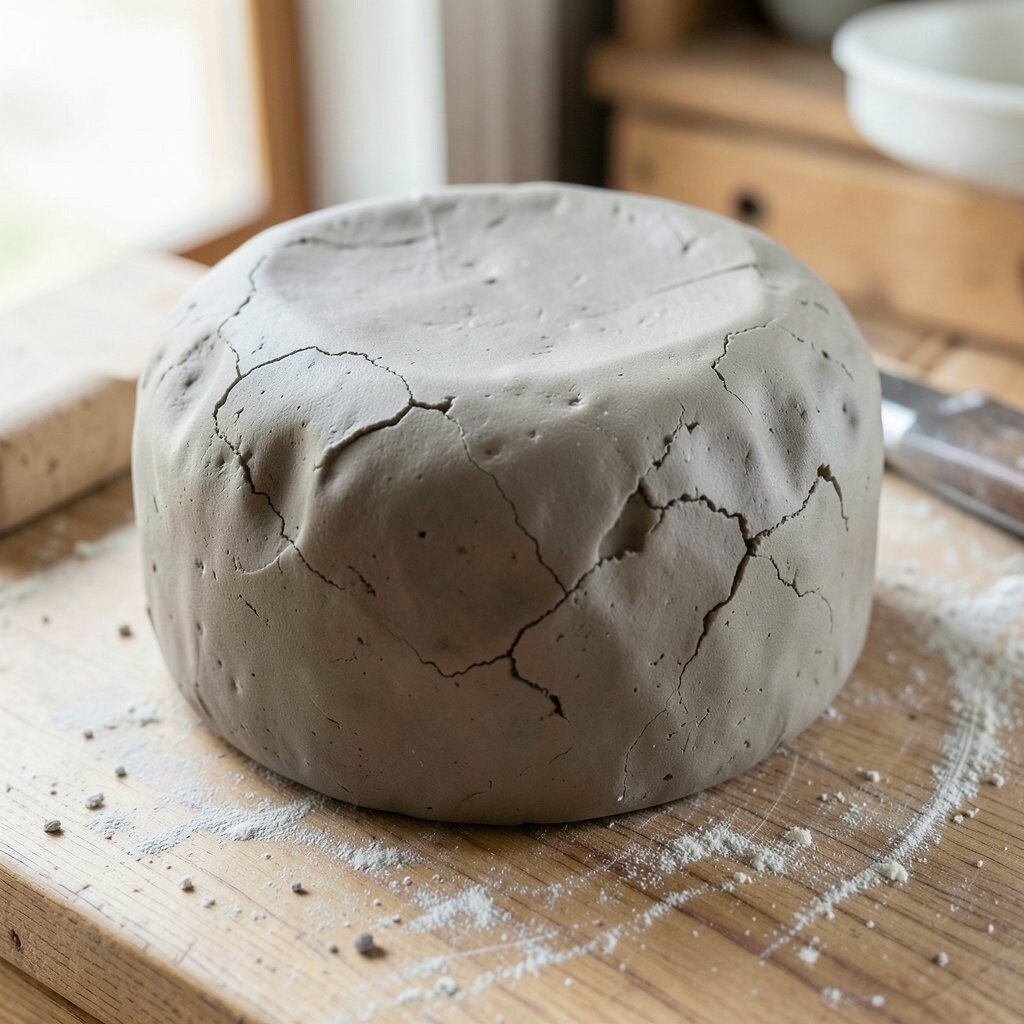
6. Rushing the Drying Process

Top Rushing The Drying Process Craft Tutorials
- 💅 Alas, rushing the drying process has resulted in thicker pieces to … from instagram.com.
- 🎄 Making handmade pots is a challenging process from facebook.com.
- 🖼️ Lin: The Art of Taiwanese Rush Weaving | Exhibition from nativeandco.com.
- 🖼️ is it possible to make mod podge cure faster? : r/crafts from reddit.com.
- 🧑🌾 How to Make Resin Dry Faster: 10 Proven Tips from resiners.com.
Clay that dries too fast often curls, cracks, or warps in plain view. A piece that looked calm and smooth can suddenly show ugly lines and a bent shape.
Let the sculpture dry at a steady pace away from hot air, direct sun, or strong fans. Covering it loosely with plastic at first can slow the drying and protect the details.
This patience pays off with a cleaner finish and fewer repairs. It also protects your budget because you will not need to remake broken parts or buy extra clay for fixes.
7. Overworking the Surface

Top Overworking The Surface Craft Tutorials
- 🎄 Overworking from paulsellers.com.
- 👓 Is my resin going to stay put or overflow as it cures? from facebook.com.
- 🎨 Preserving White in Watercolour (7 Reasons You DON'T … from kerriewoodhouse.com.
- 🍅 Prepping the surface is where the painting really begins. … from instagram.com.
- 🍁 Air Dry Clay: 10 Great Tips to Know Before You Start a … from marialouisedesign.com.
It is easy to keep smoothing, pressing, and changing the same spot again and again. After a while, the surface can become tired, muddy, or full of tiny marks that did not belong there.
Too much touching can also flatten the life out of the piece. A few tool marks or finger traces can make the sculpture feel more handmade and unique.
Try stepping back often and looking at the whole form instead of only one tiny area. If you like a polished style, use a light touch and stop when the surface already looks clean, because current trends often celebrate both smooth finishes and visible maker marks.
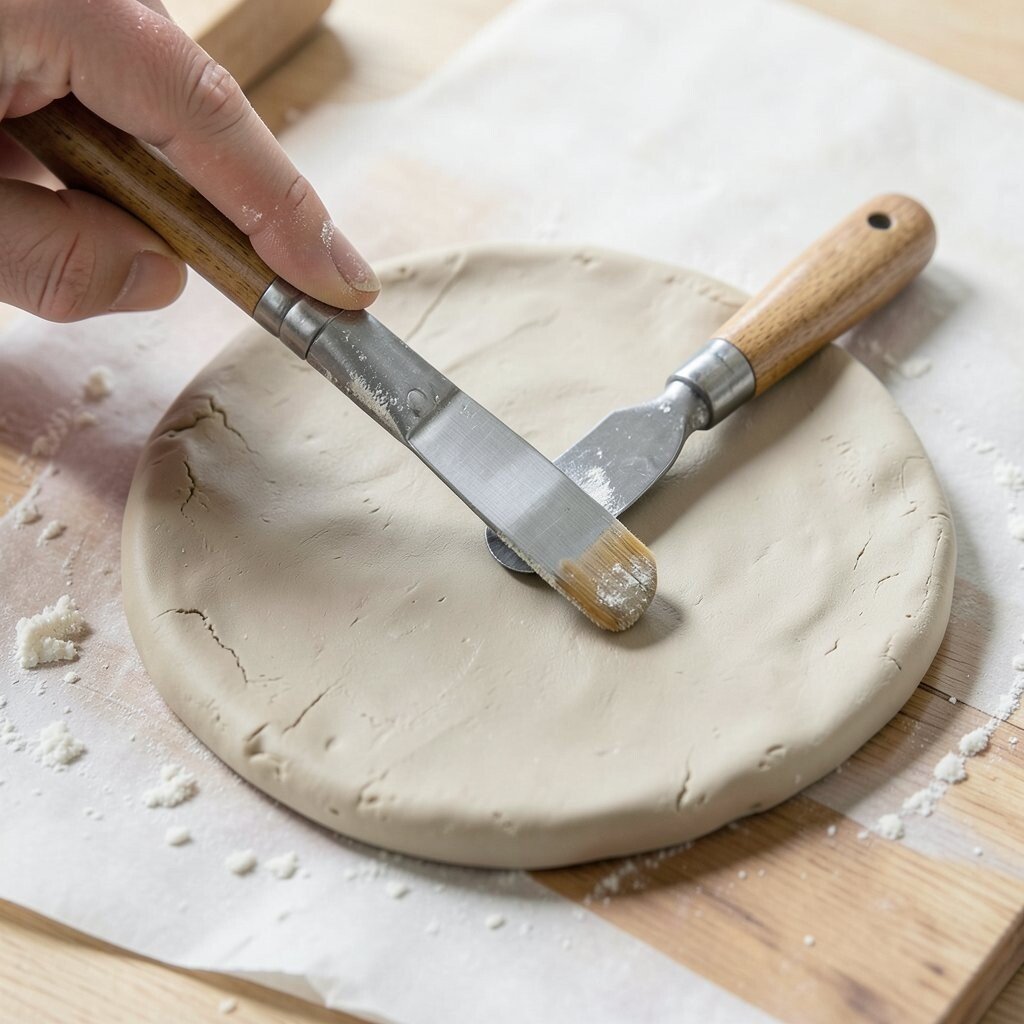
8. Using Dull or Wrong Tools
Top Using Dull Or Wrong Tools Craft Tutorials
- 👓 What to do with a flawed craft project? from facebook.com.
- 🖼️ Cricut from instagram.com.
- 🗺️ If You're Drilling Wrong, Try This from facebook.com.
A blunt tool can drag through clay like a tired spoon in thick soup. The result is messy edges, torn seams, and details that never look quite right.
Good tools do not have to be expensive, but they should match the job. A loop tool, a needle tool, a soft brush, and a simple rib can cover many basic needs without a big cost.
Personalize your set by choosing tools that feel good in your hand and fit your style of sculpting. Many artists also like to keep a few low-cost household items nearby, such as toothpicks, old cards, or small silicone shapers, for special textures.
9. Neglecting Surface Texture and Detail
Top Neglecting Surface Texture And Detail Craft Tutorials
- 🍅 Stop ignoring those random texture/tone and sequence … from reddit.com.
- 💅 On Crafting Painterly Shaders – The Blog of Maxime Heckel from blog.maximeheckel.com.
- 🗺️ It's all too easy to neglect certain planes when you … from facebook.com.
- 🍂 GRETA SKYA | I have been neglecting drawing for years. It … from instagram.com.
- 🍅 Finally used my neglected Craft day planner stamps. Paper … from facebook.com.
A plain surface can make a sculpture look flat, even when the form is strong. Texture adds light, shadow, and personality, which helps the art stand out from across the room.
Think about skin, bark, fabric, stone, fur, or shell patterns when planning the finish. These details can make a simple piece feel alive and can also match the mood you want, from soft and dreamy to rough and bold.
Try pressing in stamps, carving lines, or using natural objects like leaves for a one-of-a-kind look. Texture is a great way to follow current trends while keeping your own style, and it costs very little compared with buying fancy extras.
10. Not Planning for Firing or Finishing
Top Not Planning For Firing Or Finishing Craft Tutorials
- 🎨 How do you stay motivated to finish craft projects? from reddit.com.
- 🎨 But why can't I finish? 5 Tips for finishing craft projects. from linkedin.com.
- 👓 how to stay motivated and finish craft projects? from facebook.com.
- 🎨 CRAFT is all about process and experience, not being … from instagram.com.
- 🎨 Ashton Little: Clay, Curiosity, and the Strength of Community from touchstonecrafts.org.
Some sculptors build a piece that looks perfect in the moment, then forget what happens next. If the clay type, thickness, or finish plan is wrong, the work may crack in the kiln or look dull after drying.
Always think ahead about glazing, sealing, painting, or leaving the clay bare. Each finish changes the final look, from shiny and bright to soft and earthy.
If you want a personal touch, test colors on small samples before using them on the full sculpture. That habit saves money, helps you avoid surprise results, and makes it easier to create a style that feels truly yours.
11. Handling the Piece Too Soon

Top Handling The Piece Too Soon Craft Tutorials
- 🎄 Avoid These 10 Sculpey Mistakes (and other clays, too!) from thebluebottletree.com.
- 🖼️ Hello! members of r/clay. Could you all please help me? > … from reddit.com.
- 🗺️ Polymer clay mistakes to avoid from facebook.com.
- 👓 7 Common Polymer Clay Mistakes and How to Avoid Them from babyloncutters.com.
- 🍁 Air Dry Clay: 10 Great Tips to Know Before You Start a … from marialouisedesign.com.
Fresh clay can seem firm, but it may still be weak inside. Picking it up too early can leave dents, fingerprints, or broken parts that are hard to fix cleanly.
Give the sculpture time to set before moving it, turning it, or adding heavy details. A simple drying rack, board, or foam support can help protect the shape during this stage.
This careful timing is especially helpful for larger works and for pieces with long arms, thin legs, or raised decorations. It keeps the art looking crisp, lowers repair costs, and gives you more freedom to make bold, unusual forms without fear.
12. Copying Without Making It Your Own
Top Copying Without Making It Your Own Craft Tutorials
- 🎨 Crafters copying work without credit from facebook.com.
- 🧑🌾 Small confession… I copy cards more often than I'd like to … from facebook.com.
- 👓 Does "copying" art improve my skills? : r/learntodraw from reddit.com.
It is fine to learn from other artists, but a piece can feel flat if it only repeats what has been seen before. Clay art becomes more exciting when it shows your own choices, habits, and ideas.
Change the pose, adjust the texture, shift the proportions, or mix styles in a fresh way. Even small personal changes can make a sculpture feel special and help it stand out in a crowded art space.
Think about your favorite colors, themes, animals, stories, or memories and build those into the work. This kind of personal direction costs nothing, fits current trends that value originality, and gives your art a voice that people remember.